Start with EdrawMind Desktop Guide
User Guide for PC
-
Get Started
-
Topics
-
Notes & Knowledge Base
-
Symbols
-
Layout
-
Theme and Style
- Change and Customize the Theme
- Change Topic Font
- Theme Color and Colored Branch
- Hand-Drawn Style
- Change Background and Add Watermarks
- Change Text Style and Color
- Change Topic Shape and Border
- Change Topic Colors
- Change Styles of Topic Shadows
- Change Branch Style
- Adjust Topic Margins and Topic Text Width
- Change Connector Style
- Format Painter and Style Follows
-
AI & OCR
-
Outline Mode
-
Slides Mode
-
Brainstorming Mode
-
Mind Map Gallery
-
Task Management Tips
-
Document Operations
-
View Mind Map
-
Open, Save, Share and Print
-
Real-time Collaboration
Insert a Table
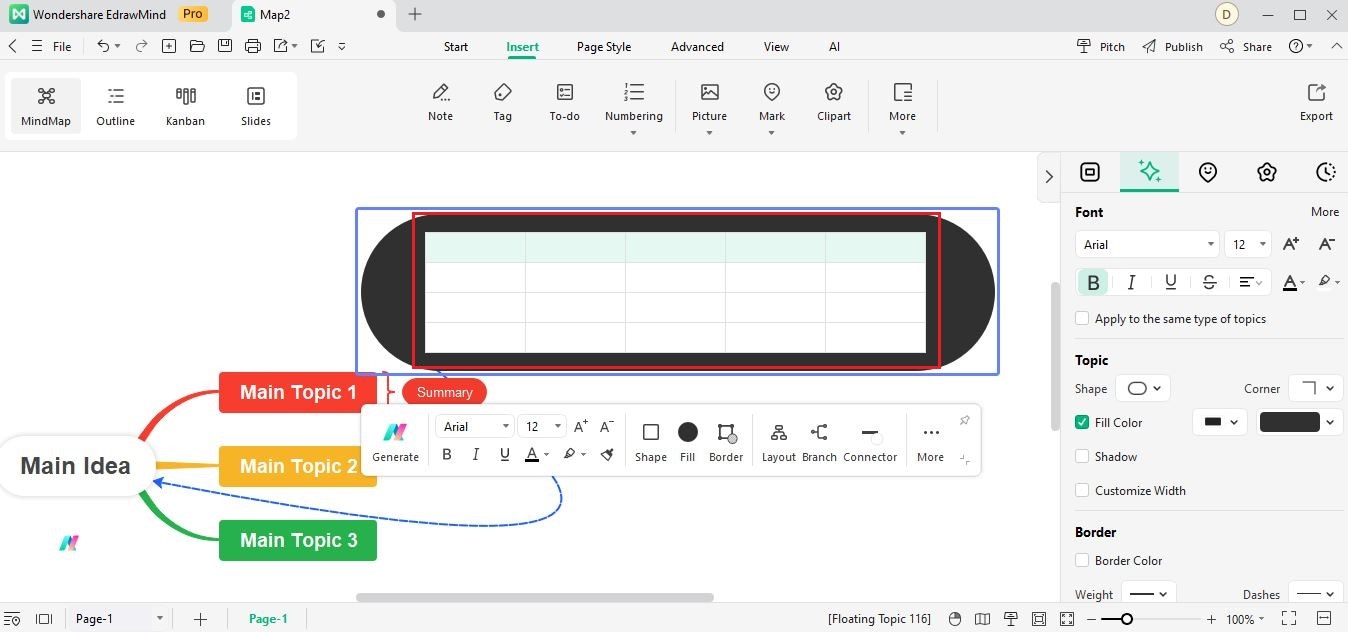
Inserting a Table allows you to add additional information to your maps. Here are the steps below.
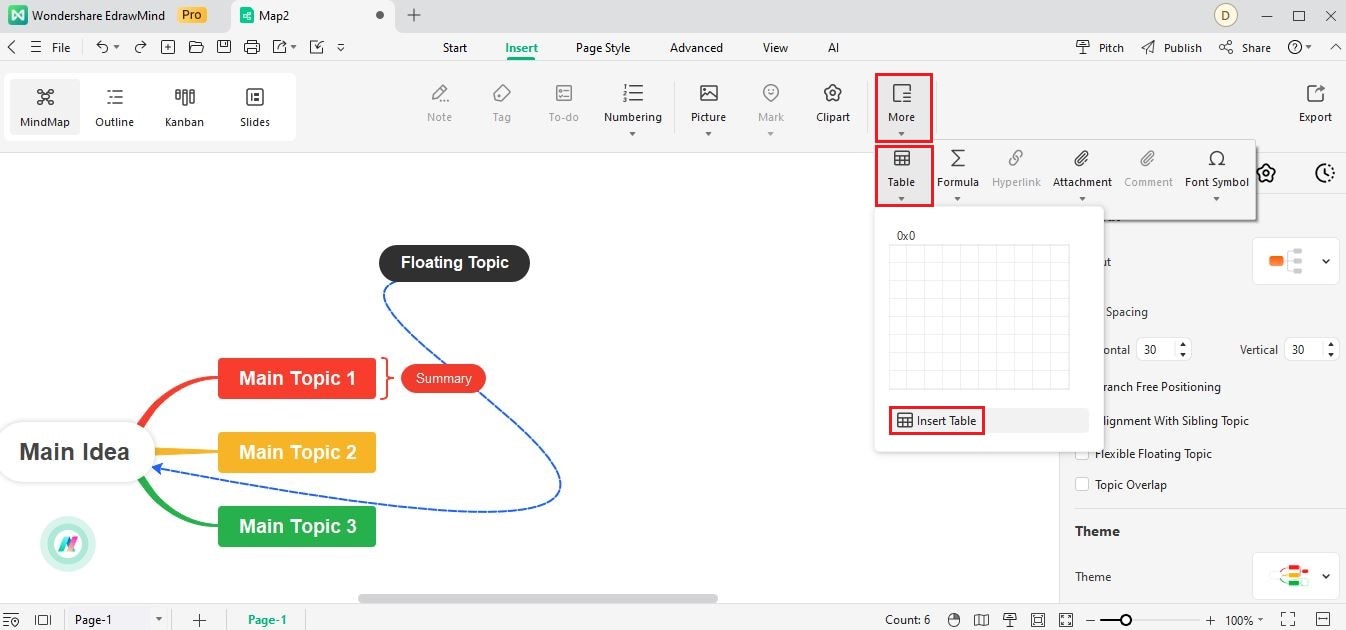
Step1 Launch EdrawMind. Click Create to get a new mind map or Open to launch a file saved on your computer. Next, go to the Insert toolbar and choose More > Table. Select the rows and columns with your mouse or click Insert Table and enter the number of rows and columns of the table you want to create.
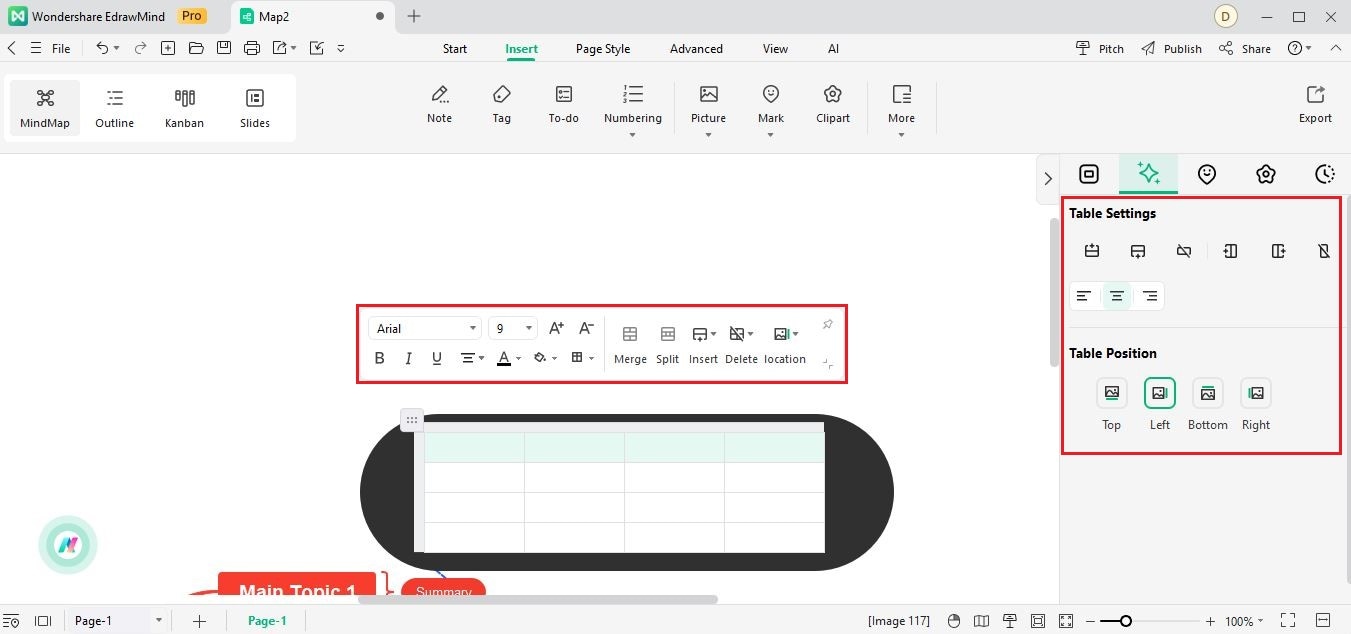
Step2 You may access various editing options, including Insert Above, Insert Below, Delete Row, Insert Left, Insert Right, and more from the floating bar or the Style panel at the right-side corner. Customize your table according to your preference.
Step3 After that, the changes will be automatically applied to your table.