Start with EdrawMind Desktop Guide
Generate a mind map with AI
Enter prompts & generate a mind map
-
Get Started
-
Topics
-
Notes & Knowledge Base
-
Symbols
-
Layout
-
Theme and Style
- Change and Customize the Theme
- Change Topic Font
- Theme Color and Colored Branch
- Hand-Drawn Style
- Change Background and Add Watermarks
- Change Text Style and Color
- Change Topic Shape and Border
- Change Topic Colors
- Change Styles of Topic Shadows
- Change Branch Style
- Adjust Topic Margins and Topic Text Width
- Change Connector Style
- Format Painter and Style Follows
-
AI & OCR
-
Outline Mode
-
Slides Mode
-
Brainstorming Mode
-
Mind Map Gallery
-
Task Management Tips
-
Document Operations
-
View Mind Map
-
Open, Save, Share and Print
-
Real-time Collaboration
Insert Pictures
EdrawMind allows you to insert pictures in the mind map. You can insert pictures of various formats to improve the visual effect, such as JPG, PNG, BMP, ICO, PBM, PPM, PGM, TIF, and TIFF. You can insert pictures with several methods. Here are the detailed steps.
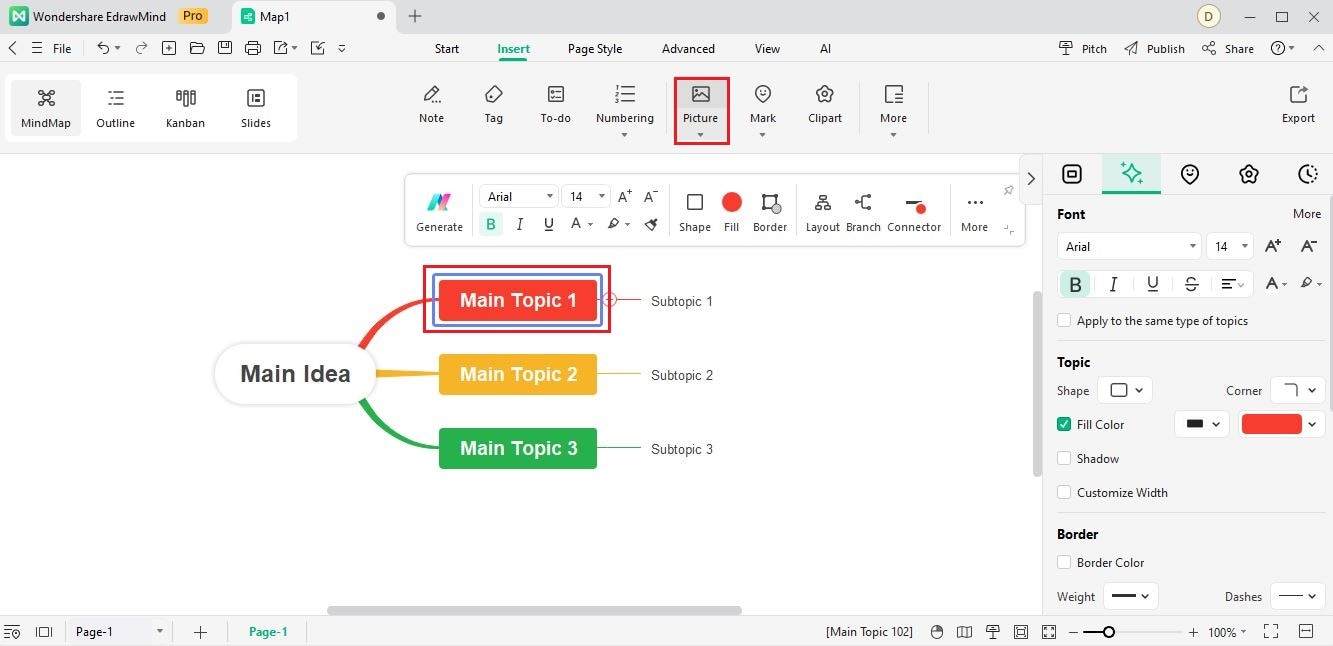
Method 1 Insert Pictures With the Picture Button
Here is a step-by-step guide to inserting images with the Picture feature.
Note:
If you don't select any topic, the inserted picture will automatically be a floating topic.Method 2 Use the Right Mouse Button
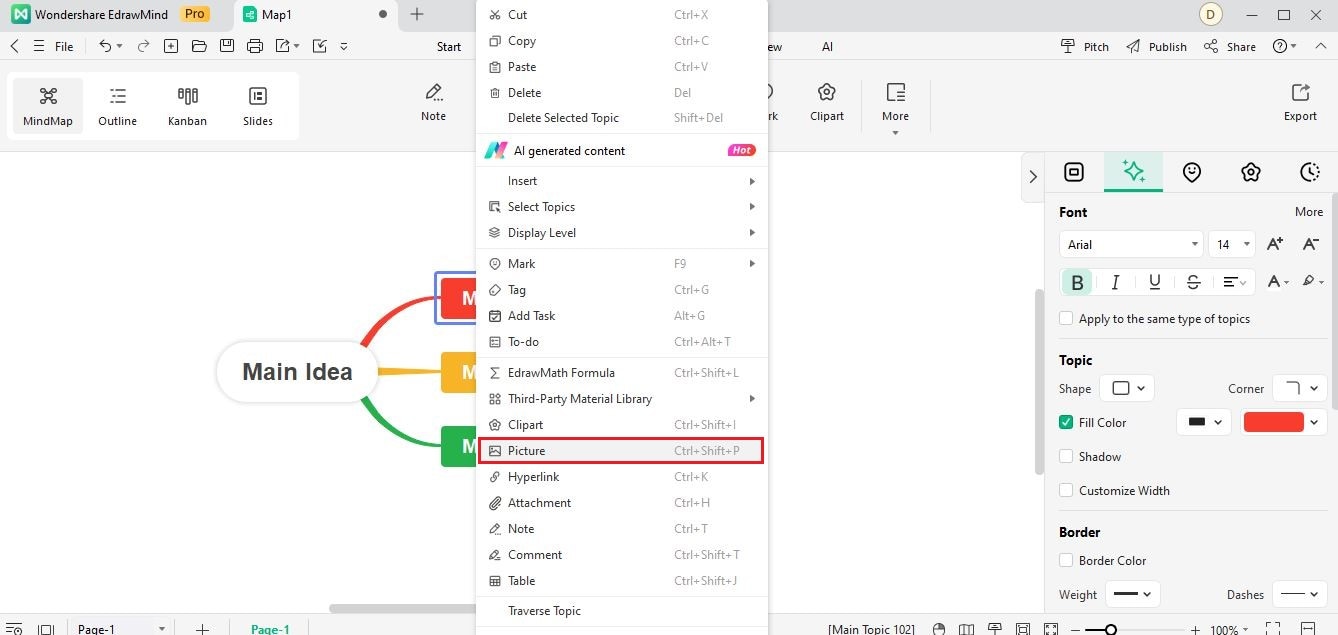
Alternatively, you can right-click the mouse and click Picture in the menu. Then, select the picture you want to insert in the window. Click OK when you finish.
Method 3 Copy and Paste
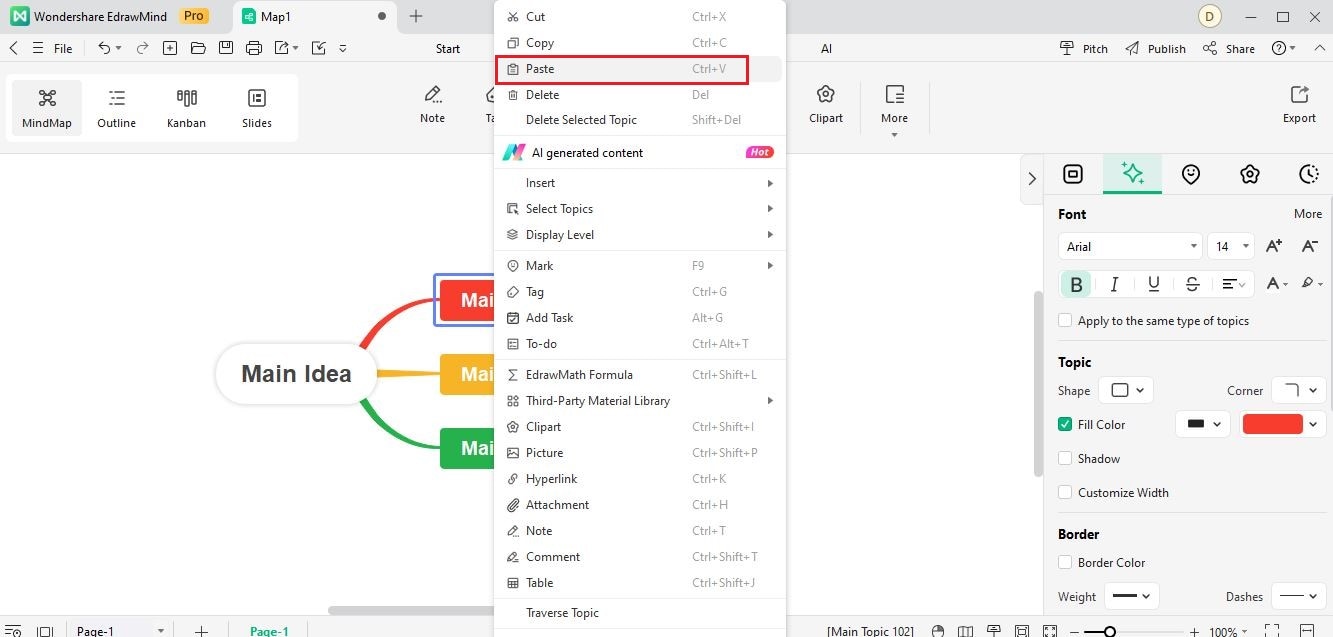
Copy a picture from local files to add to your mind map. Right-click your mouse on a topic or the blank area, and select Paste to add the image.
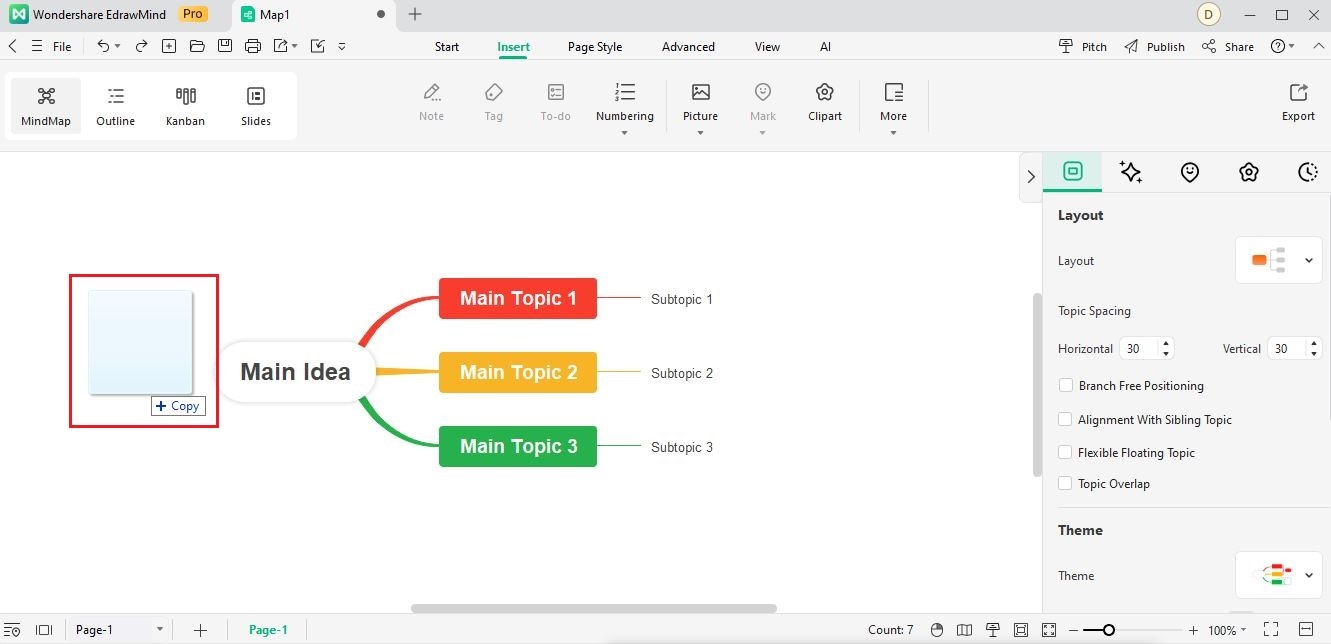
Method 4 Drag a Picture
Directly drag a picture from the outside of EdrawMind to a topic or the blank area. Then, click Add as a picture.
Adjust Image Size
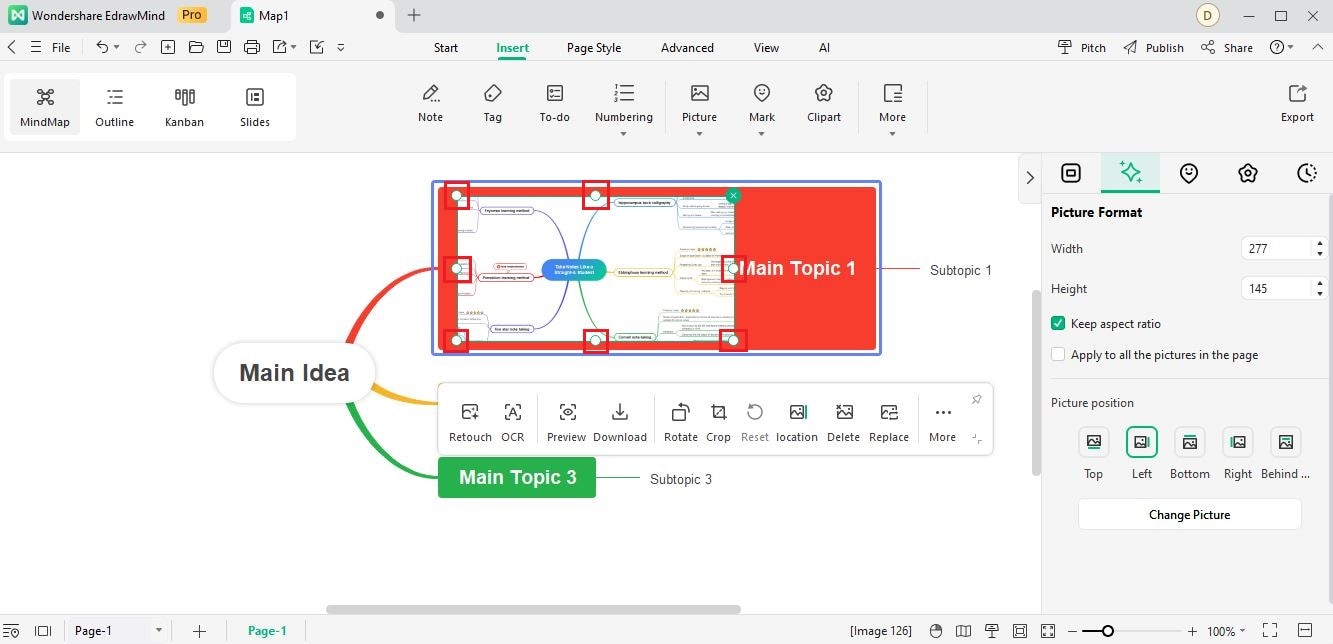
After inserting a picture into a topic or a subtopic, drag its control points at corners to adjust the size.
