Start with EdrawMind Desktop Guide
User Guide for PC
-
Get Started
-
Topics
-
Notes & Knowledge Base
-
Symbols
-
Layout
-
Theme and Style
- Change and Customize the Theme
- Change Topic Font
- Theme Color and Colored Branch
- Hand-Drawn Style
- Change Background and Add Watermarks
- Change Text Style and Color
- Change Topic Shape and Border
- Change Topic Colors
- Change Styles of Topic Shadows
- Change Branch Style
- Adjust Topic Margins and Topic Text Width
- Change Connector Style
- Format Painter and Style Follows
-
AI & OCR
-
Outline Mode
-
Slides Mode
-
Brainstorming Mode
-
Mind Map Gallery
-
Task Management Tips
-
Document Operations
-
View Mind Map
-
Open, Save, Share and Print
-
Real-time Collaboration
Insert Elements
Within the Outline mode, you can enrich your content with Graphics, Table, Marks, Notes, Hyperlinks, Attachments, Comments, and Tags. These elements help you create a comprehensive, interactive visual representation tailored to your unique ideas and concepts. Here's how to do it.
Step1Navigate to Outline and access the top toolbar to use elements.
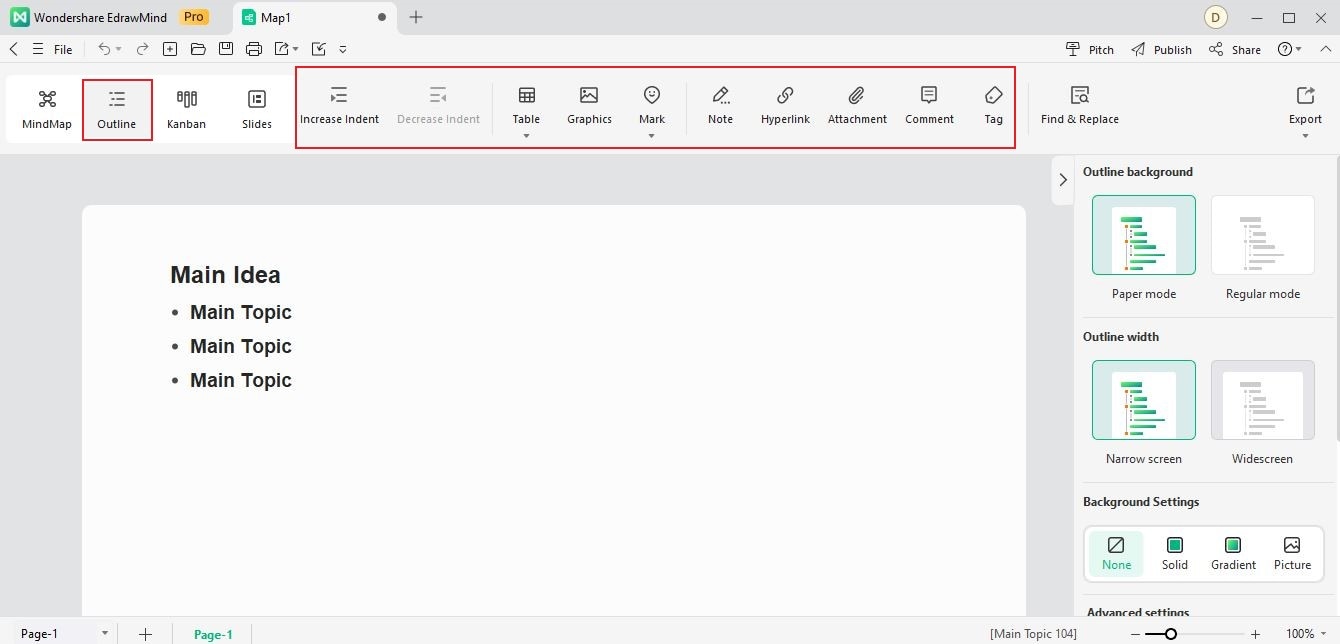
Step2Choose from various options to insert into your project.
- Click any part of the outline. Then click Graphics or press Ctrl + Shift + P to insert a Picture to a selected topic.
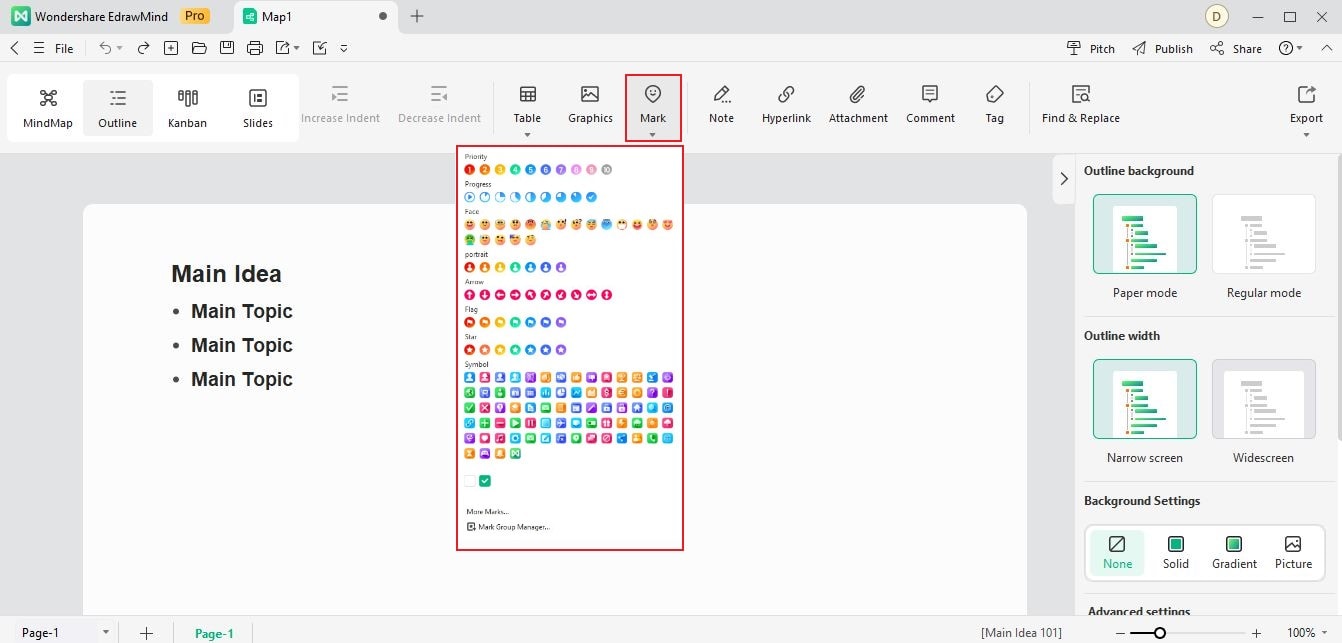
- Click on Mark to insert a mark on a selected topic.
- Click on Table to customize and add a table to the outline.
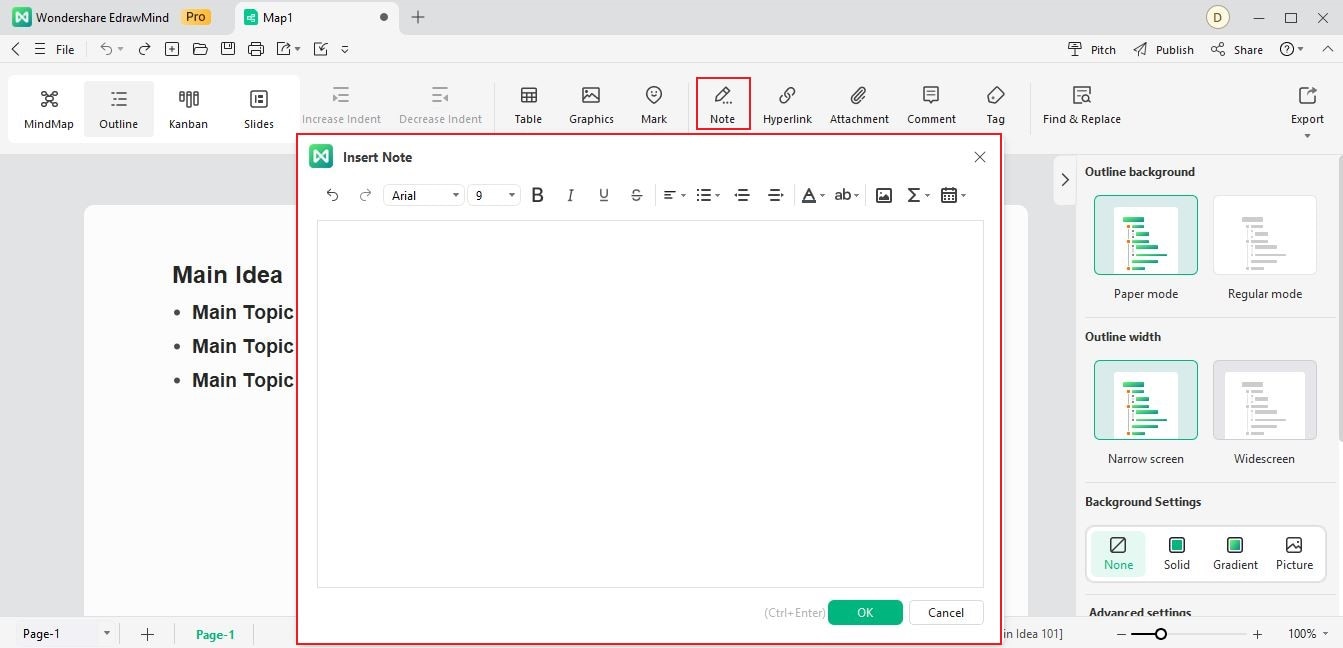
Click Note or press Ctrl + T to insert a note to the selected topic.
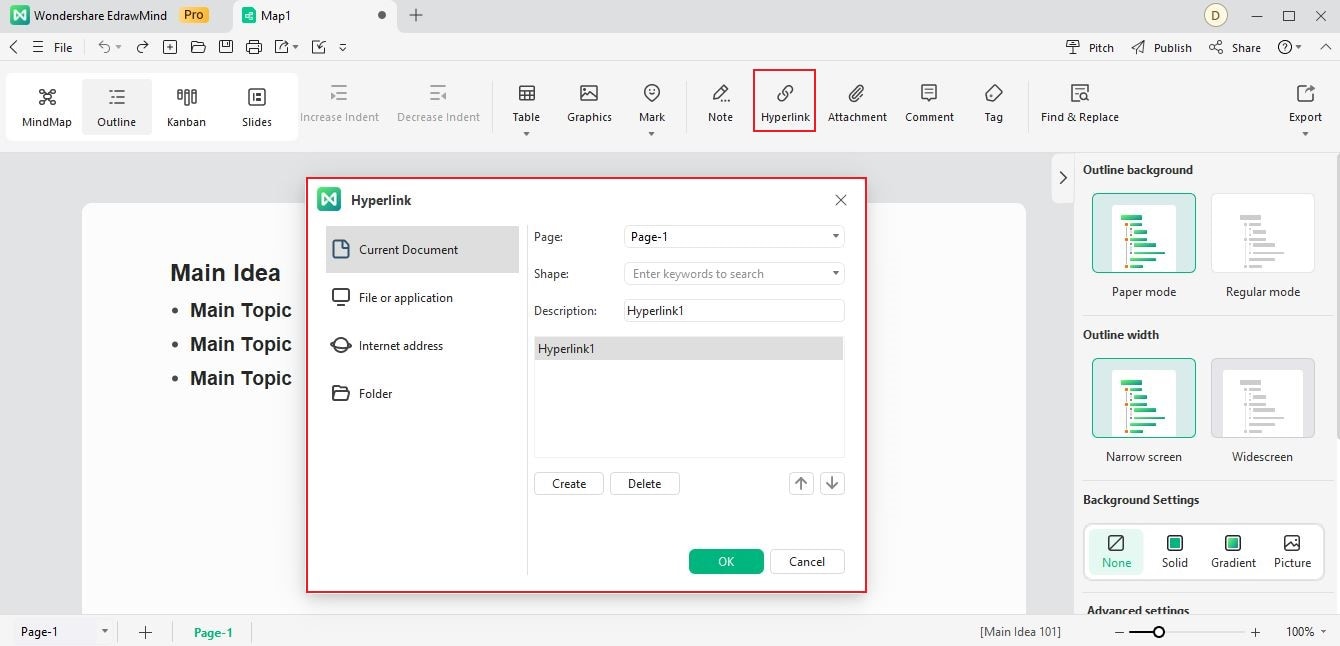
Click Hyperlink or press Ctrl + K to insert a hyperlink to the selected topic.
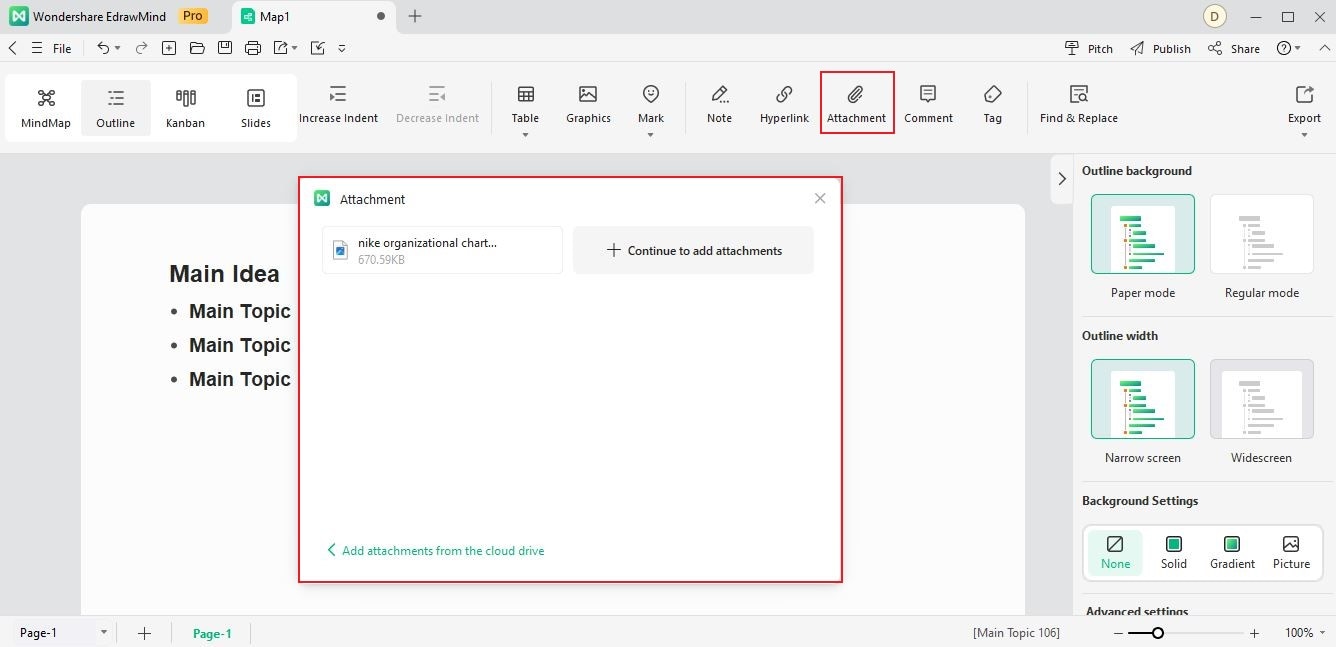
Click Attachment or press Ctrl + H to insert an attachment to a selected topic.
Click Comment or press Ctrl + Shift + T to insert a comment to the selected topic.
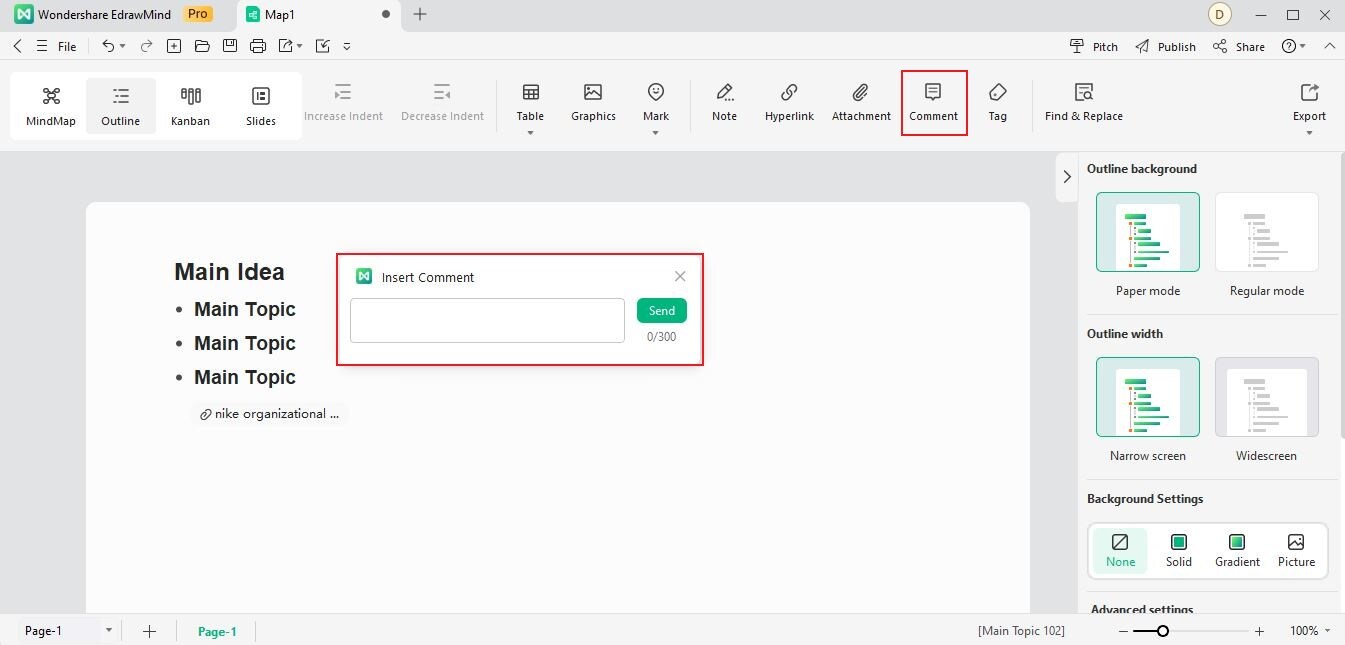
Note:
Comments can be up to 300 characters.Go to Tag > Tag Manager to insert a tag on a selected topic.
