Start with EdrawMind Desktop Guide
User Guide for PC
-
Get Started
-
Topics
-
Notes & Knowledge Base
-
Symbols
-
Layout
-
Theme and Style
- Change and Customize the Theme
- Change Topic Font
- Theme Color and Colored Branch
- Hand-Drawn Style
- Change Background and Add Watermarks
- Change Text Style and Color
- Change Topic Shape and Border
- Change Topic Colors
- Change Styles of Topic Shadows
- Change Branch Style
- Adjust Topic Margins and Topic Text Width
- Change Connector Style
- Format Painter and Style Follows
-
AI & OCR
-
Outline Mode
-
Slides Mode
-
Brainstorming Mode
-
Mind Map Gallery
-
Task Management Tips
-
Document Operations
-
View Mind Map
-
Open, Save, Share and Print
-
Real-time Collaboration
Resources
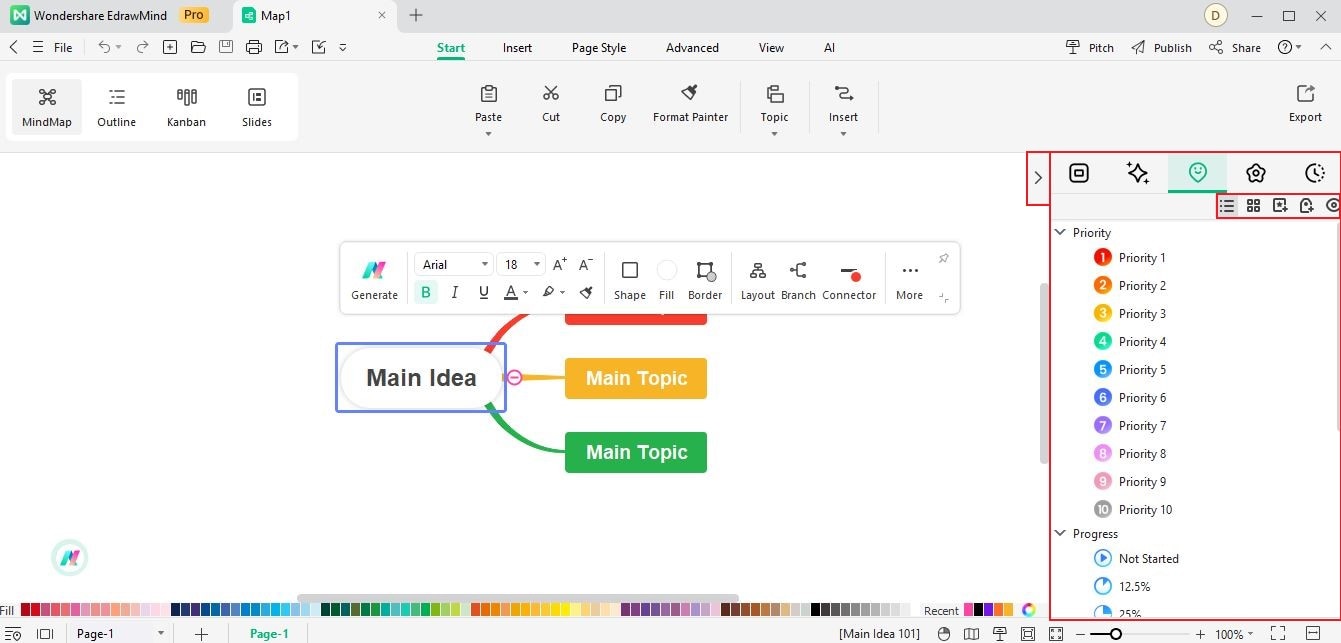
Within EdrawMind, resources allocated for task completion are regarded as a distinct tag group. Here's how to conveniently generate and oversee resources through the Tag Manager panel.
Create/Delete Resources
Follow the steps below to learn how to create or delete resource groups in EdrawMind.
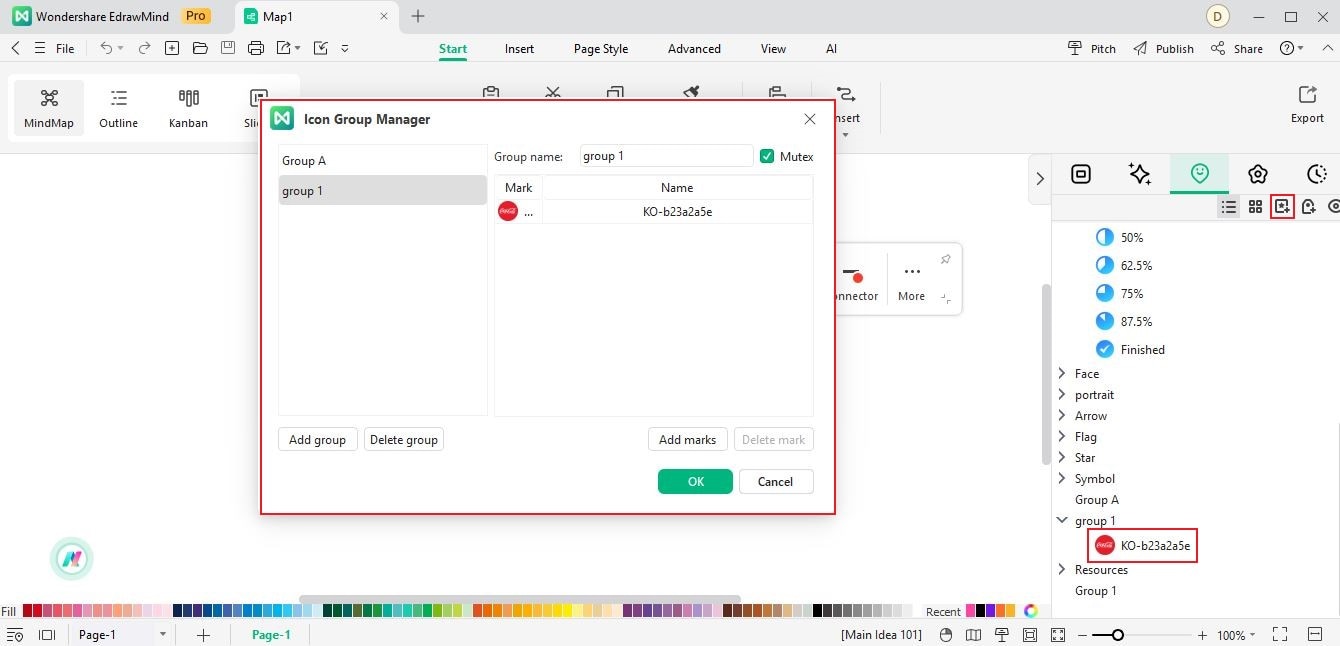
Step 1 To add a custom icon, click the Mark Maker button to open a pop-up window. Add the name of the group and marks, and click OK. You can now place the icon on your project to further customize your map.
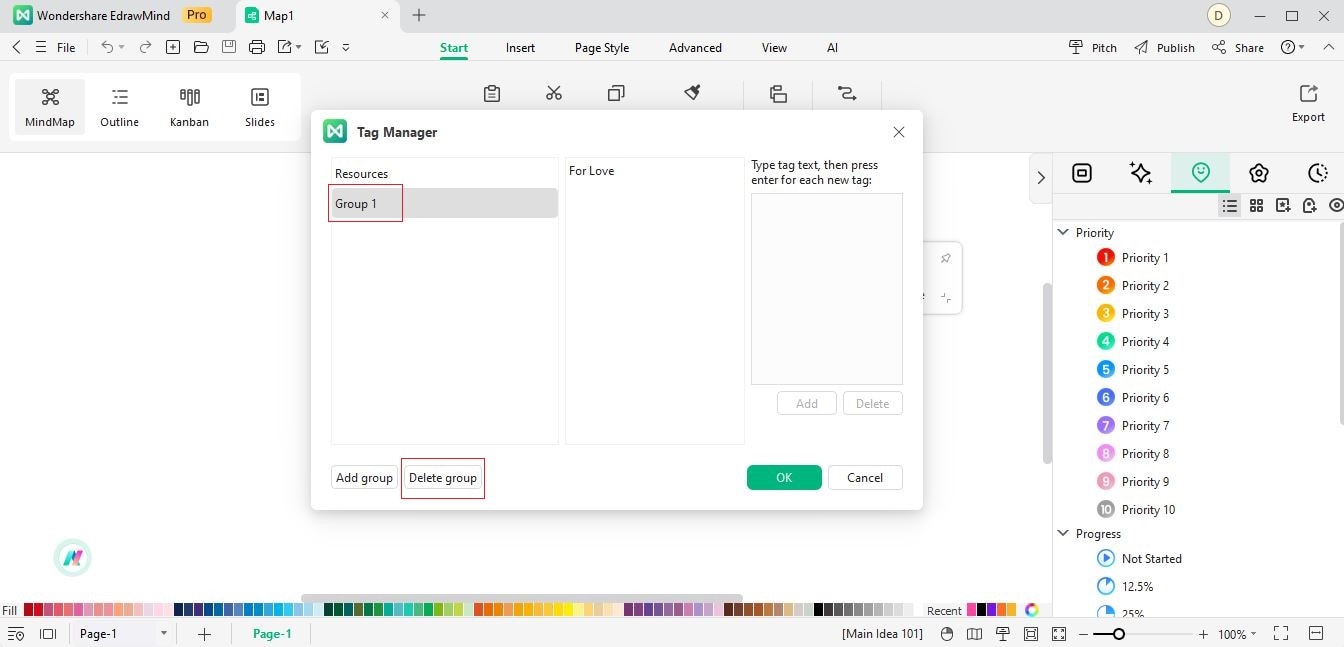
Step 2 Click Tag Manager to add a custom tag to your map. Click on Add group and type the tag text that you want. Click on OK to finish setting up your new tag. You can now place your custom tag on your map.
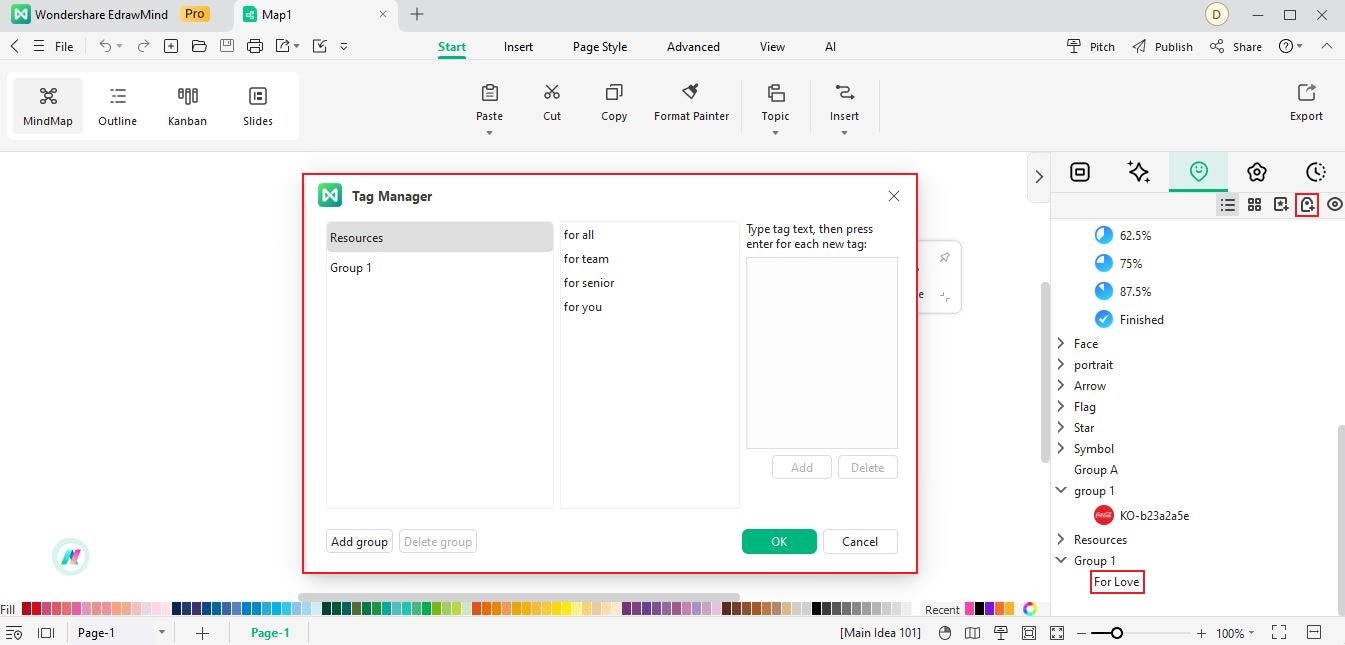
Step 3 To delete the added resource groups, select the groups' name and click Delete group next the Add group button in the Icon Group Manager and Tag Manager windows.