Start with EdrawMind Desktop Guide
User Guide for PC
-
Get Started
-
Topics
-
Notes & Knowledge Base
-
Symbols
-
Layout
-
Theme and Style
- Change and Customize the Theme
- Change Topic Font
- Theme Color and Colored Branch
- Hand-Drawn Style
- Change Background and Add Watermarks
- Change Text Style and Color
- Change Topic Shape and Border
- Change Topic Colors
- Change Styles of Topic Shadows
- Change Branch Style
- Adjust Topic Margins and Topic Text Width
- Change Connector Style
- Format Painter and Style Follows
-
AI & OCR
-
Outline Mode
-
Slides Mode
-
Brainstorming Mode
-
Mind Map Gallery
-
Task Management Tips
-
Document Operations
-
View Mind Map
-
Open, Save, Share and Print
-
Real-time Collaboration
Add/Name/Adjust Order (Slides)
In this section, learn how to effortlessly add, name, and adjust the order of slides. Learning these simple tricks can enhance the flow and organization of your presentations. Discover intuitive techniques and features that will elevate your mind-mapping experience to new heights. Let's get started.
01 Add Slides
In EdrawMind, adding extra slides for your mind map only needs two clicks. Here's how:
Step 1Click a topic for which you want to add a slide, with at least one subtopic. Then, the selected topic will be marked by the blue case.
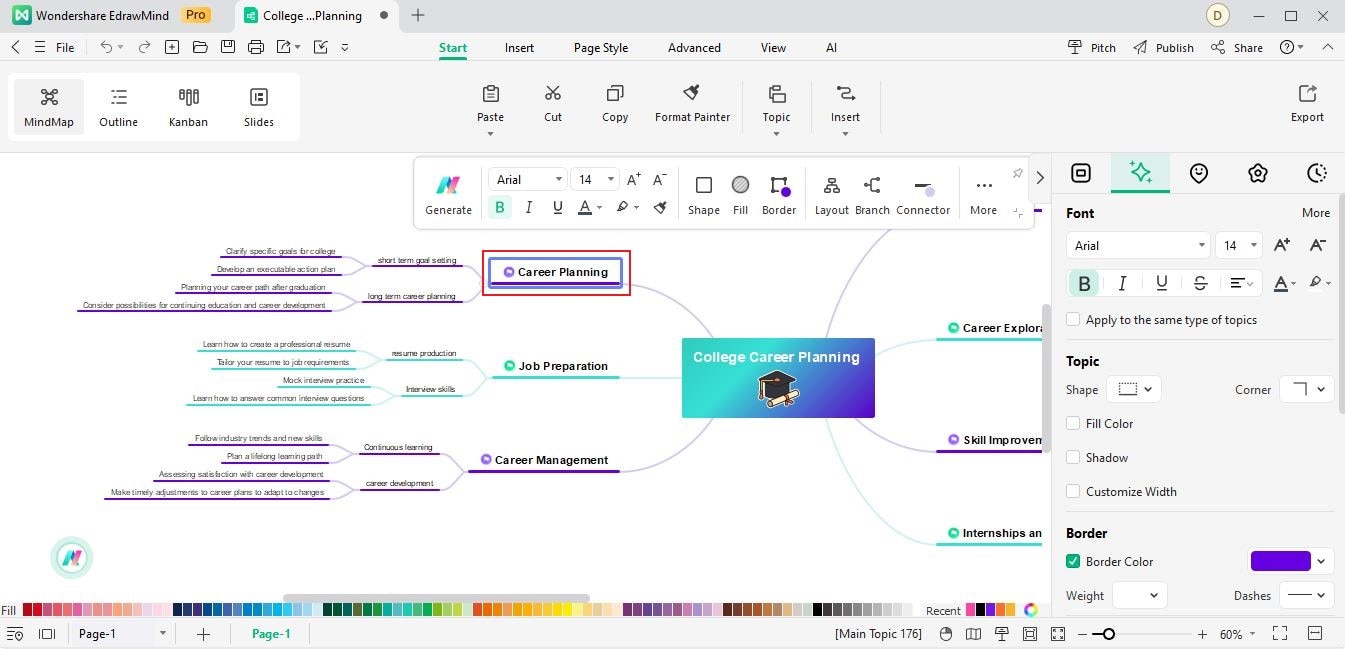
Step 2Click Slides to add a new slide. After that a page appears where you can choose the presentation mode. Click generate basic slides version. You can also generate AI slides or convert current files to slides. After that, the selected topic will appear on the preview deck.

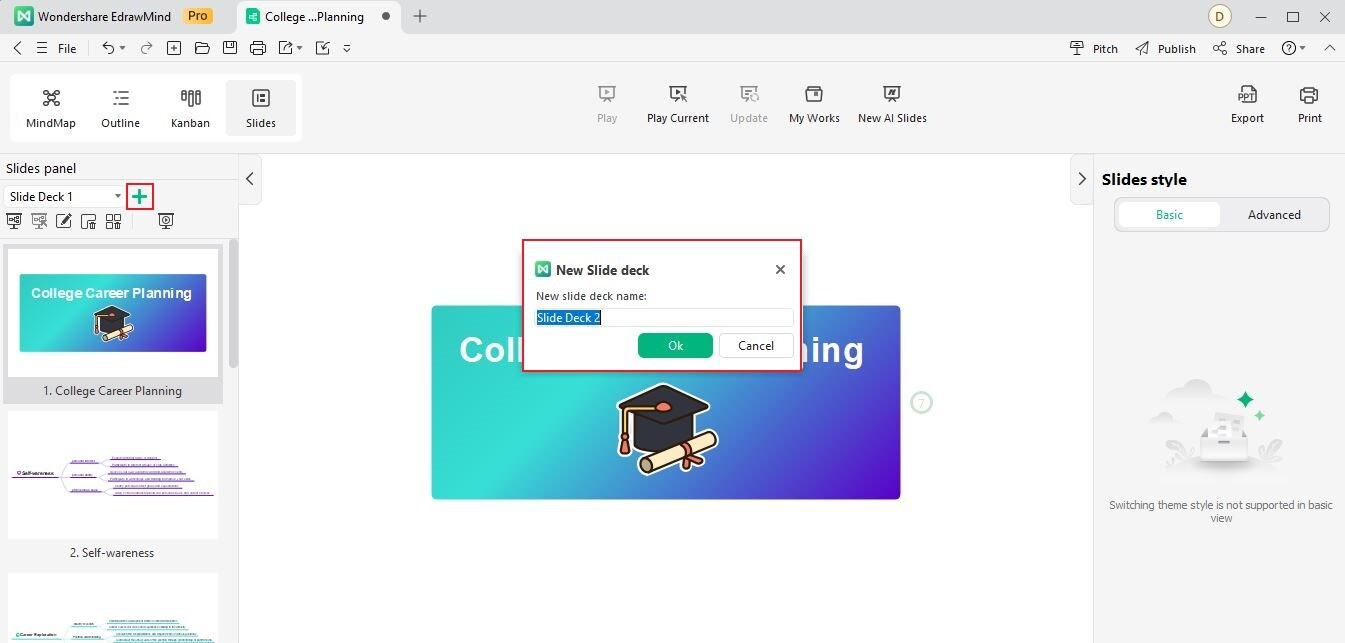
02 Add Slide Deck
Click the “+” icon near to generate a new slide deck. Name it in the pop-up window.
Step2To edit text under the Outline mode, click text.
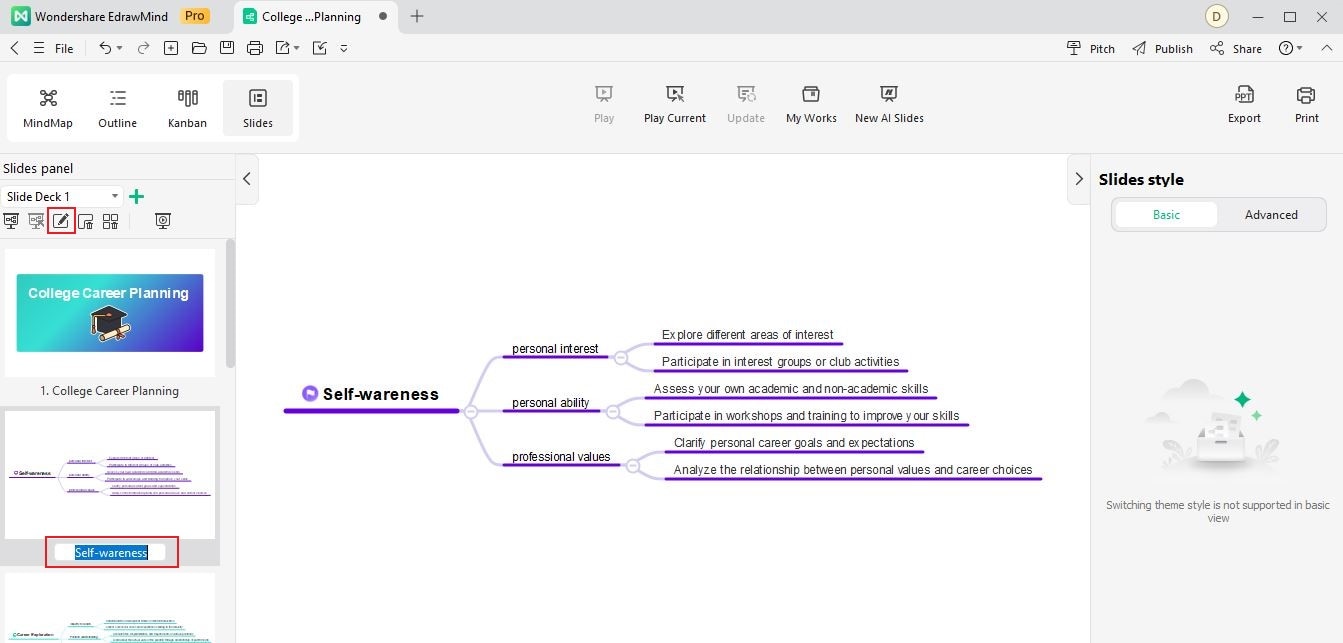
03 Name Slides
You can assign a specific name to each slide to identify the topics in your presentation.
- Right-click on a slide and click Rename to rename it.
- Alternatively, you can double-click on the name below each slide to rename them individually.
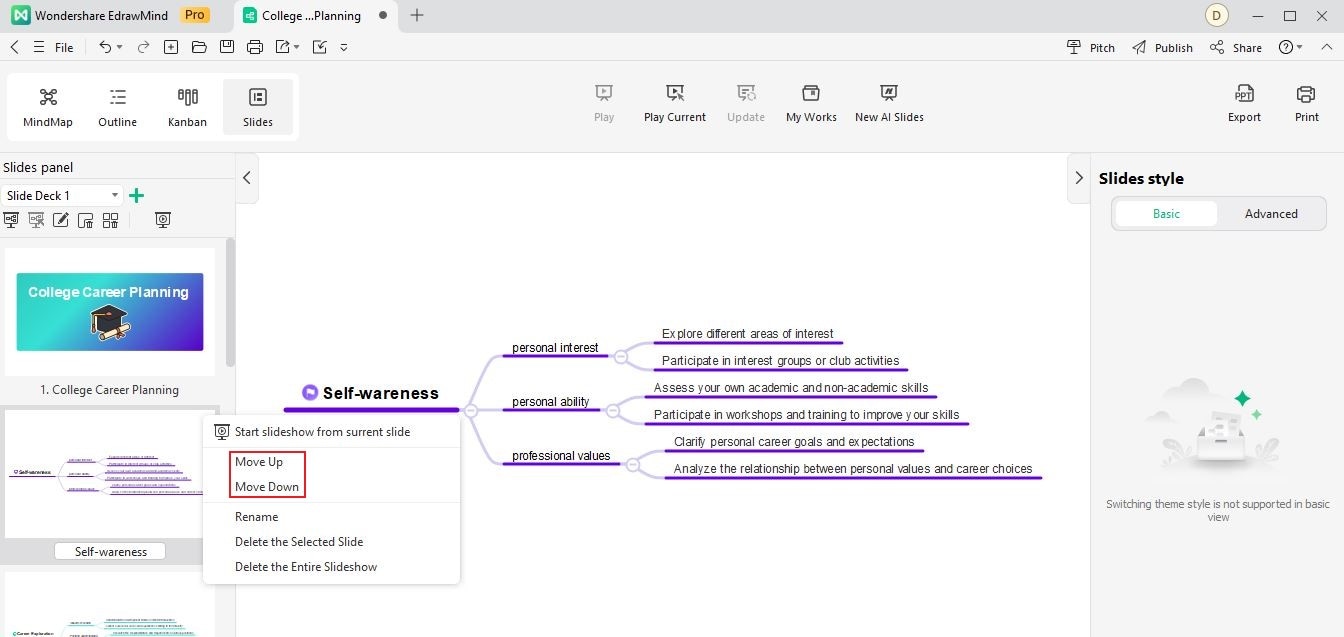
04 Reorder Slides
To reorder your presentation slides, you have two options:
- Use the drag and drop function to slide thumbnails within the Preview Slideshow pane to reorder them as desired.
- Alternatively, right-click on a slide thumbnail. Click the Move Up or Move Down option to adjust the slide's position in the sequence.