Start with EdrawMind Desktop Guide
Change Topic Colors
Enhance the visual impact of your mind maps by customizing the colors of the topic shapes. With the ability to personalize the color scheme, you can create visually captivating mind maps that effectively convey information and engage your audience.
Index
01 How To Change Topic Colors
Changing topic colors of your map refers to filling the interior of topics with a different color. You can change the topic colors of your map by following these steps.
Here is the quick process of setting the topic colors with the right side panel.
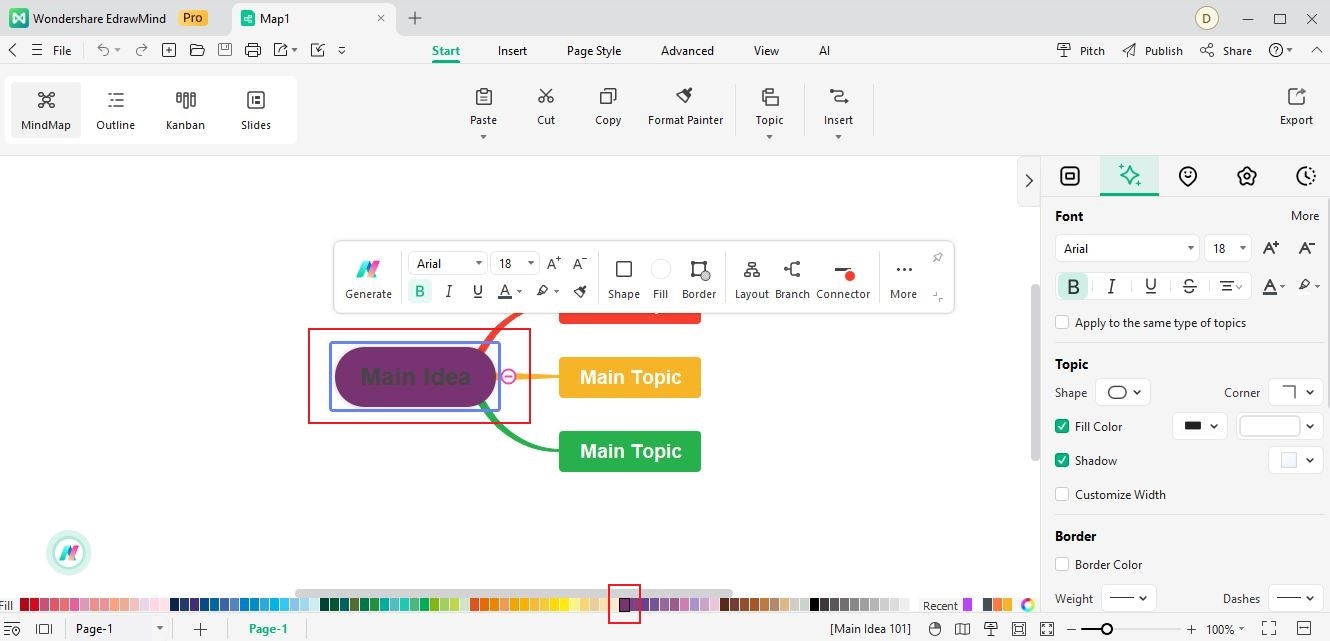
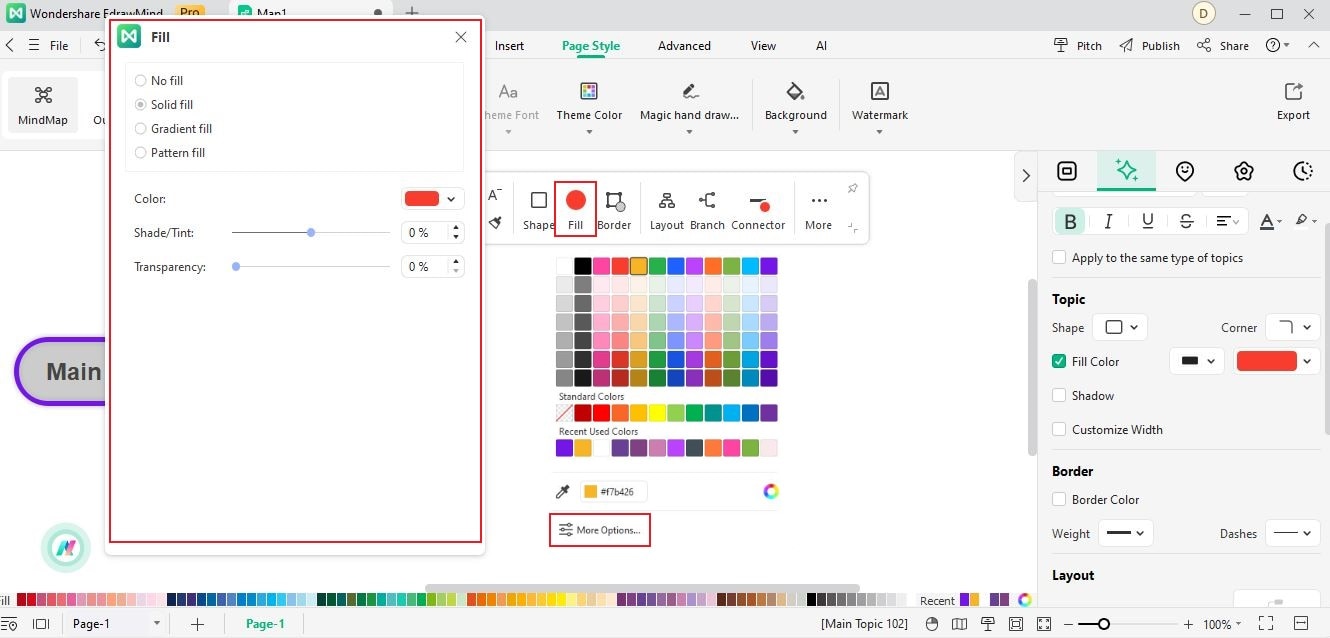
Step 1: Launch EdrawMind. Select Create or Import the file saved on your computer. Click the topic you intend to add a color on. Go to Fill Color in the right side panel.

Step 2: Click the down arrow on the right side, and choose an appropriate color in the drop-down menu.
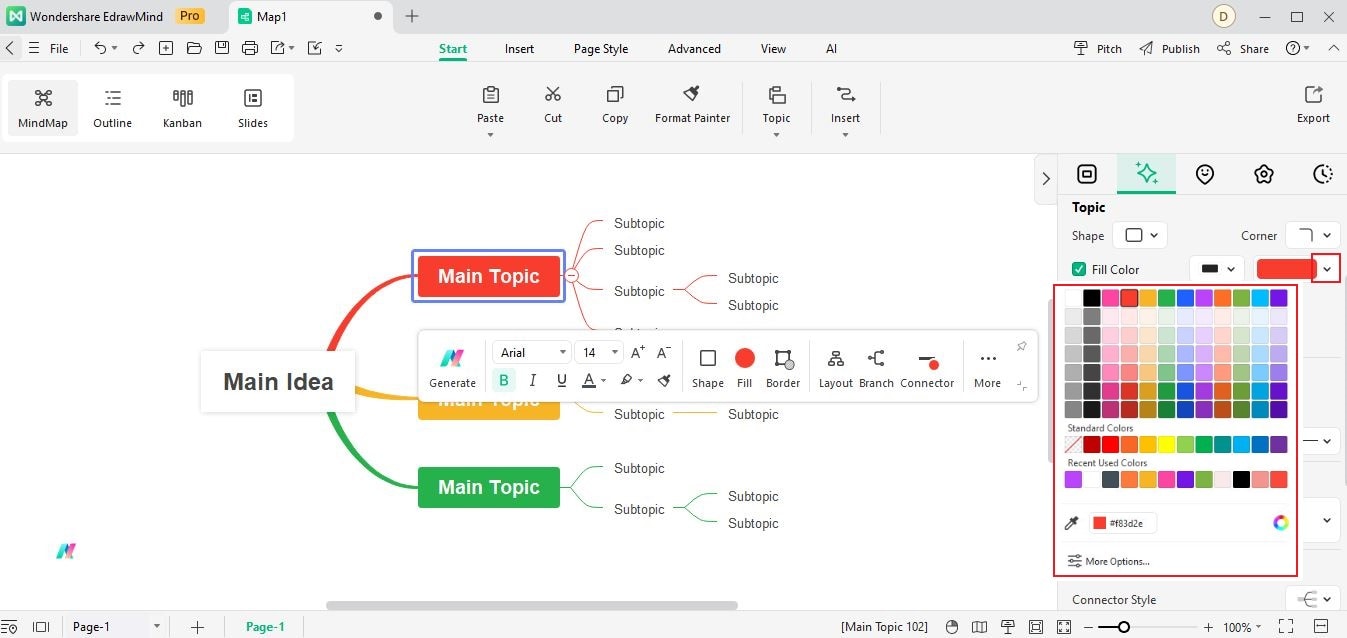
You can set colors for any topic in this convenient way.
Note:
The color bar is not displayed at the bottom by default. You can go to Options > General and check the Always display the color bar under the software checkbox. Doing this will automatically display a color bar underneath your mind map for easier customization.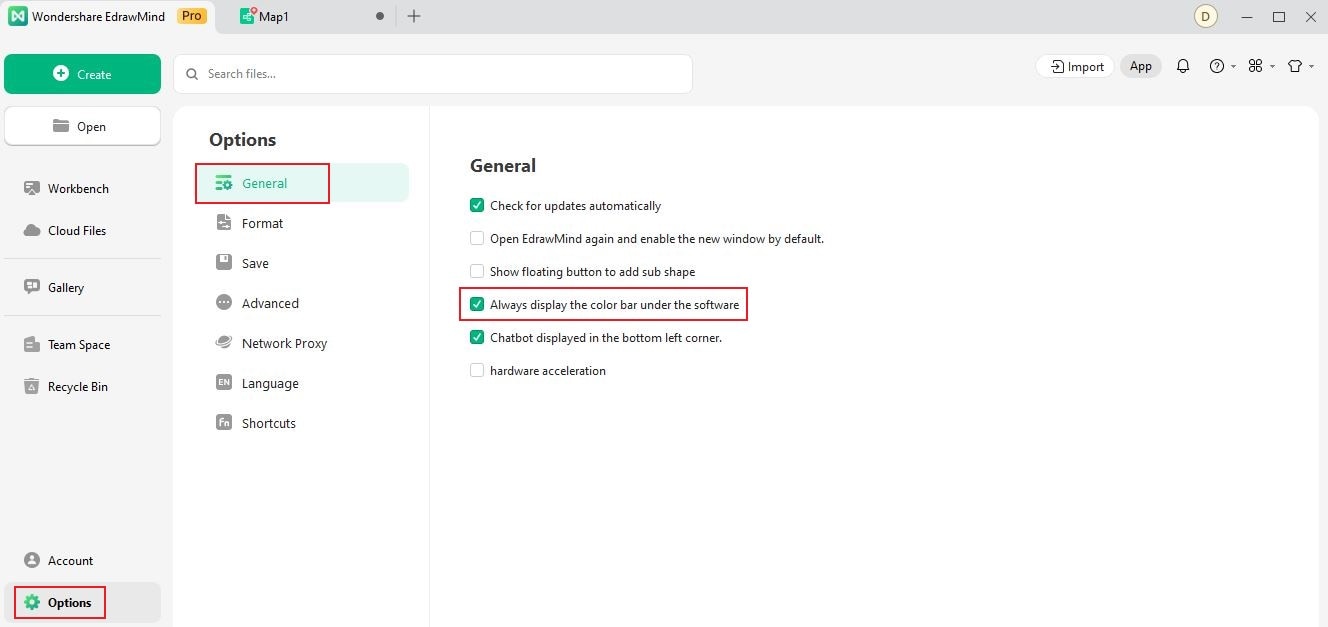
Here is the operation of adding a topic color after displaying the color bar at the bottom of the interface.
Step: Click the topic for which you want to add color. Then, pick a color you like, which will automatically apply to the selected topic.
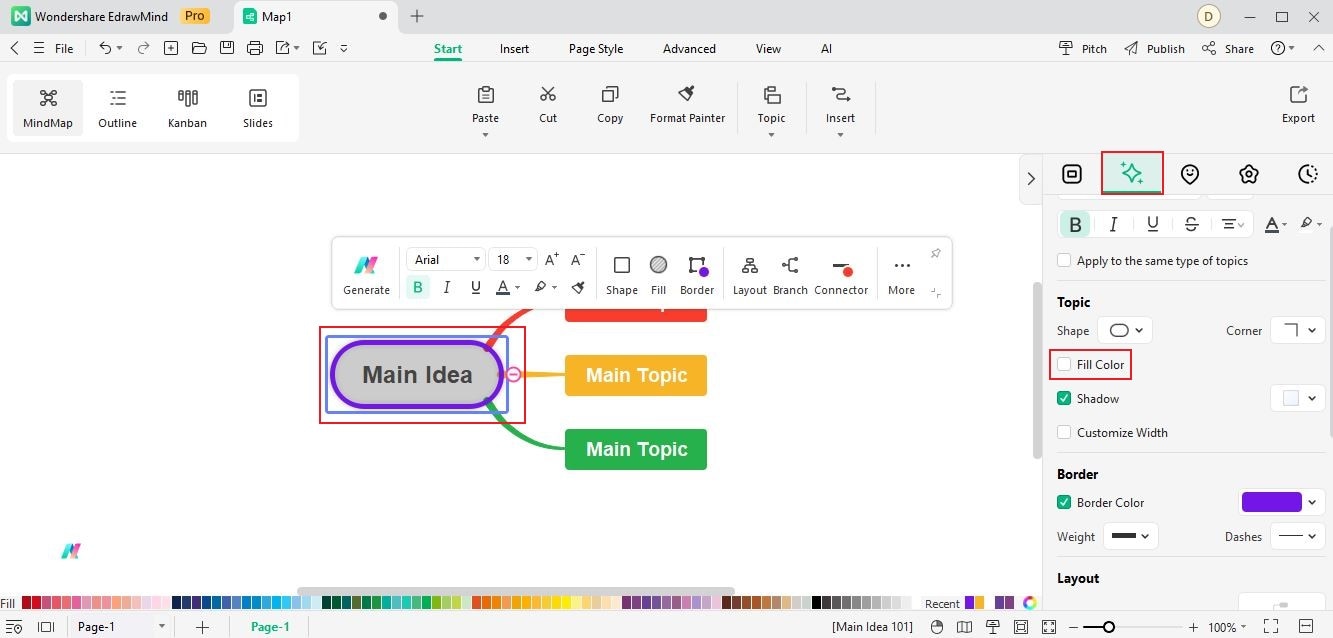
02 How To Remove Theme Colors
If you want to remove the Theme Color from your topics, go to Style in the right side panel and uncheck the Fill color.
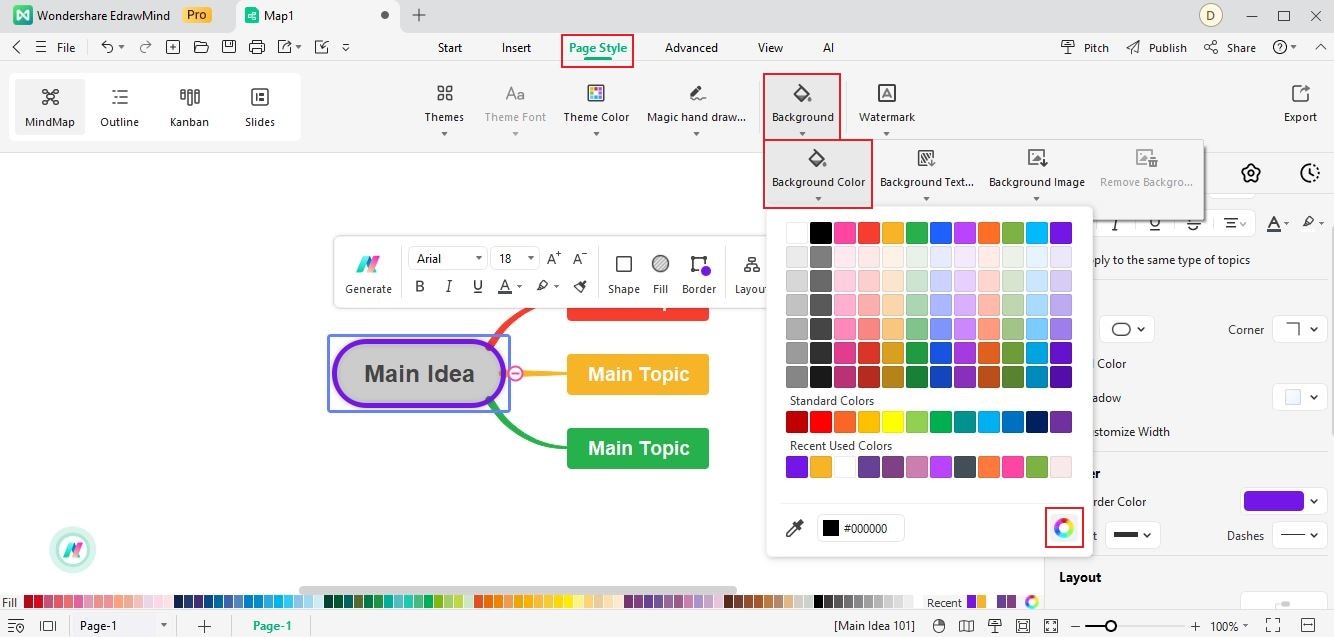
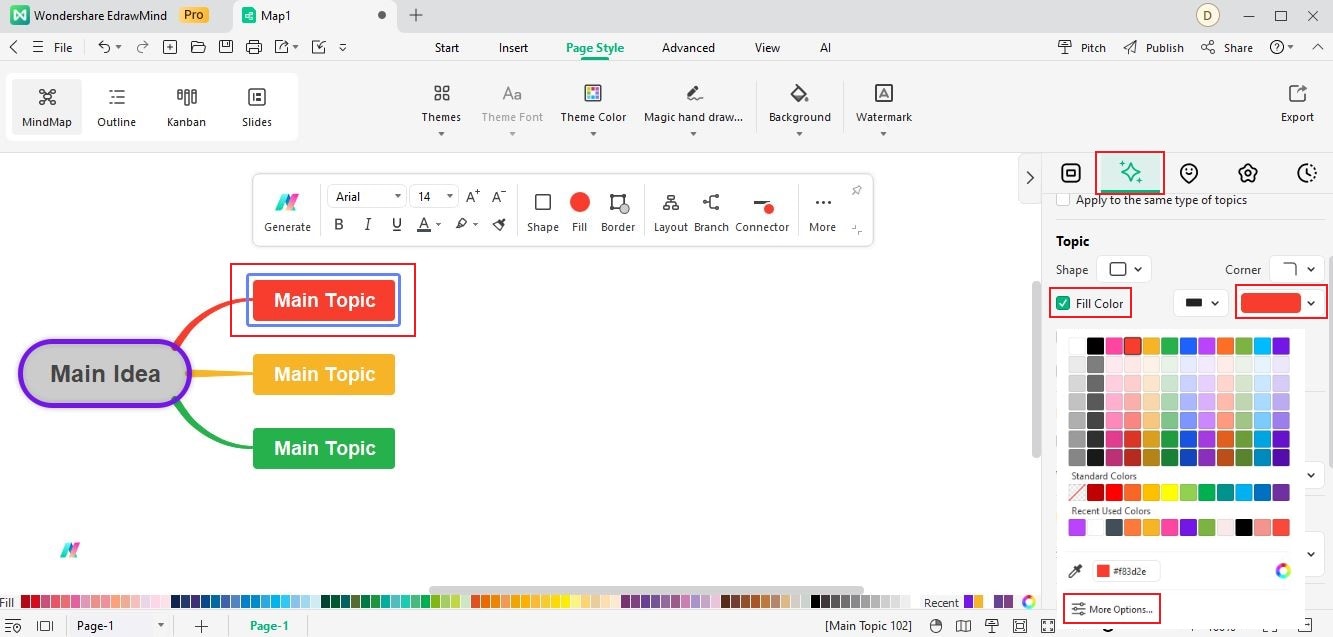
03 More Colors
It's possible to personalize your mind map. If you want to use a color other than the theme color or the standard color available, here are the steps.
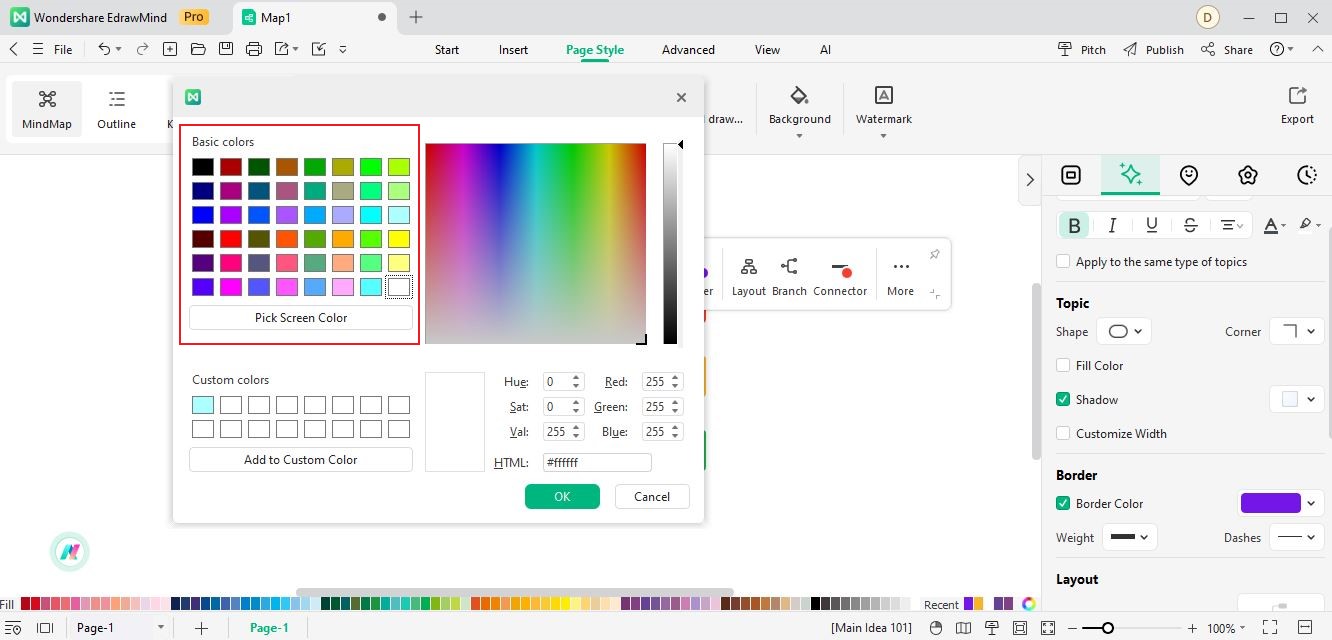
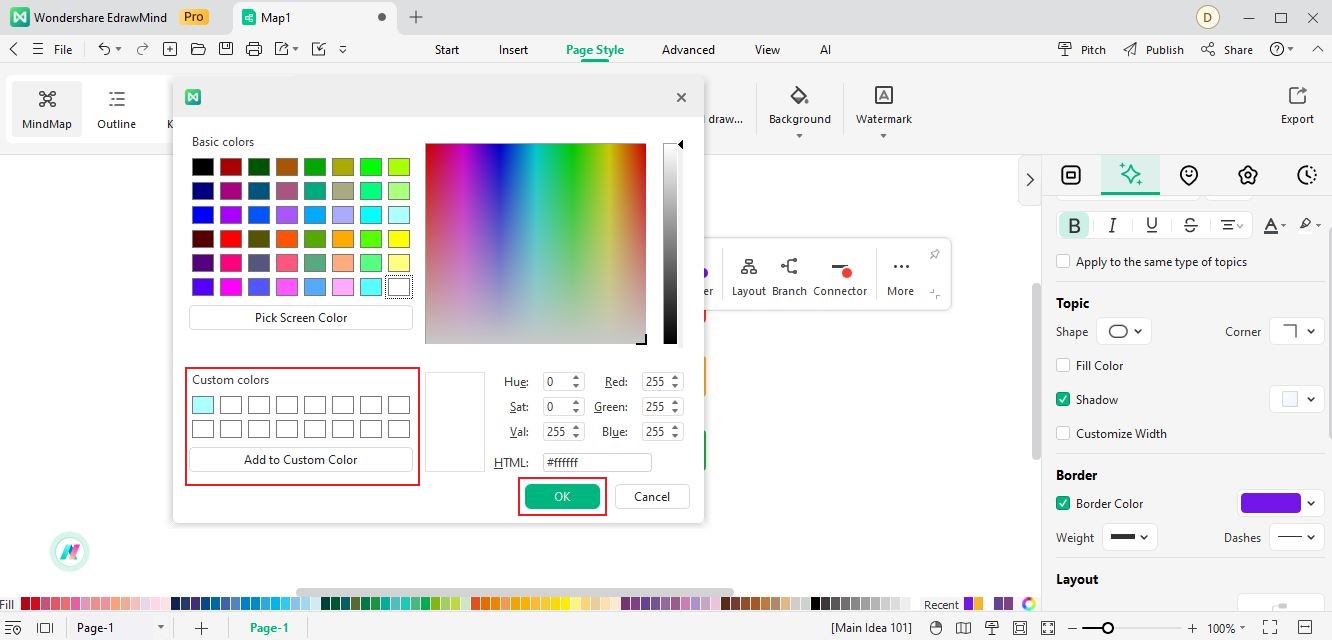
Note:
You can also directly save the chosen color by clicking Add to Custom Colors.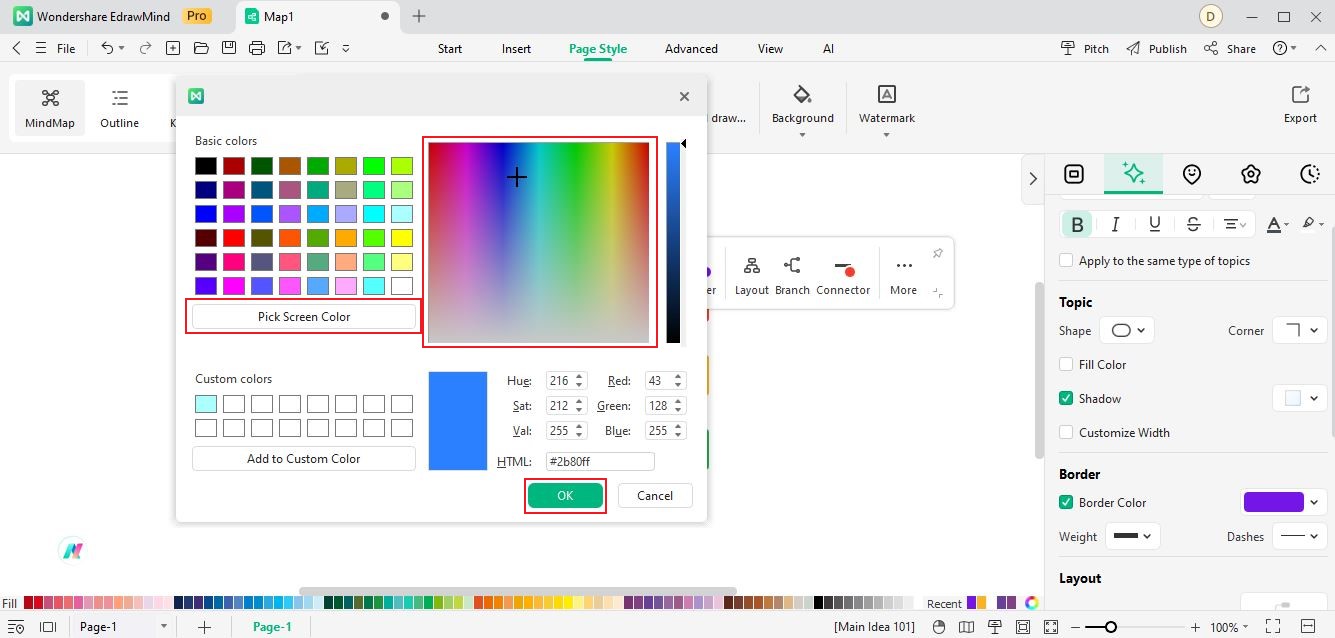
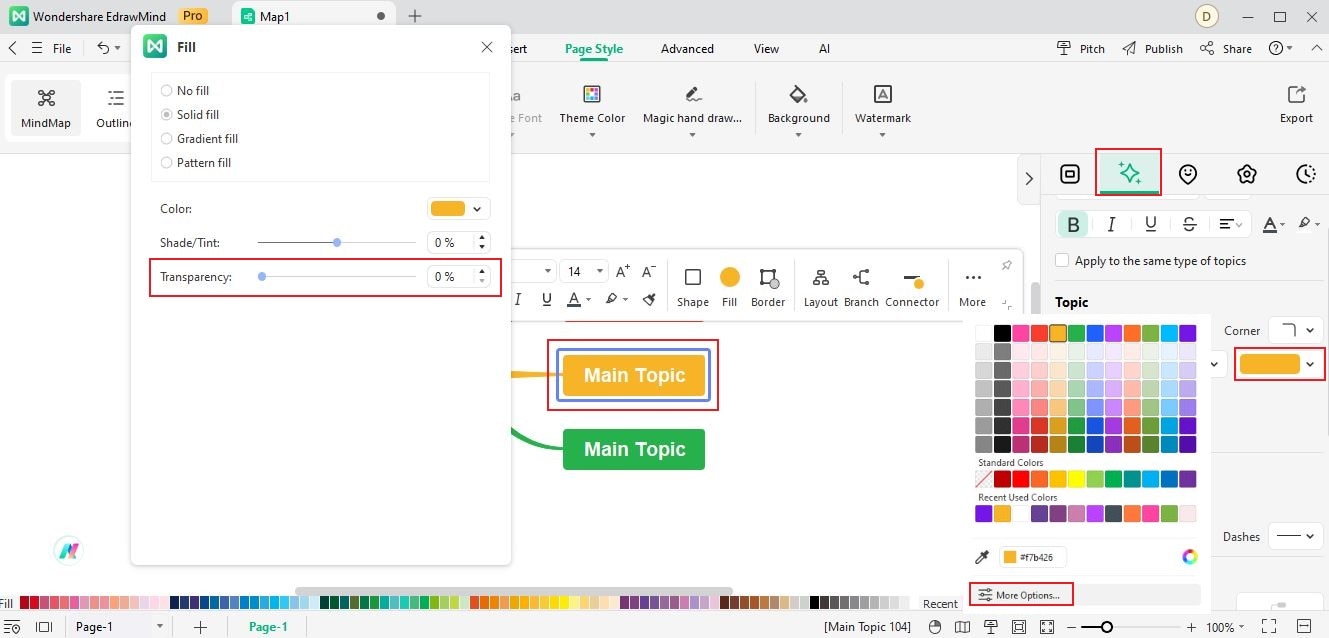
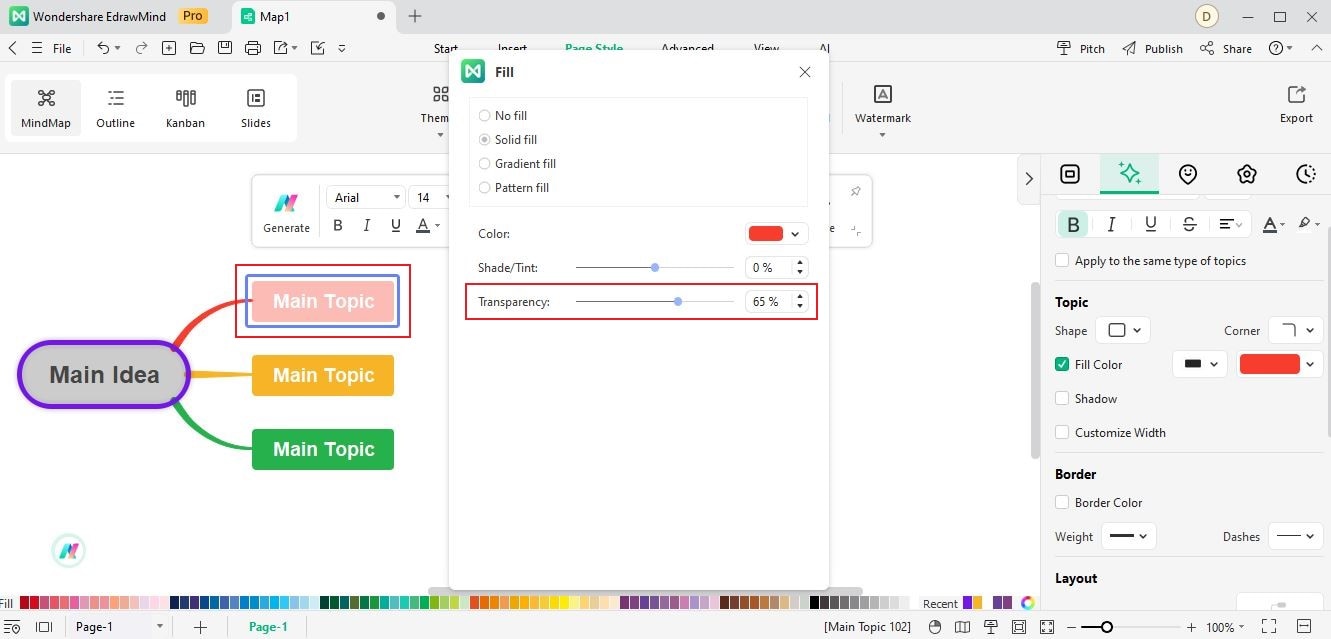
04 Transparency
It's possible to set your theme Transparency to personalize your map. Here's how.
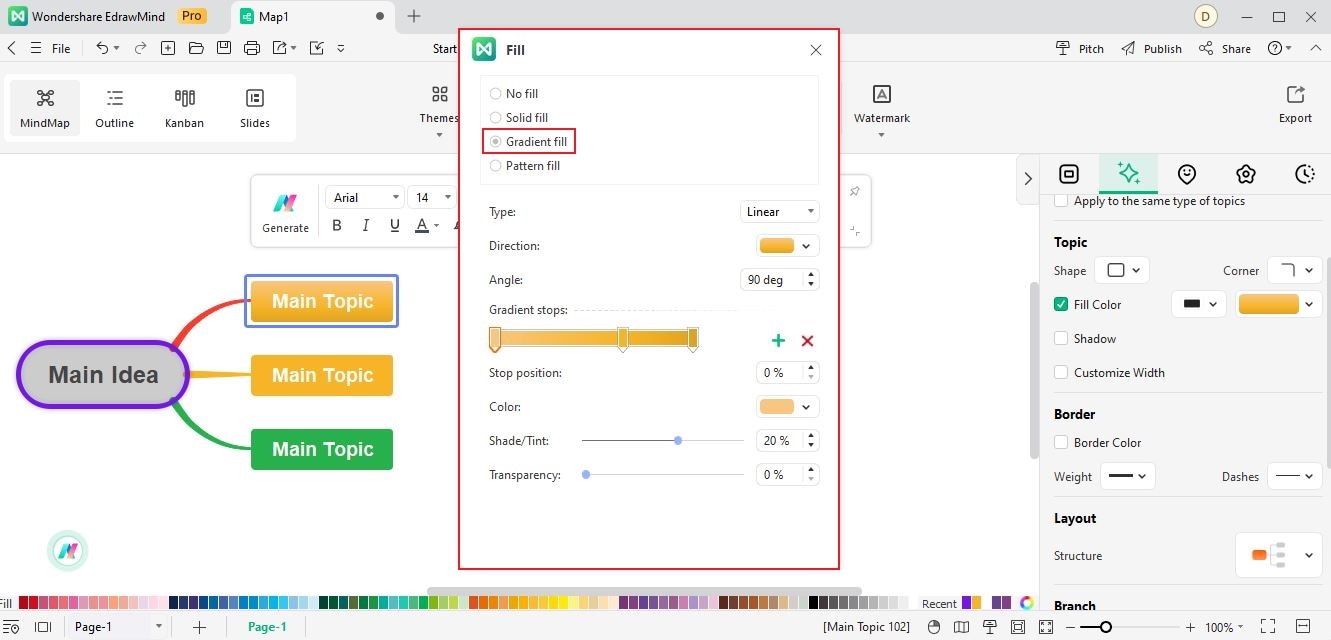
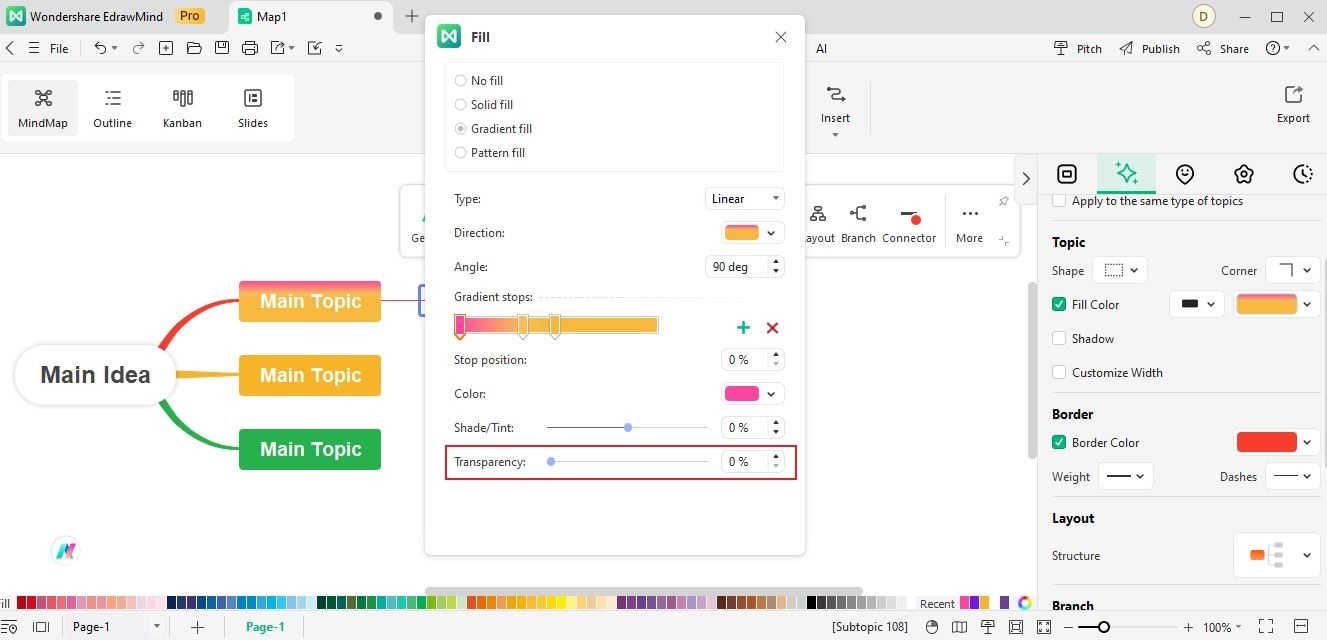
05 Gradient Fill
The gradient fill feature by EdrawMind makes your mind maps more colorful and attractive. Here are the steps to add a gradient fill on your mind map.
Note:
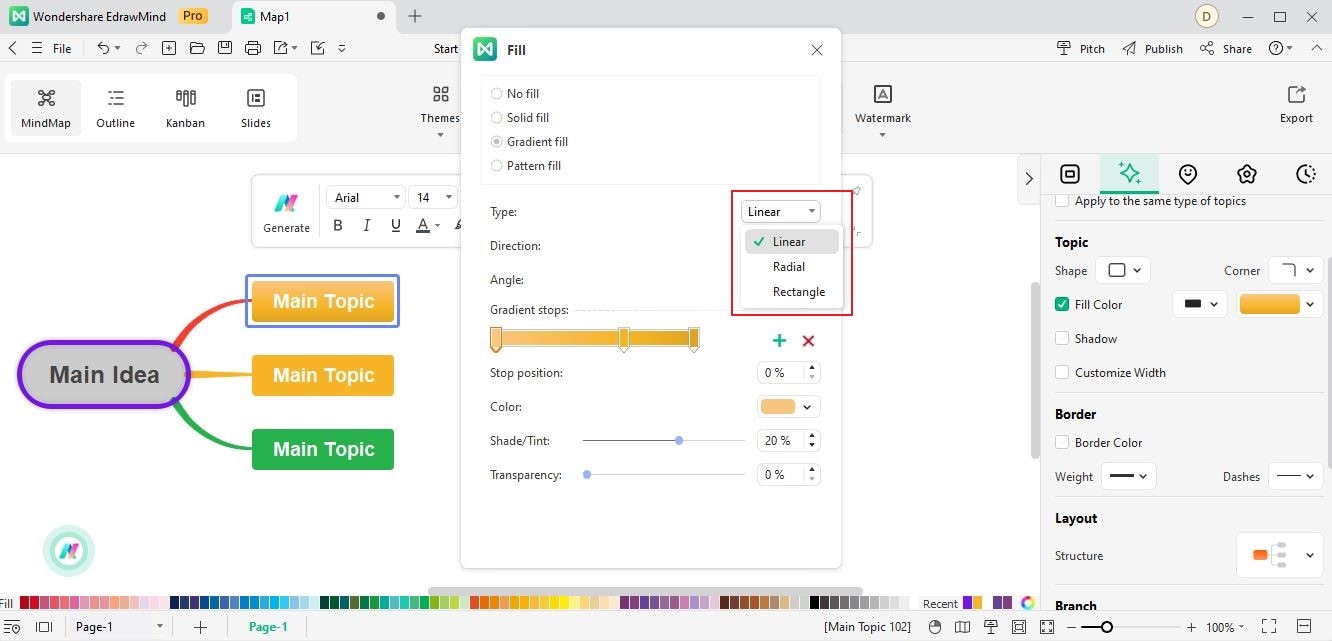
Applying Gradient Fill gradually increases your theme's color and tone. From light to dark or from dark to light, there's a slow transition from one color to another. It can also transition from one color to another shade of color.Select a gradient type from the Type drop-down list to specify the direction of the color gradient fill. Next, choose from the Linear, Radial, and Rectangle types that determine your preferred styles.
The available directions will depend on your selected gradient type. To choose a gradient direction for colors and shades, click Direction. Afterward, determine the appropriate direction effect.

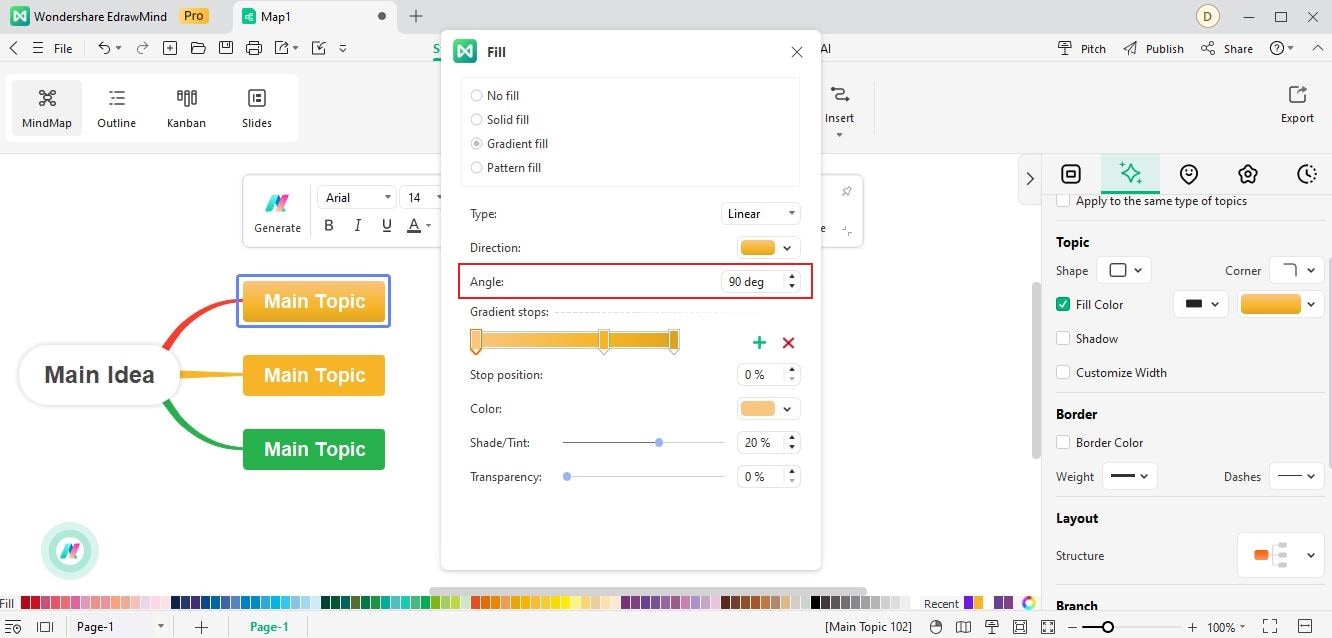
The angle of your shape gradient fill is rotatable. However, this option is available only when the Linear type is selected. Enter a suitable degree value in the dialog box to specify the angle.
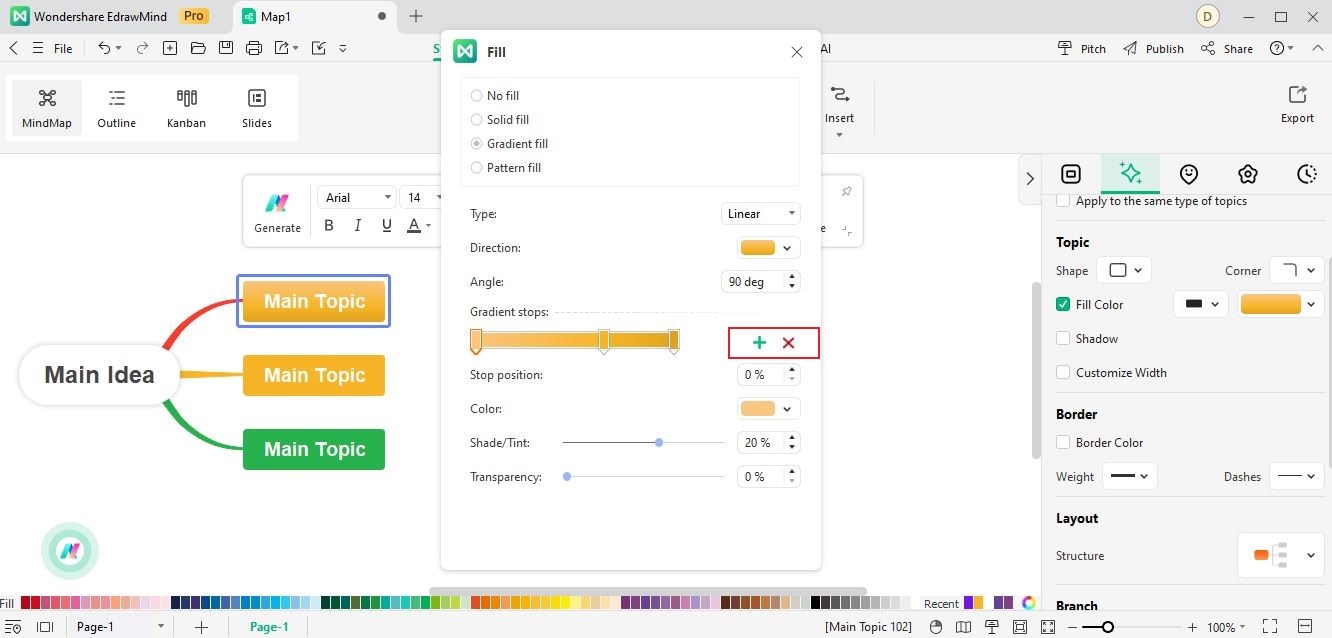
If you want to create a gradient that only appears at the corners of a shape, you need to use a slider on Gradient Stop to make the gradient non-linear. To add a slider, click the + green plus sign or directly click the bar below Gradient stops. Meanwhile, you can click X, the red cross sign, to delete a slider.
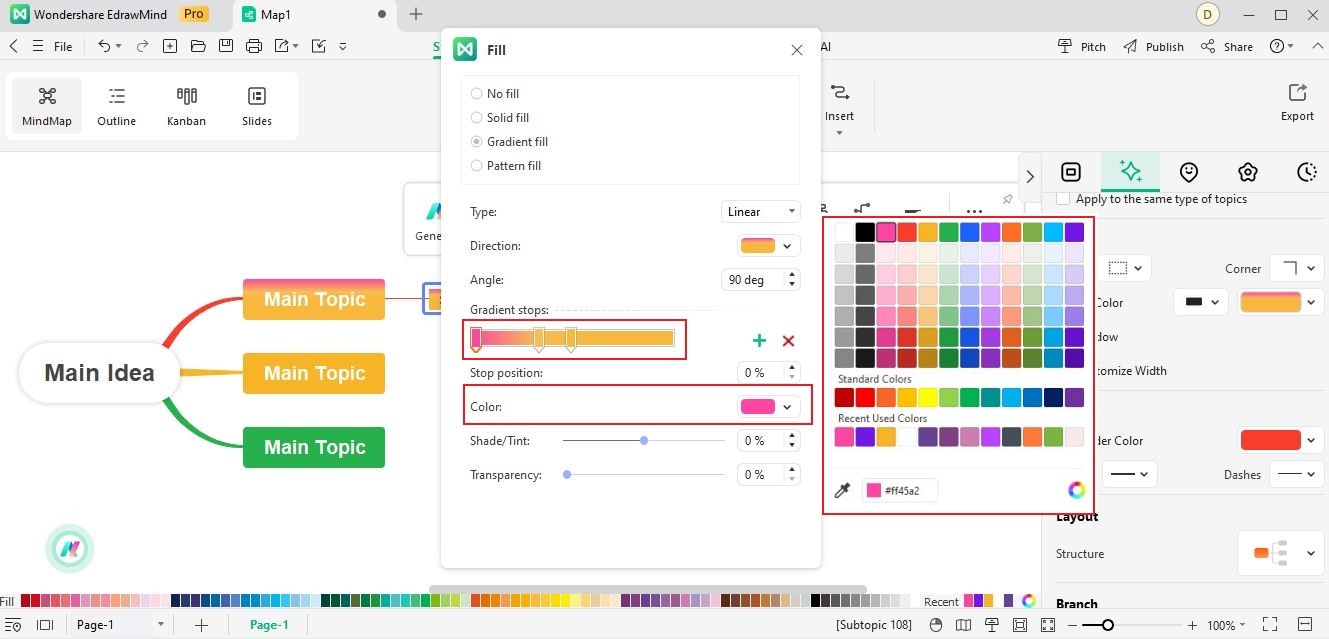
Tip: The Gradient stops bar describes the position and color of transition points in a gradient. It has the elements like position, color, shade/Tint, and transparency values. The transparency value applies to the gradient stops, not the overall fill. The gradient stops can create the non-linear gradient effect. If you want to create a gradient stop from various colors (nine maximum), you'll need to select the stops one by one and choose their colors in the drop-down palette next to Color.
Move the sliders on the Gradient stops bar to set the position where the color and transparency change in the gradient fill. Alternatively, you can enter a number representing the position in the Stop Position box below the slider. Using the up and down arrows, you can also increase or decrease the position.

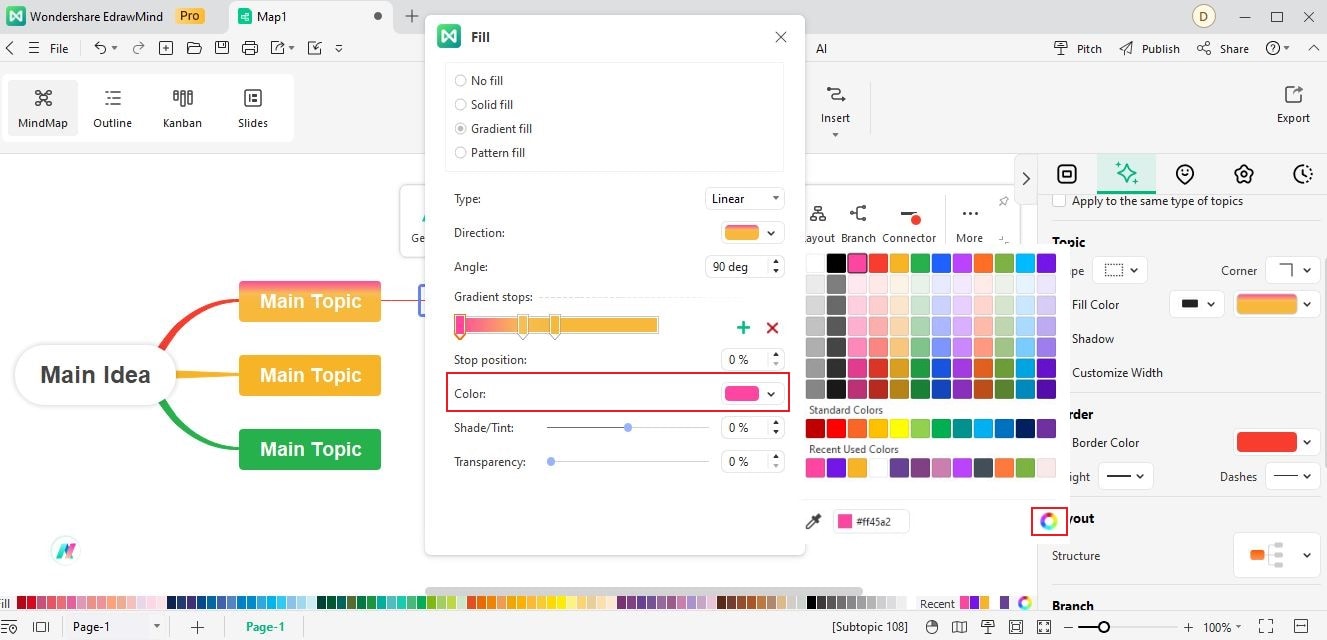
To set the color of the stop point of a particular gradient, select a slider and click Color. You can click More Colors for a wider range of options.
You can set the Transparency by moving the slider, inputting numerical values, or using the up and down arrows.
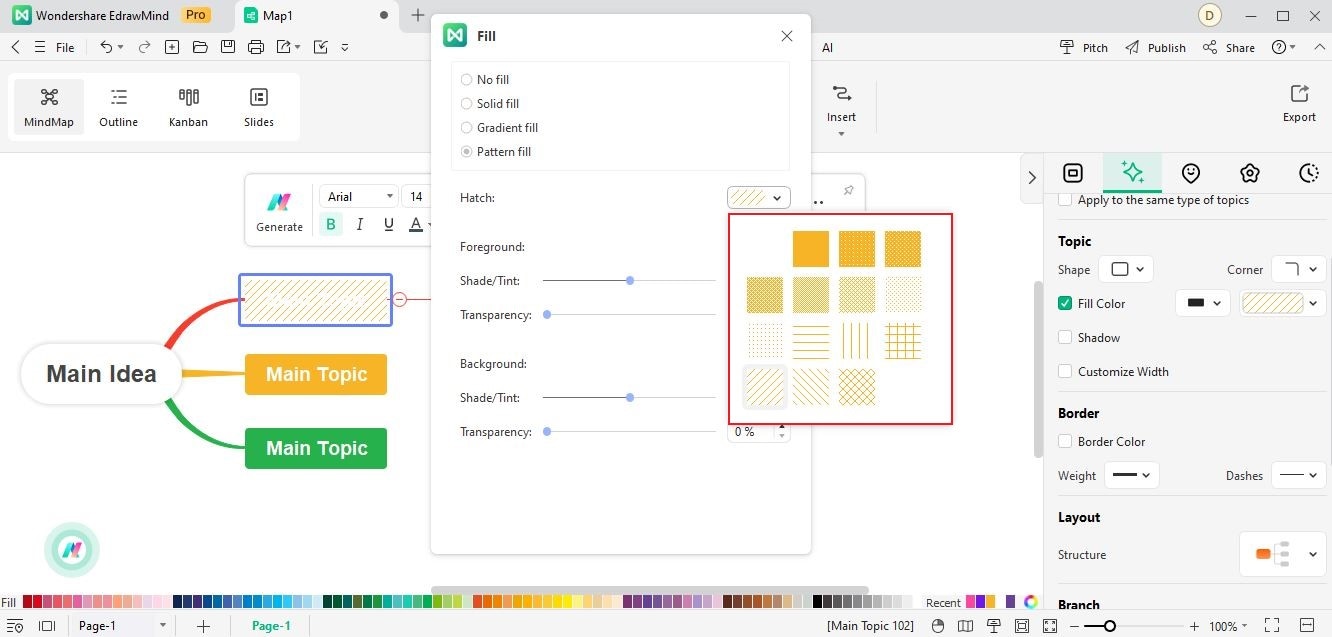
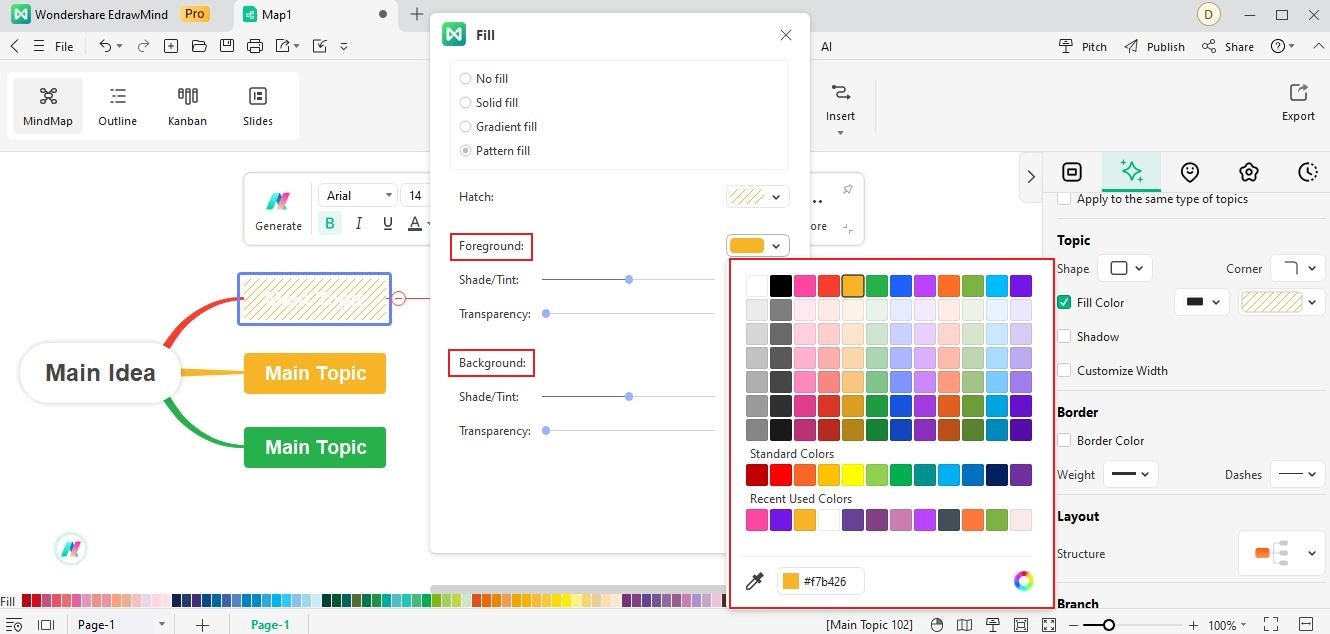
06 Pattern Fill
Here are the steps to add a Pattern Fill on your maps.