Start with EdrawMind Mobile Guide
EdrawMind lets you create timelines effortlessly on your phone. No matter what you’re tracking, historical events, project milestones, or personal goals, this app can help. Follow the steps below to make a timeline:
Step 01 Create a New Timeline
You can start a new timeline using one of these methods:
Method 1: Use a Template
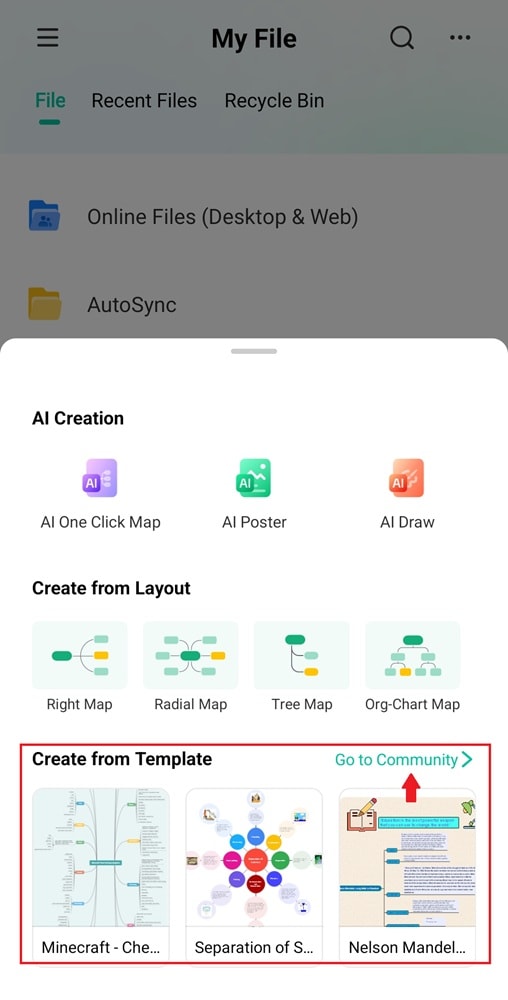
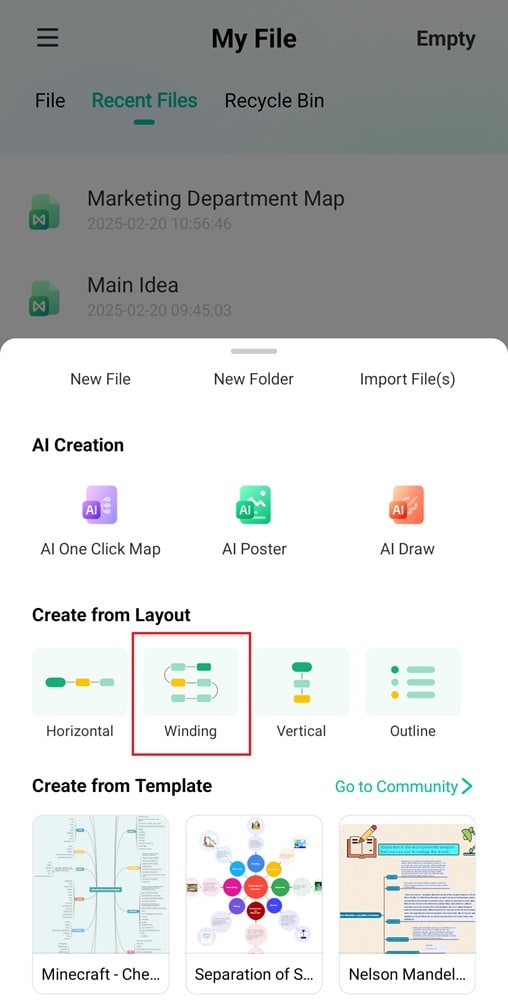
- Tap the + button in the bottom right corner of the screen.
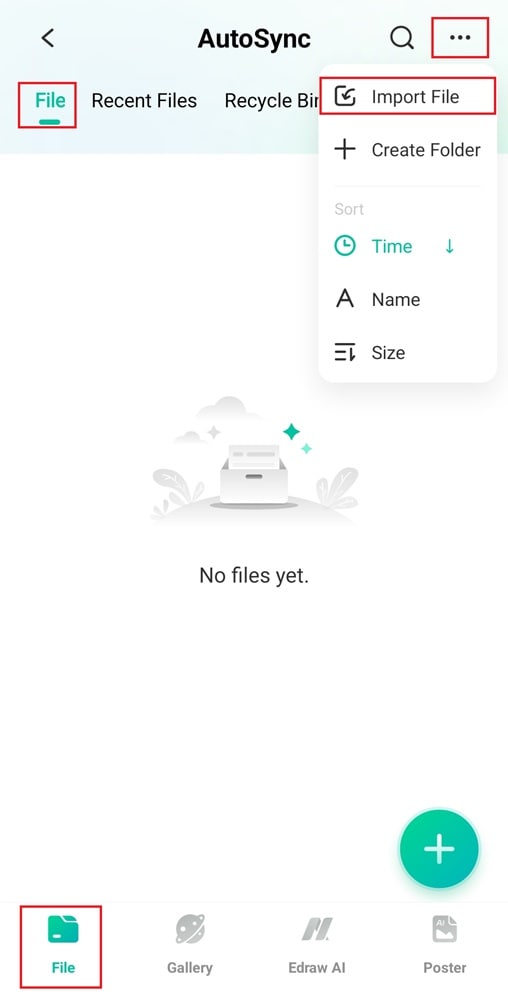
- Scroll to the Create from Template section and tap Go to Community.
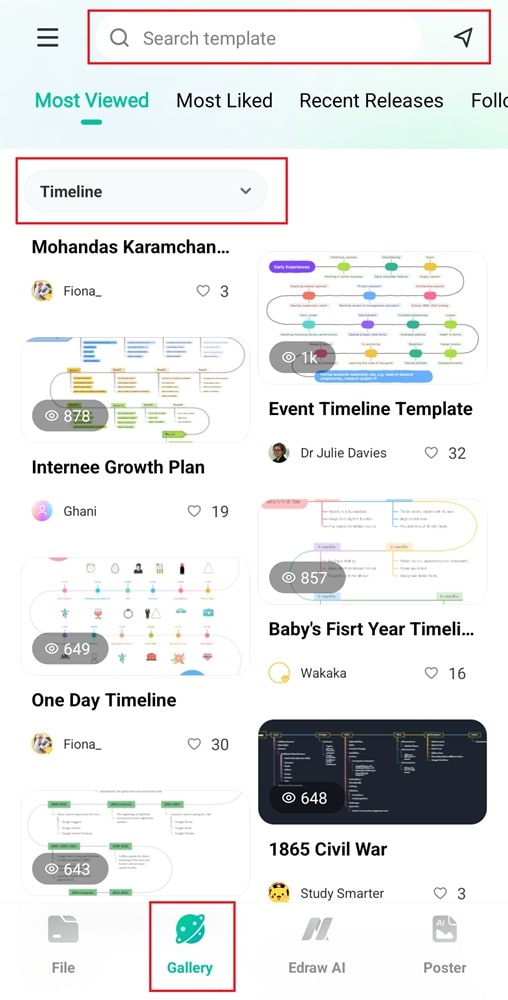
- Alternatively, open the Gallery tab at the bottom menu and filter the results for timeline templates.
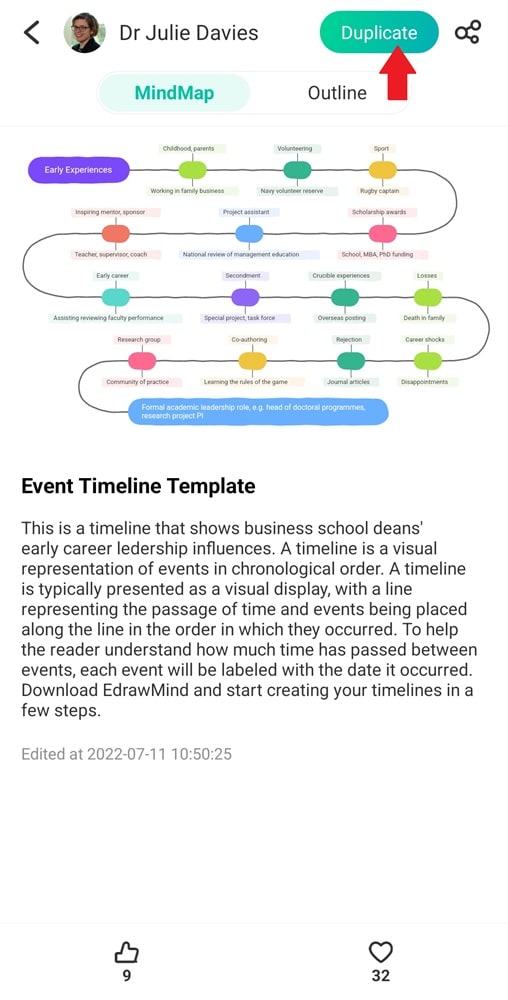
- Select a template to preview it, then tap Duplicate to edit and personalize.
Method 2: Start from a Blank Layout
Tap the + button at the bottom right of your screen. Next, the blank layout options are in the Create from Layout section. Swipe left to see more options and select one like Winding.
Step 02 Add Events and Milestones
- Tap the Topic icon in the lower right corner to add an event to the timeline, then zoom in for a detailed view.
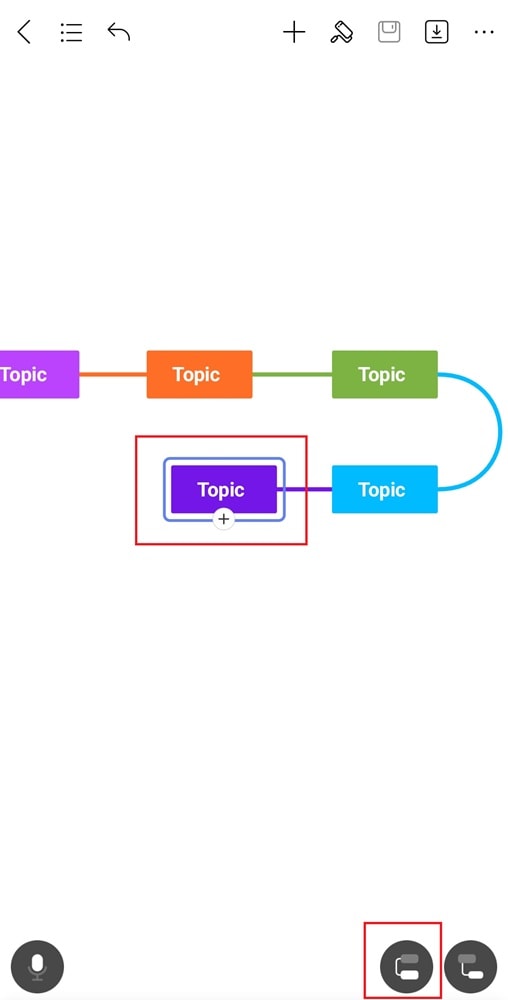
- Select a Topic, then tap the + icon below it or use the Subtopic icon to add more details about the event.
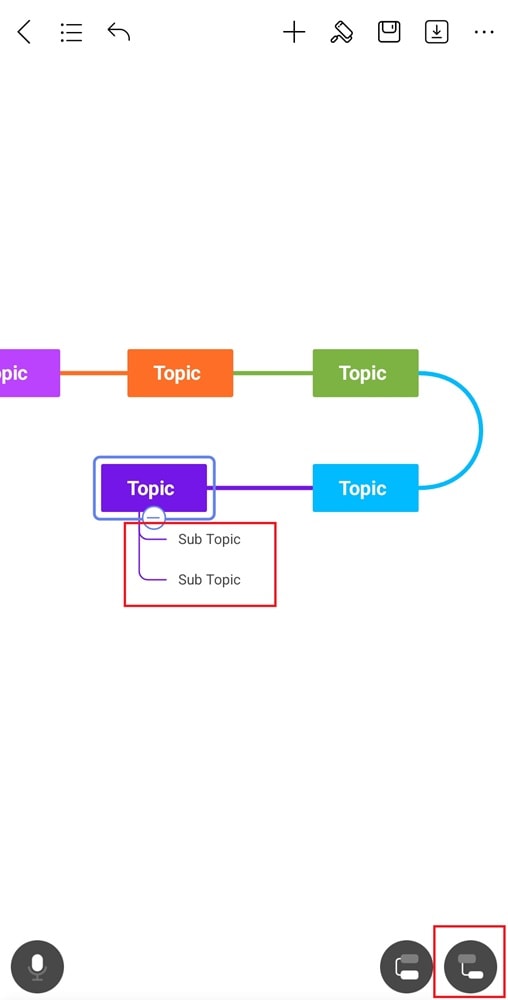
- Double-tap an event to edit its details, such as title, date, and description.
Step 03 Add Icons, Images, and Links
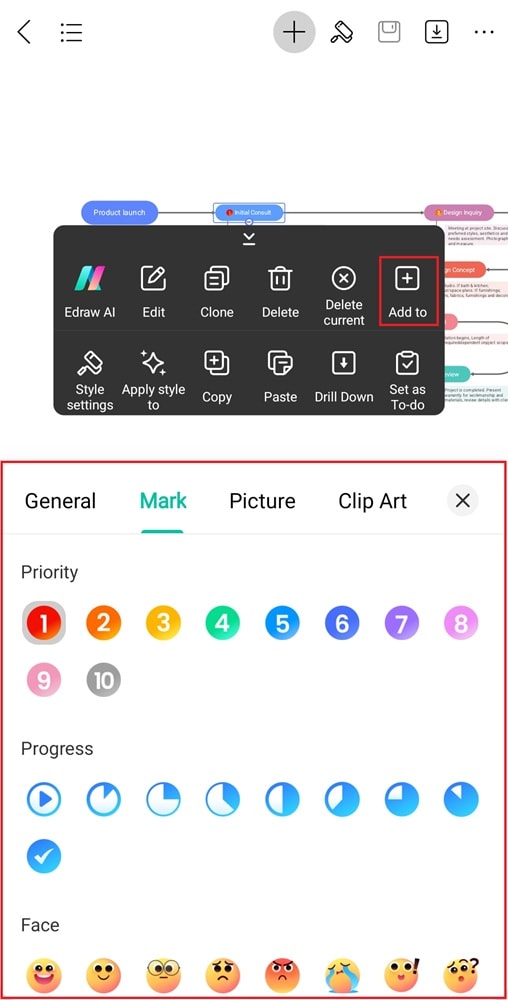
- Tap an event, then select Add to from the floating toolbar.
- Choose to add notes, comments, attachments, pictures, or symbols.
- You can also insert hyperlinks to connect related events or external resources.
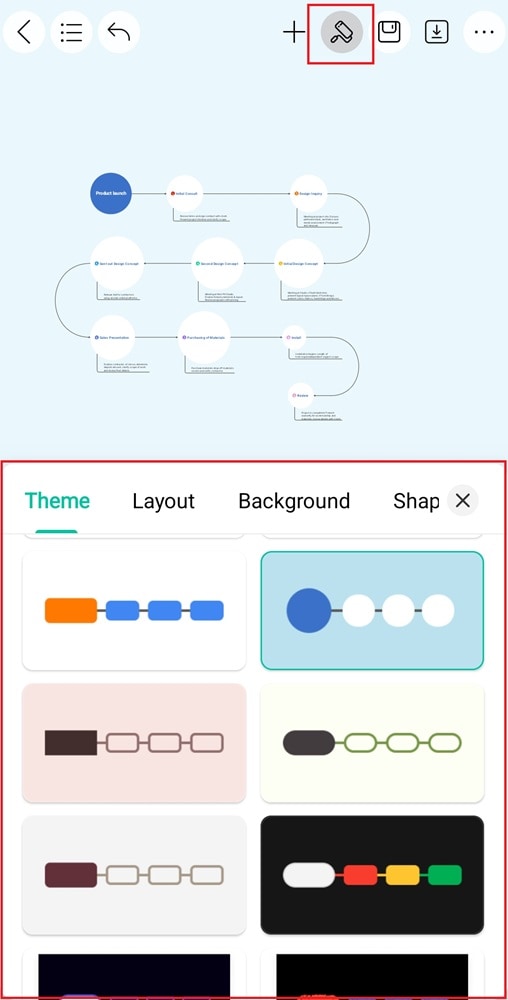
Step 04 Apply Themes and Layouts
- Tap the roller brush icon at the top right corner.
- Scroll down the Theme tab and choose from the available light and dark themes.
- Adjust the Layout, Background, and Shape settings for a polished look.
Step 05 Save and Share
After making the timeline, tap Save in the top right corner to store your timeline on EdrawMind. You can also export it in various formats, including images.