If you wish to understand events and milestones and need to create a diagram outlining all the details in chronological order, then you will require a timeline. Timelines help organize and present all the relevant information clearly and only present the progression of events over time.
Timelines are useful for project planning, and most professionals create them in PowerPoint for quick presentations. However, PowerPoint is predominantly a presentation tool, and if you create a timeline in PowerPoint, you will find that there are a few major instances where it lacks customization or support.
In this article
Part 1: How to Manually Make a Timeline in PowerPoint?
Check out the step-by-step guide to creating a timeline in PowerPoint:
Step 1: Create a Basic Timeline Graphic
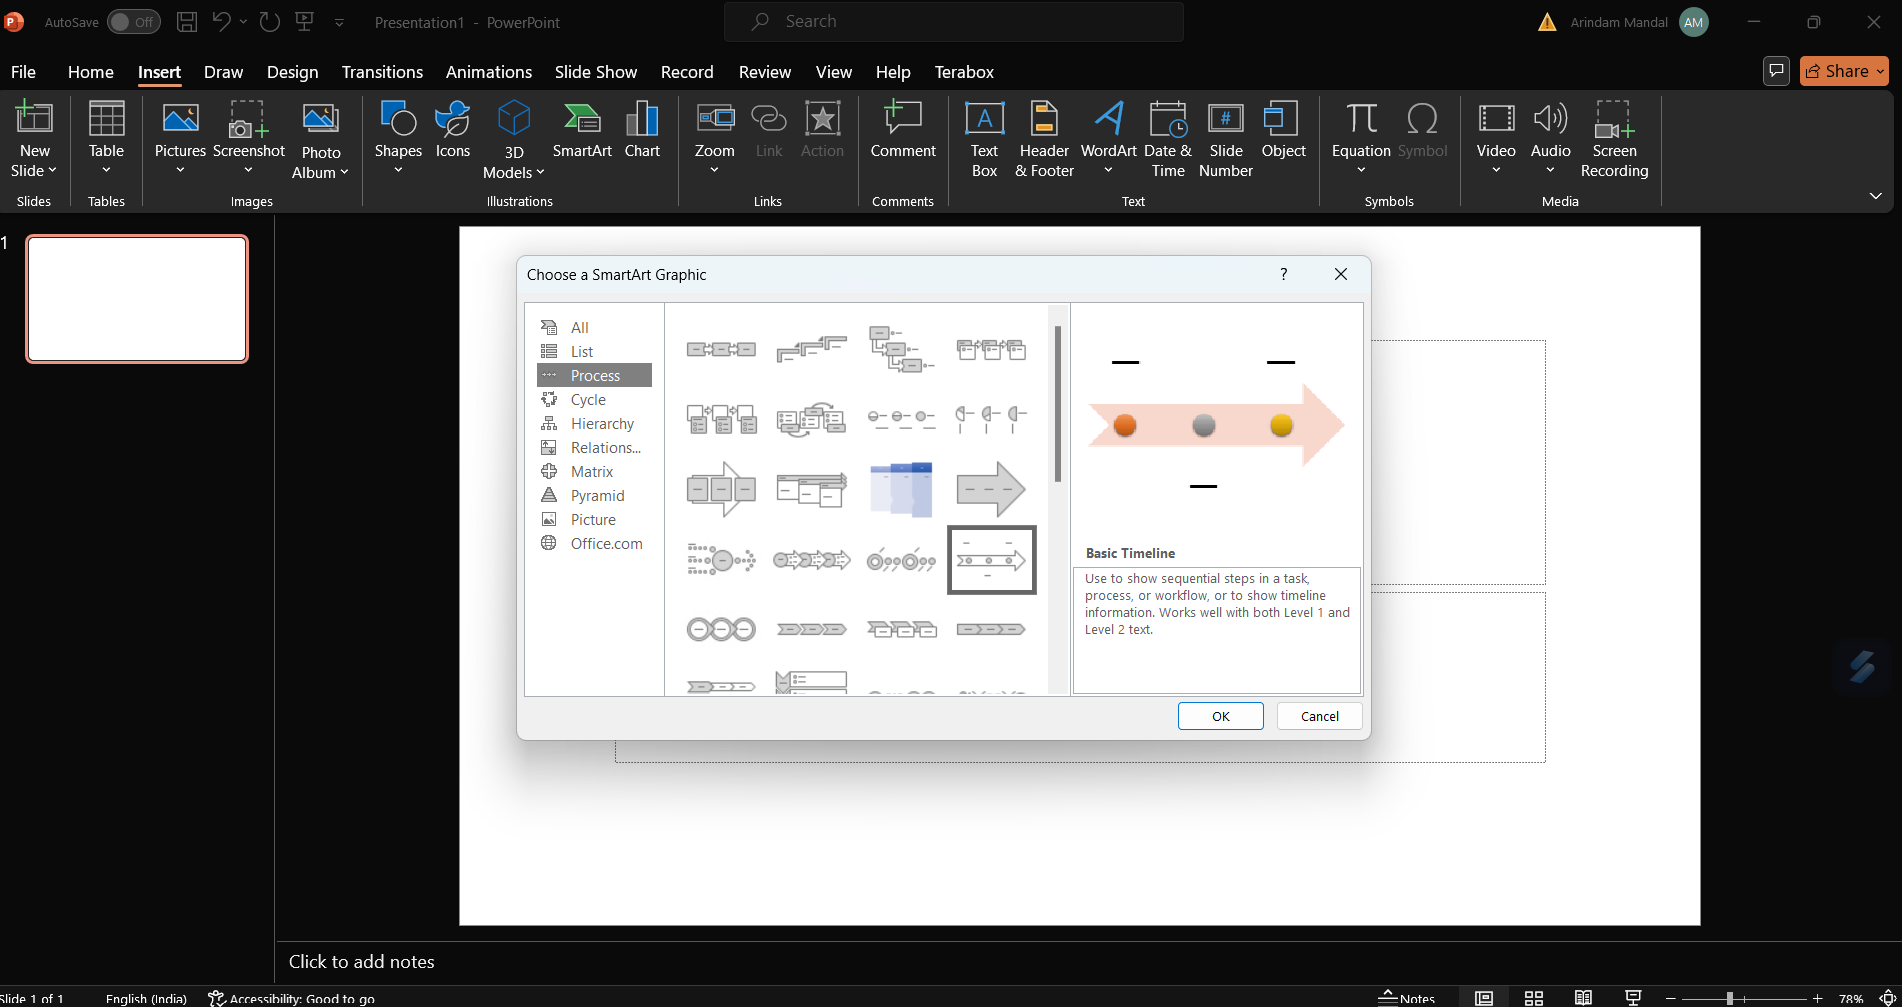
Start by launching PowerPoint on your Windows or macOS. Followed by inserting a new blank slide, go to the 'Insert' tab > click 'SmartArt,' and select 'Process.' From this pop-up, choose 'Basic Timeline.'
Step 2: Add Your Data
Click on the dummy text to open the 'Text Pane,' where you can input milestone dates and descriptions.
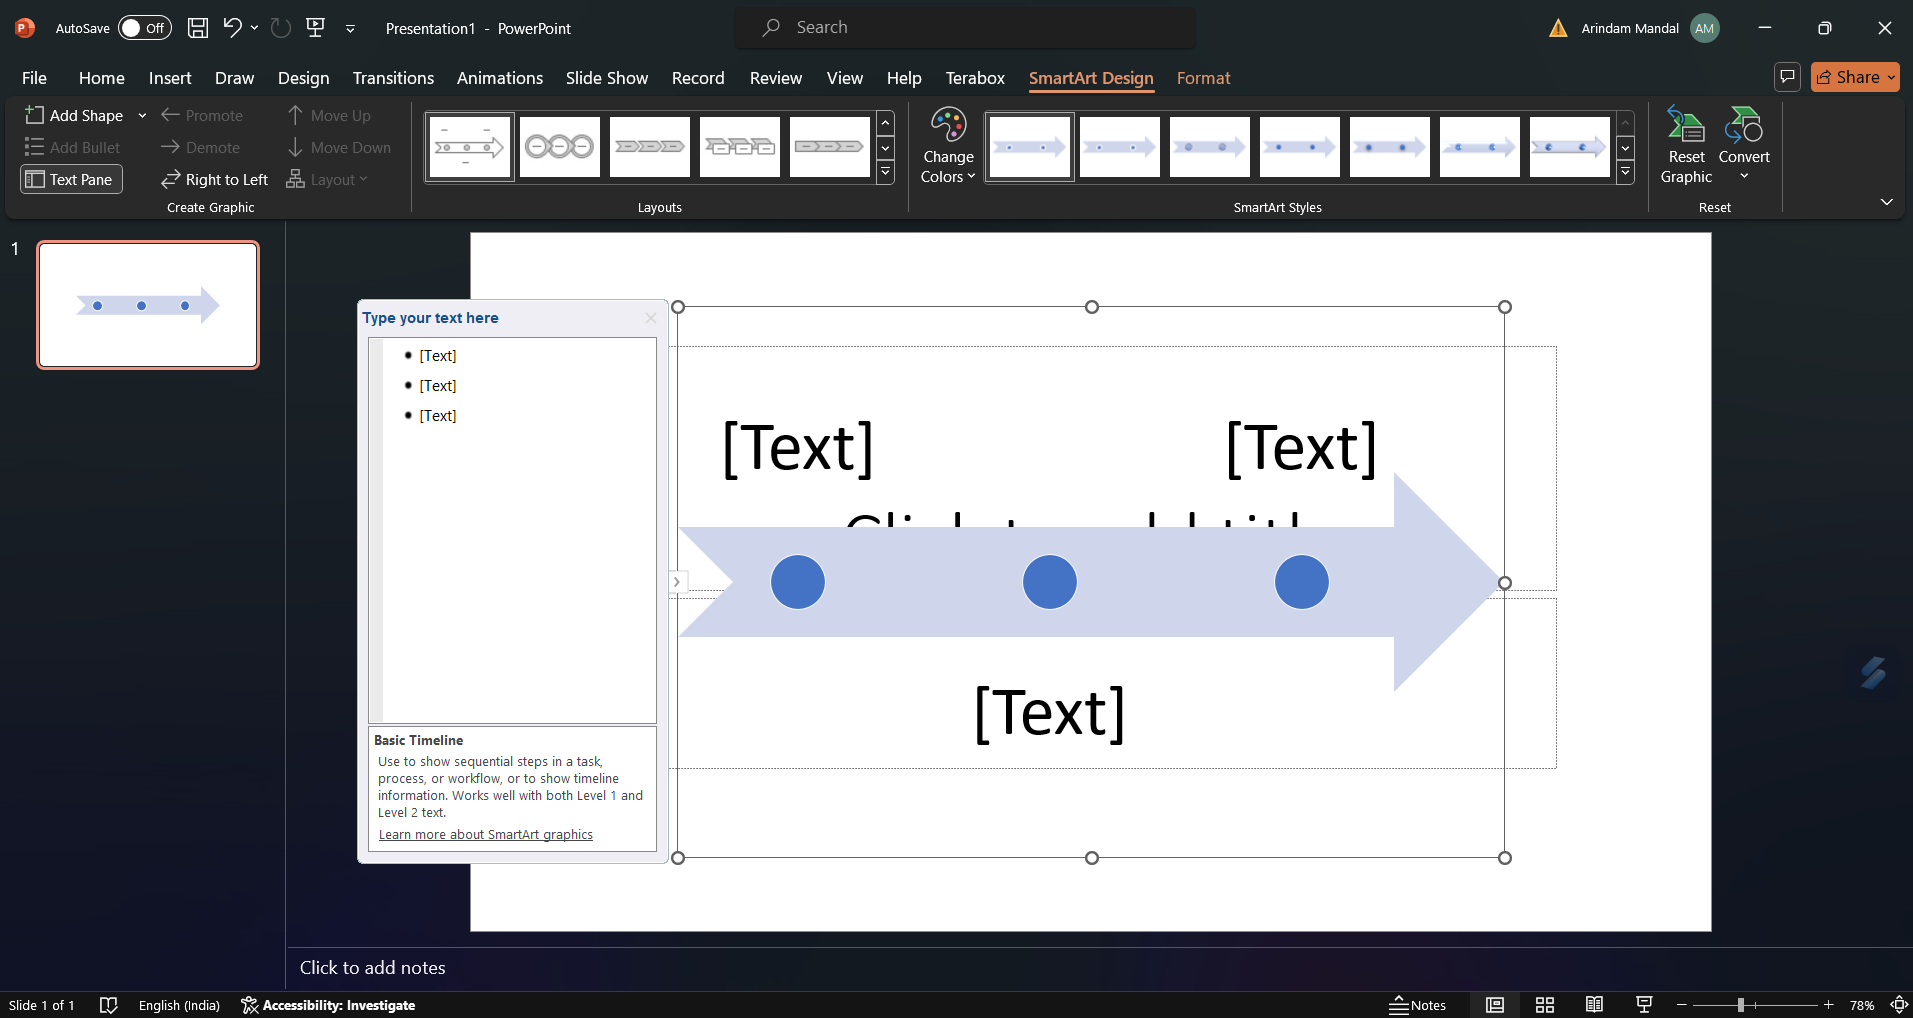
Tip: Use Shift + Enter for line breaks within milestones.
Step 3: Adjust Milestone Positions
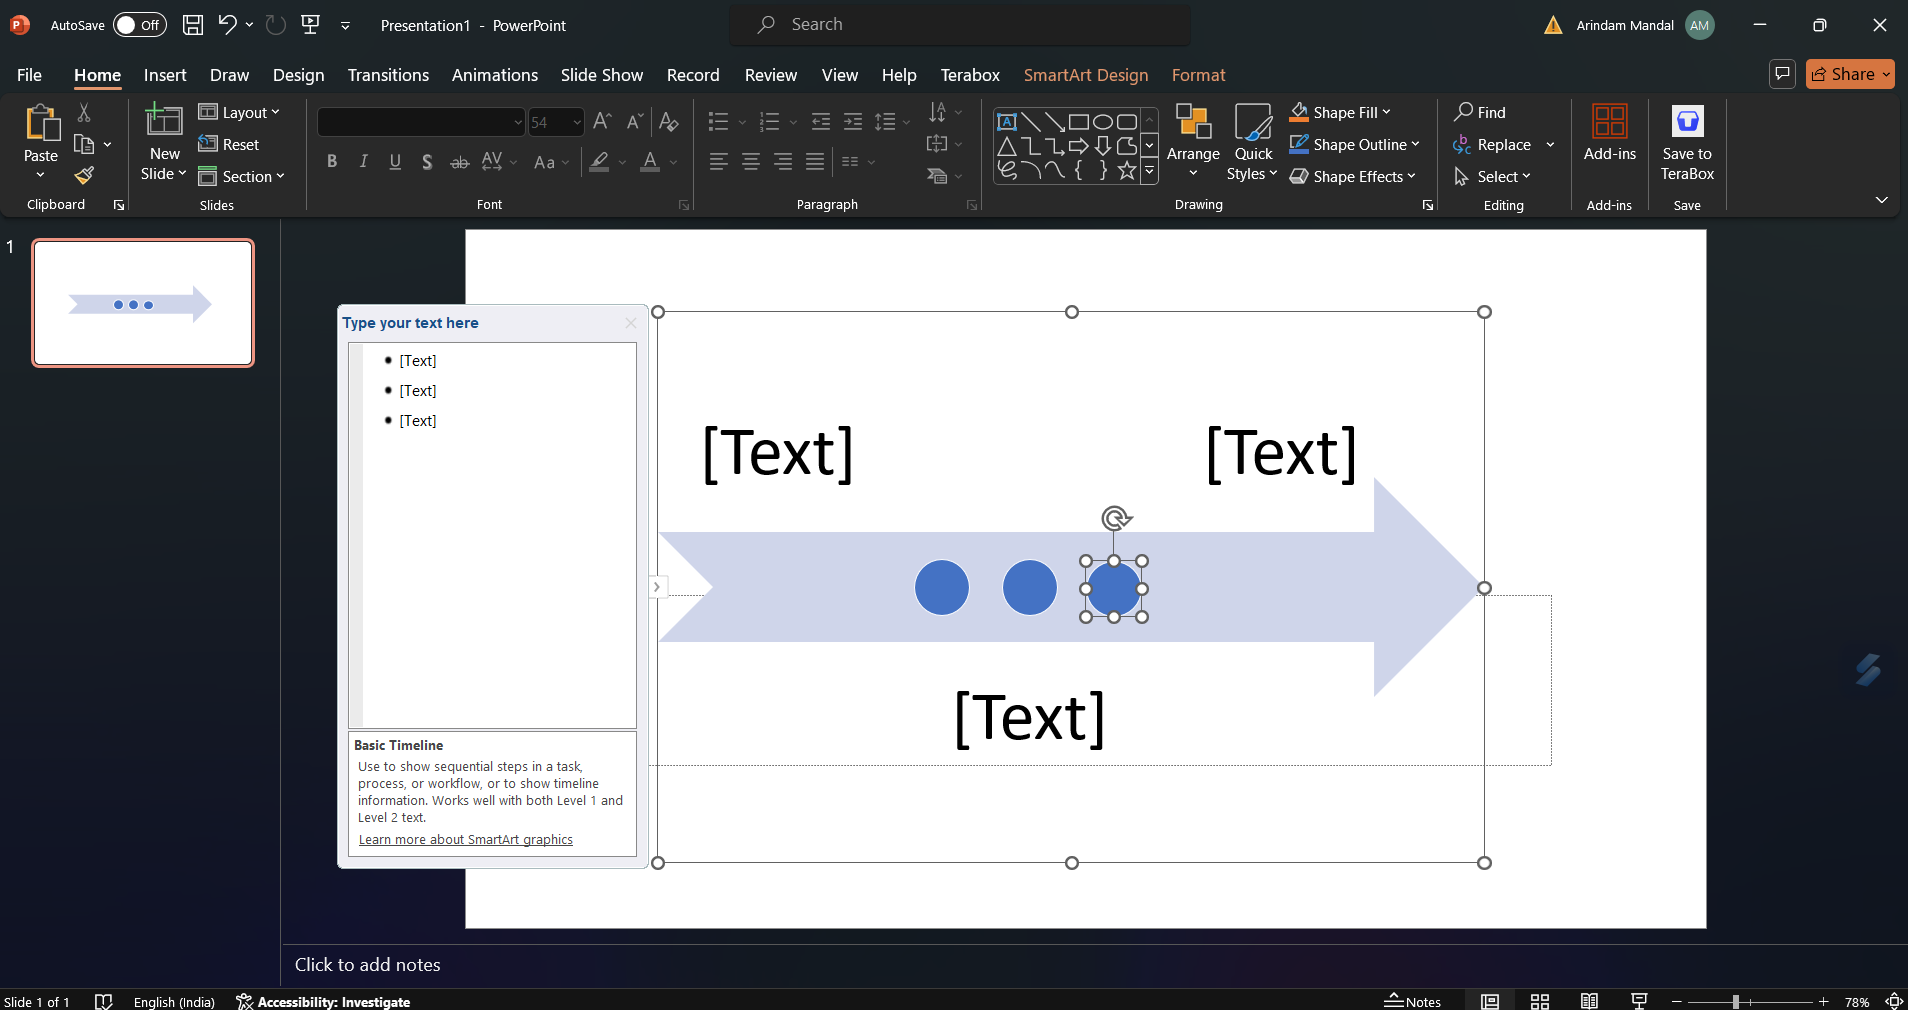
Milestones are placed equidistantly by default. You can manually drag these milestones closer or farther apart, which would help you reflect the actual dates of the events that you need to add.
Step 4: Customize Your Timeline
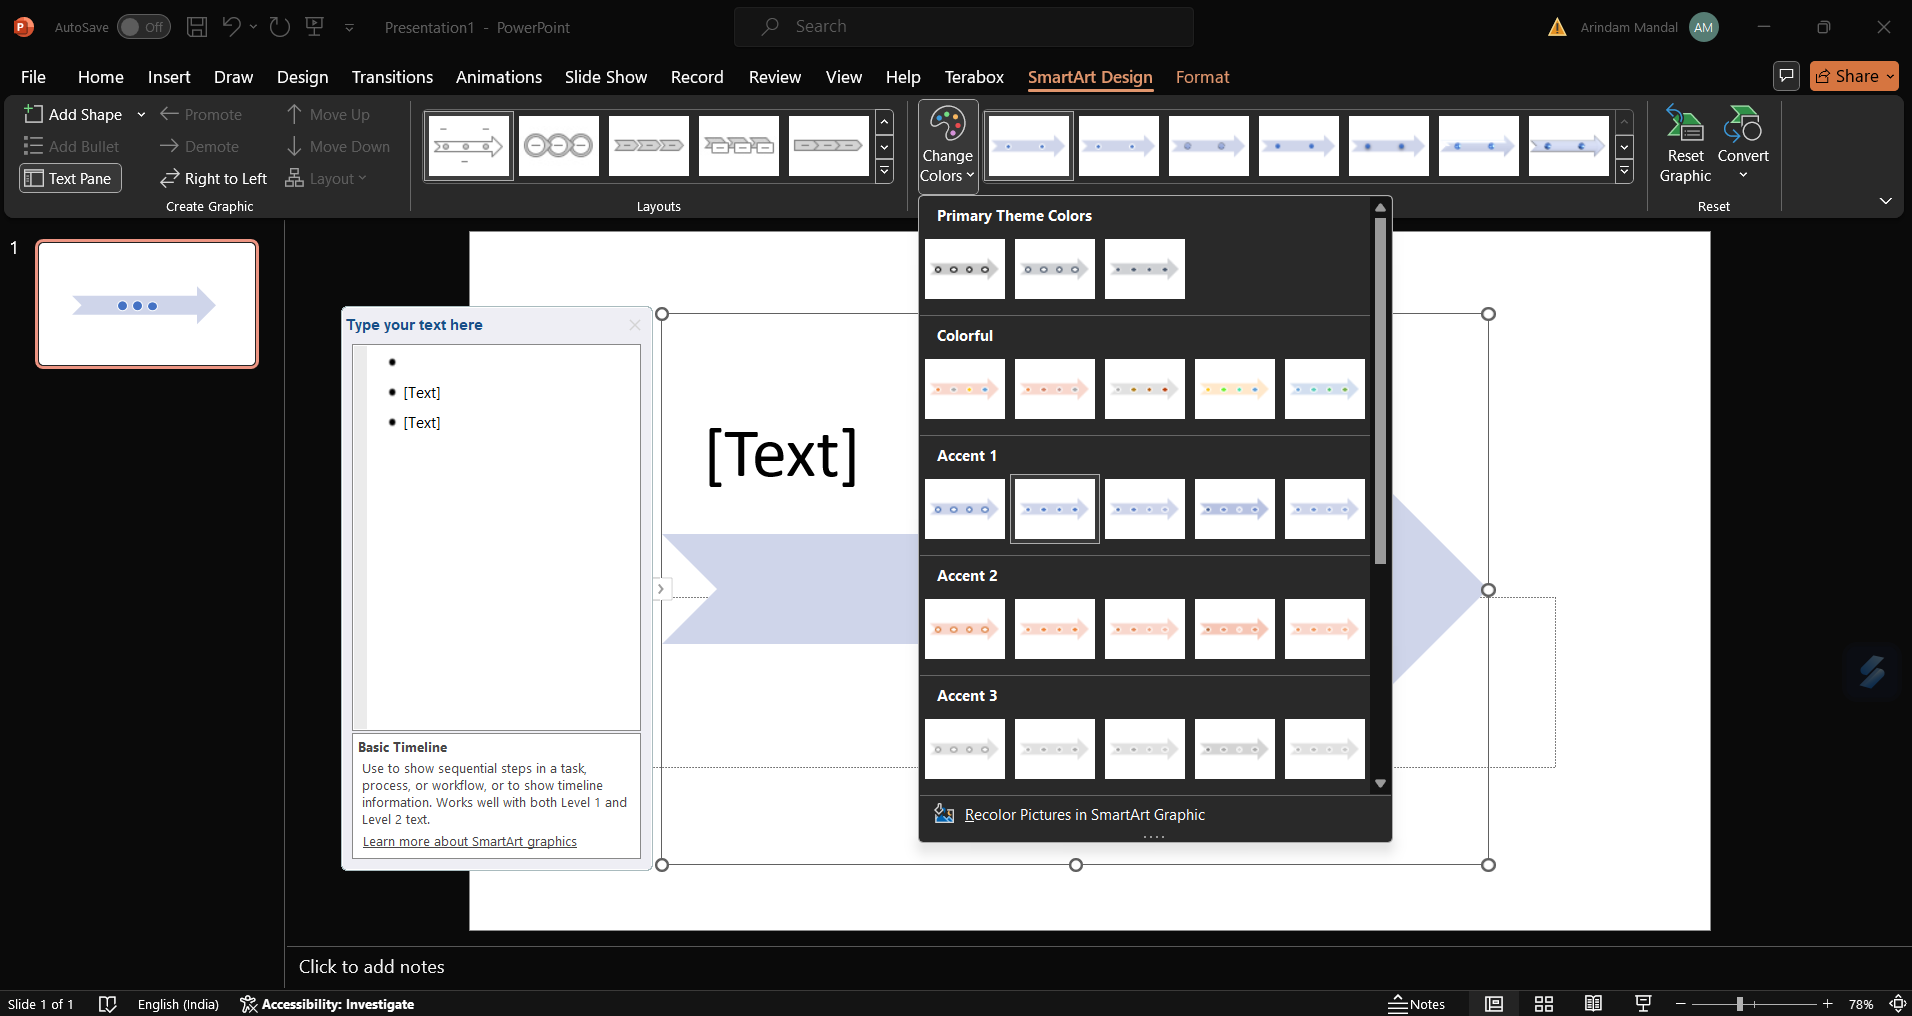
You can use PowerPoint's 'SmartArt Design' tab to change colors and styles. You can also select objects by right-clicking them to access more formatting options, such as Shape Fill and Font Color.
Step 5: Refine the Layout
Use your mouse to drag the arrow's width and move milestone shapes for better alignment. While refining the layout, position descriptions close to their corresponding milestones to ensure that the timeline is easy to follow.
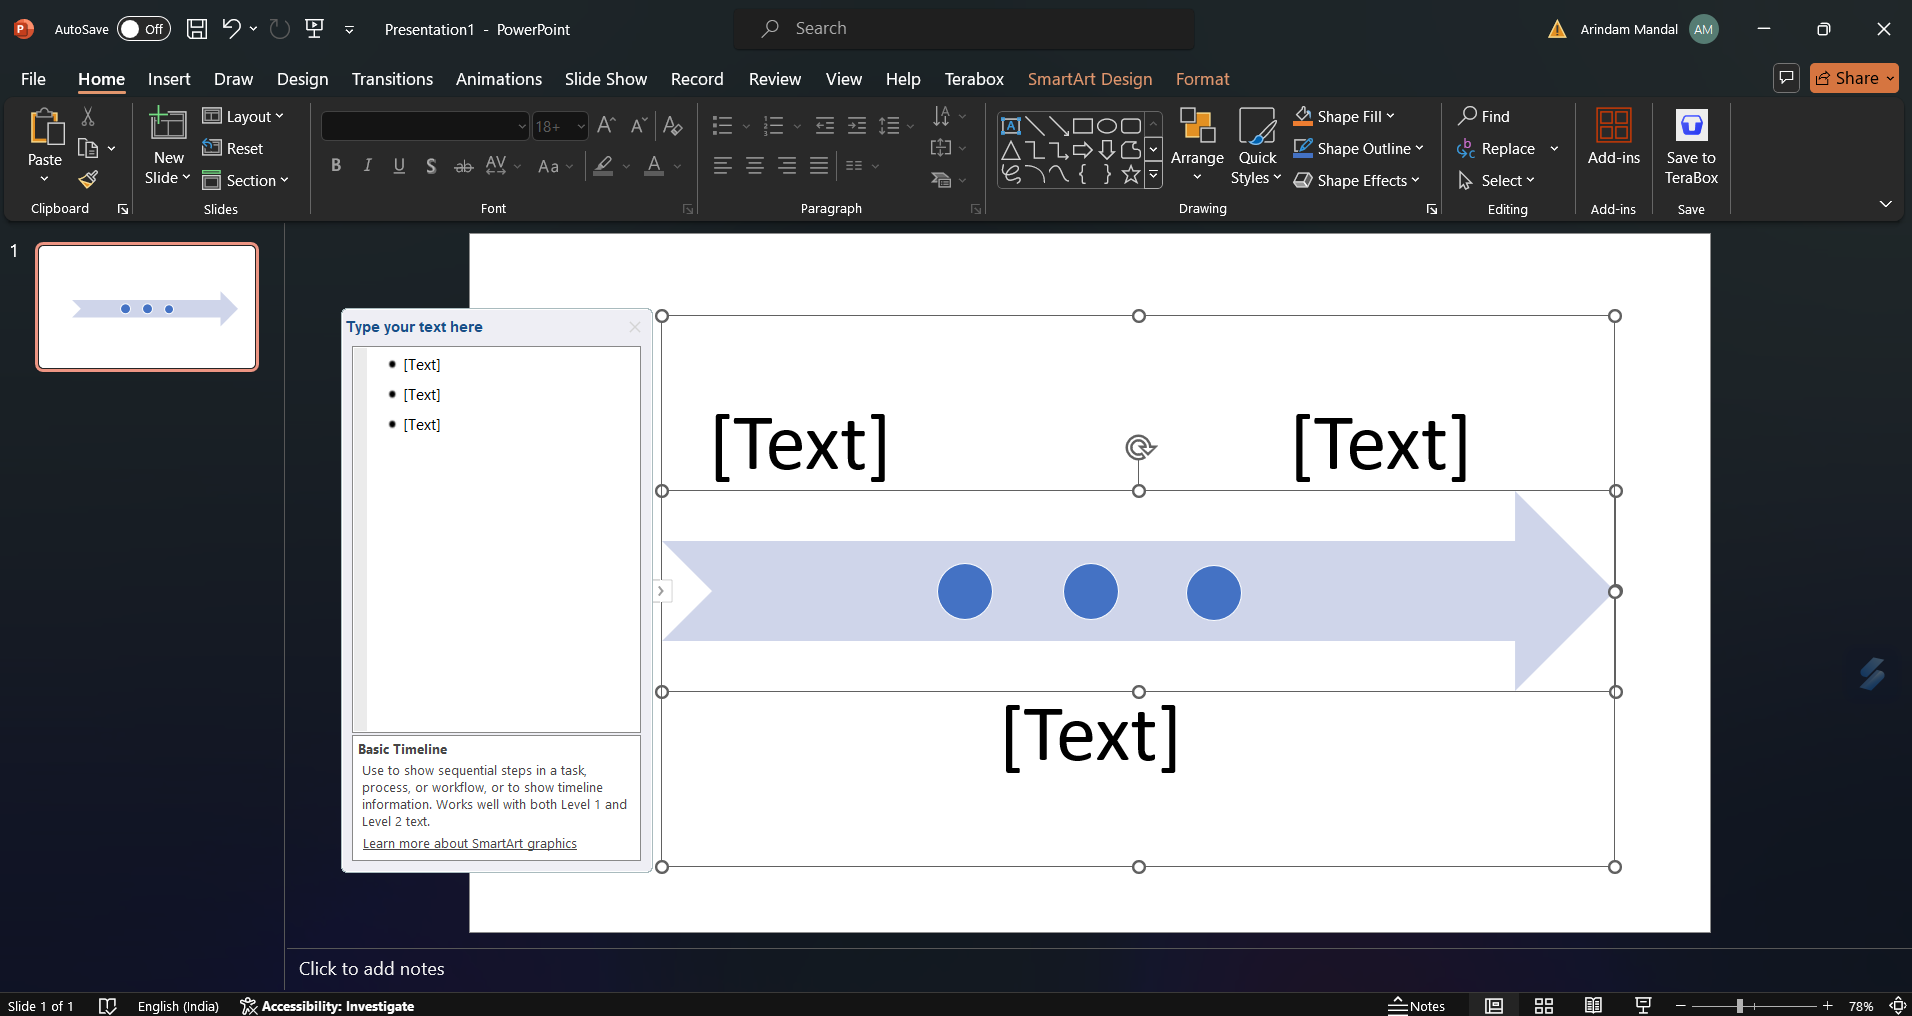
Step 6: Enhance Visual Appeal
You can even improve the visual elements of your timeline by resizing or changing milestone shapes using the 'Format' tab.
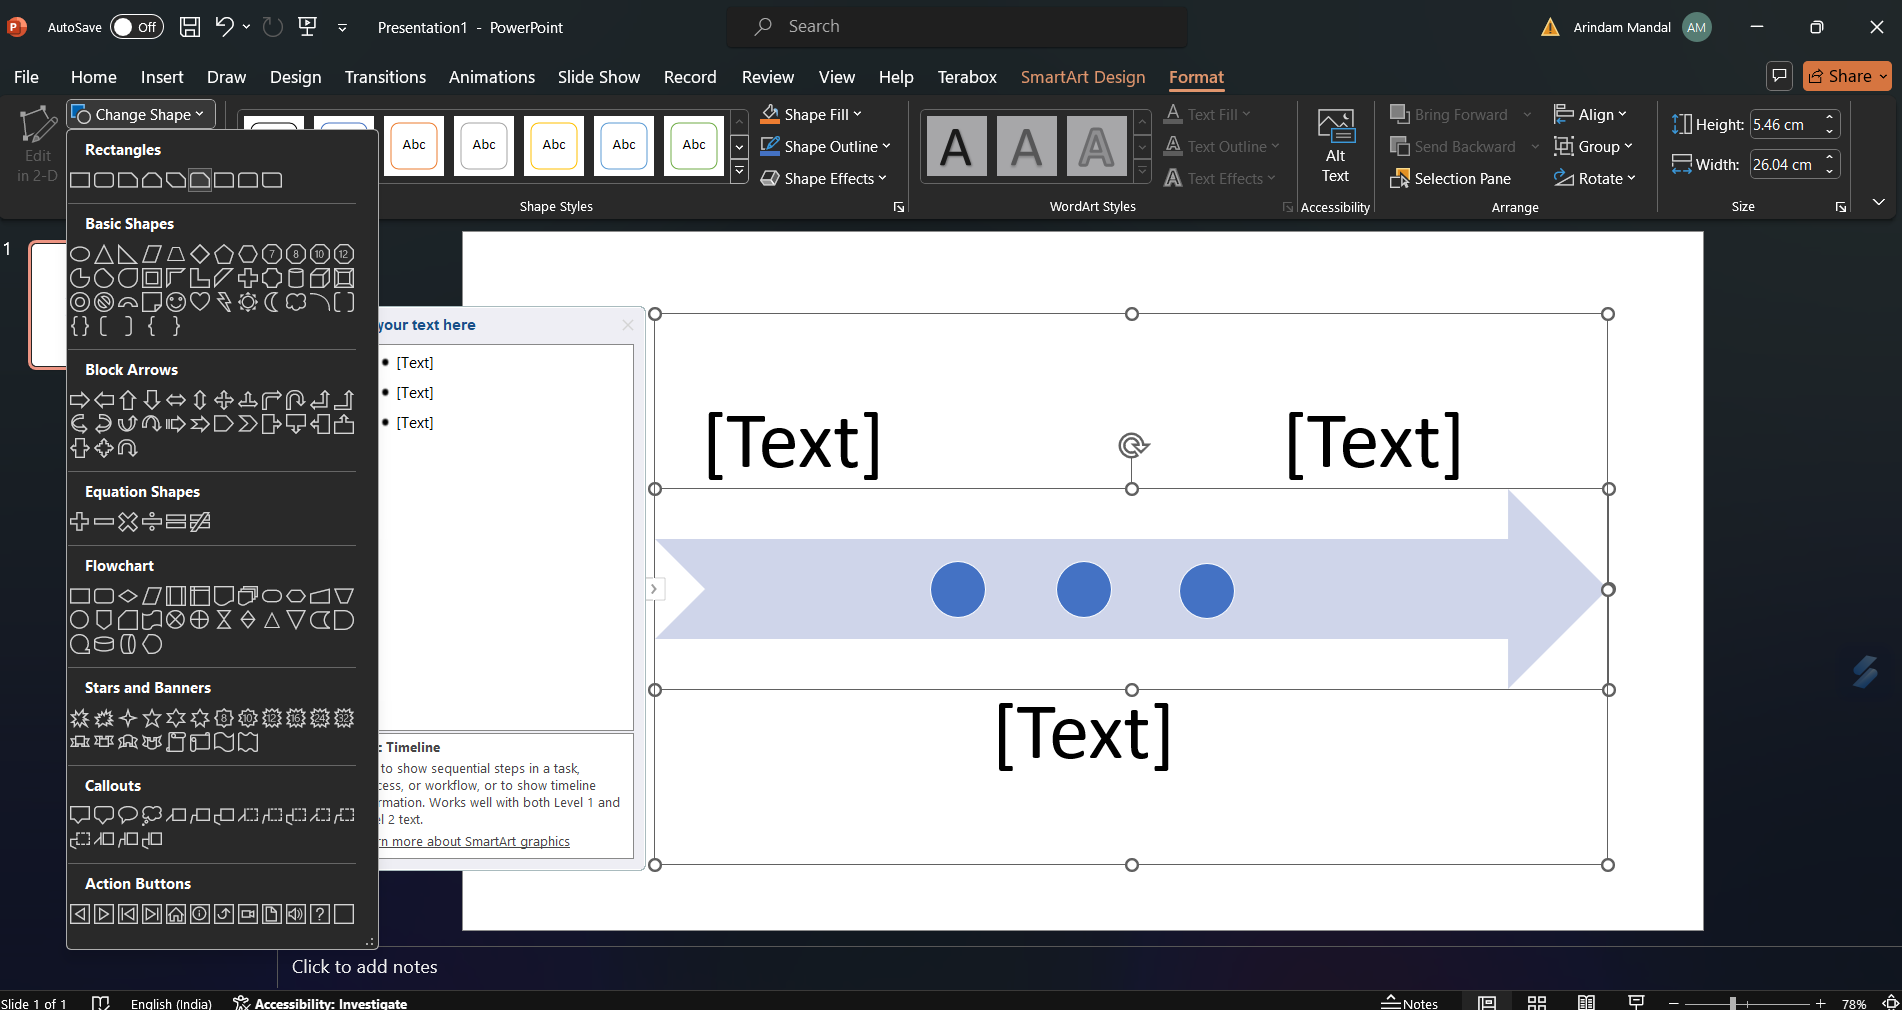
Quick Tip: Avoid manually increasing the text size to prevent layout issues. Instead, expand the graphic box to automatically adjust the text size.
Part 2: Make a Timeline in Minutes Faster and Easier with EdrawMind
Now that you have seen how to create a timeline in PowerPoint let us show you how to do this in a faster and easier way using Wondershare Edrawmind, a free online timeline maker that could also be used to make timelines.
Step 1: Download EdrawMind
Start by checking the official website and downloading the latest version of EdrawMind on your desktop. If you wish to access the tool remotely, you can also check out EdrawMind Online.
Step 2: Select Timeline Type & Template Access
From the homepage, choose a timeline style: Horizontal Timeline, Winding Timeline, or Vertical Timeline.
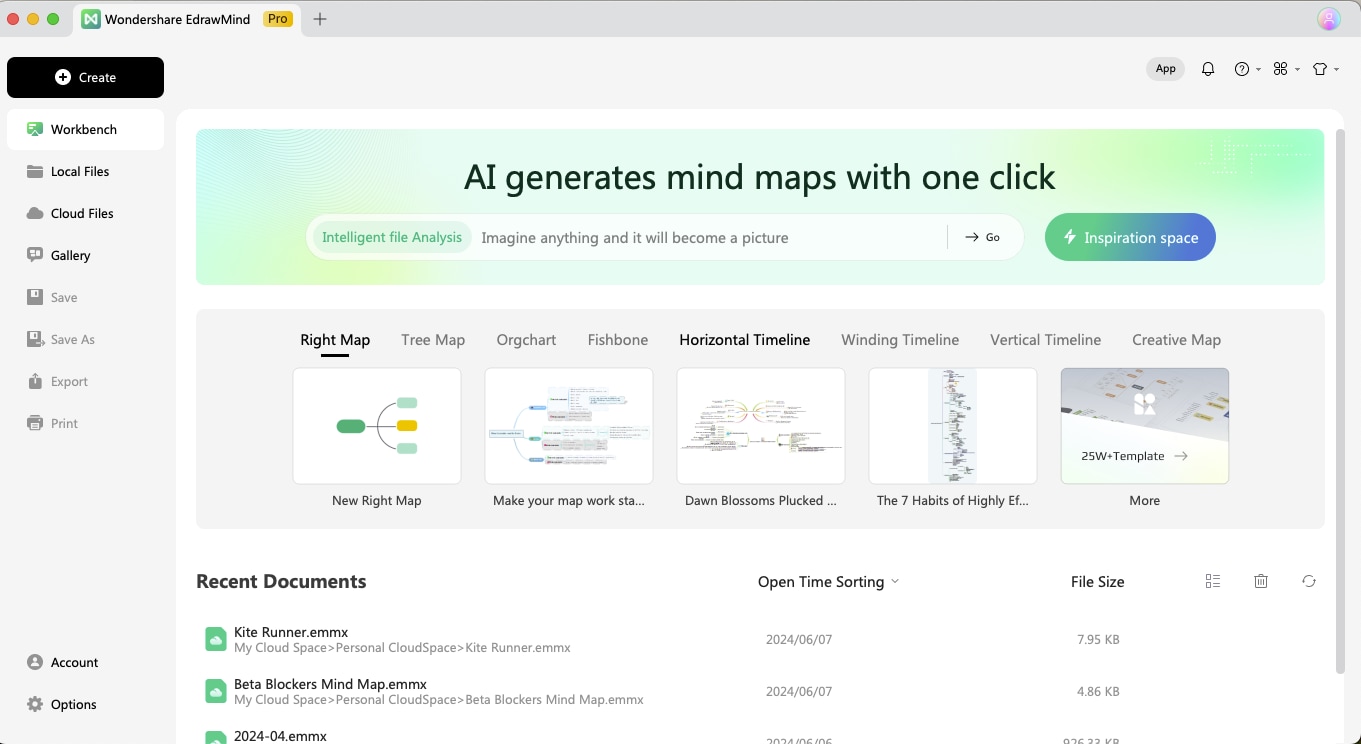
You can further check out EdrawMind's Template to access the user-generated timeline templates for quick customization.
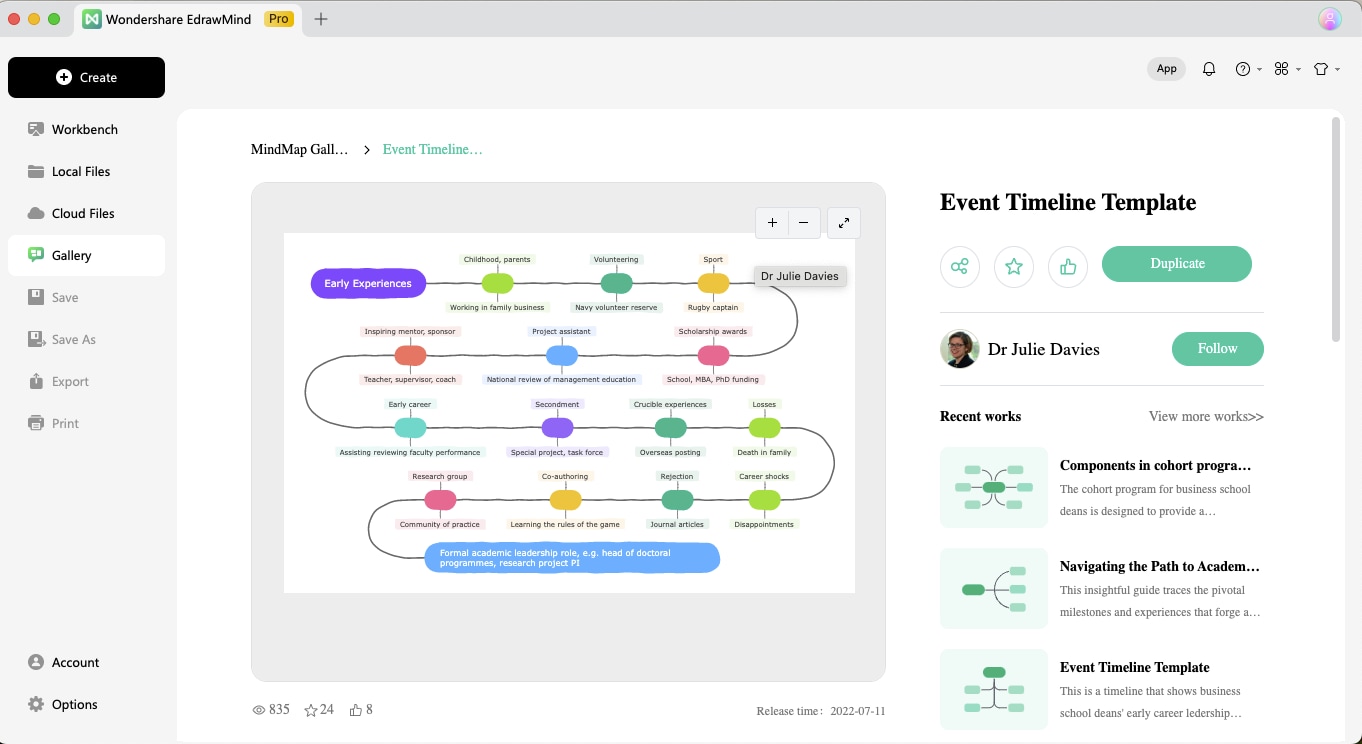
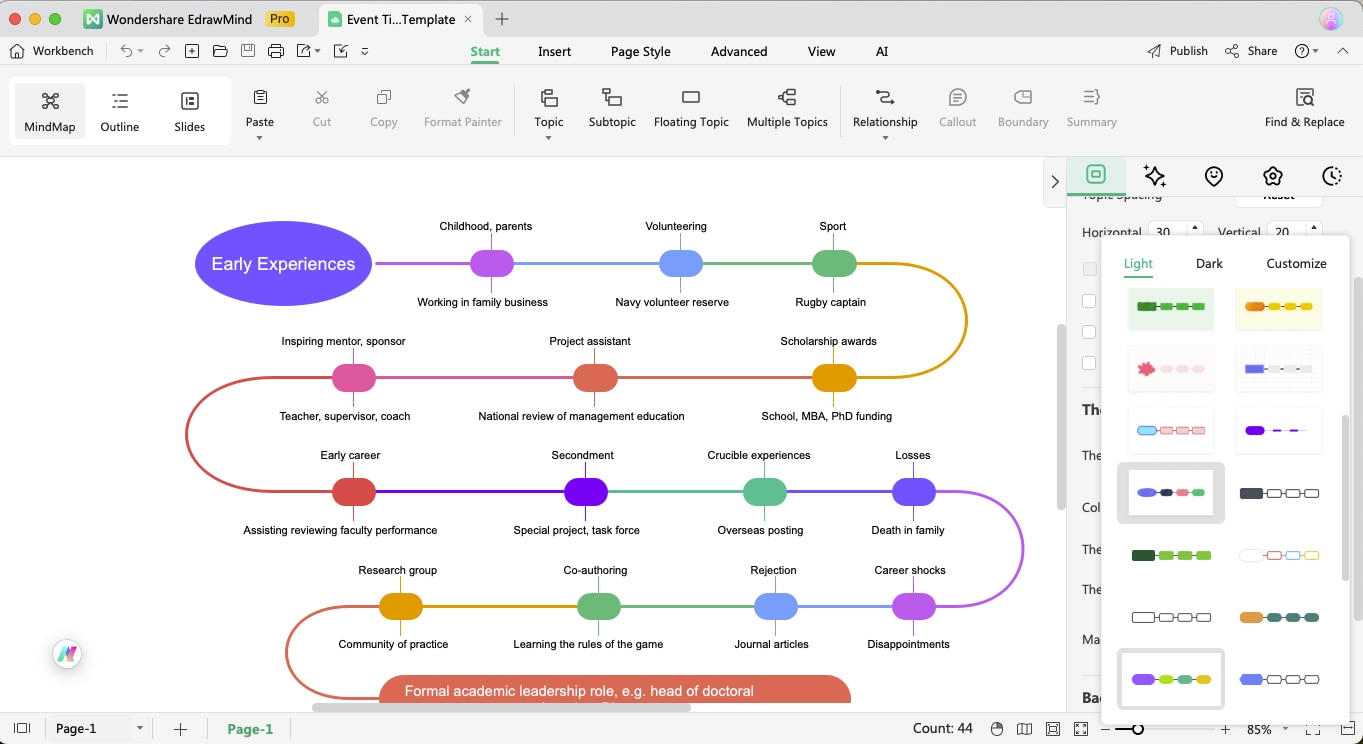
Step 3: Choose a Theme
You can pick a theme from the theme gallery on the right panel or customize your timeline with design elements like color and icons. Then, you can start typing your content accordingly.
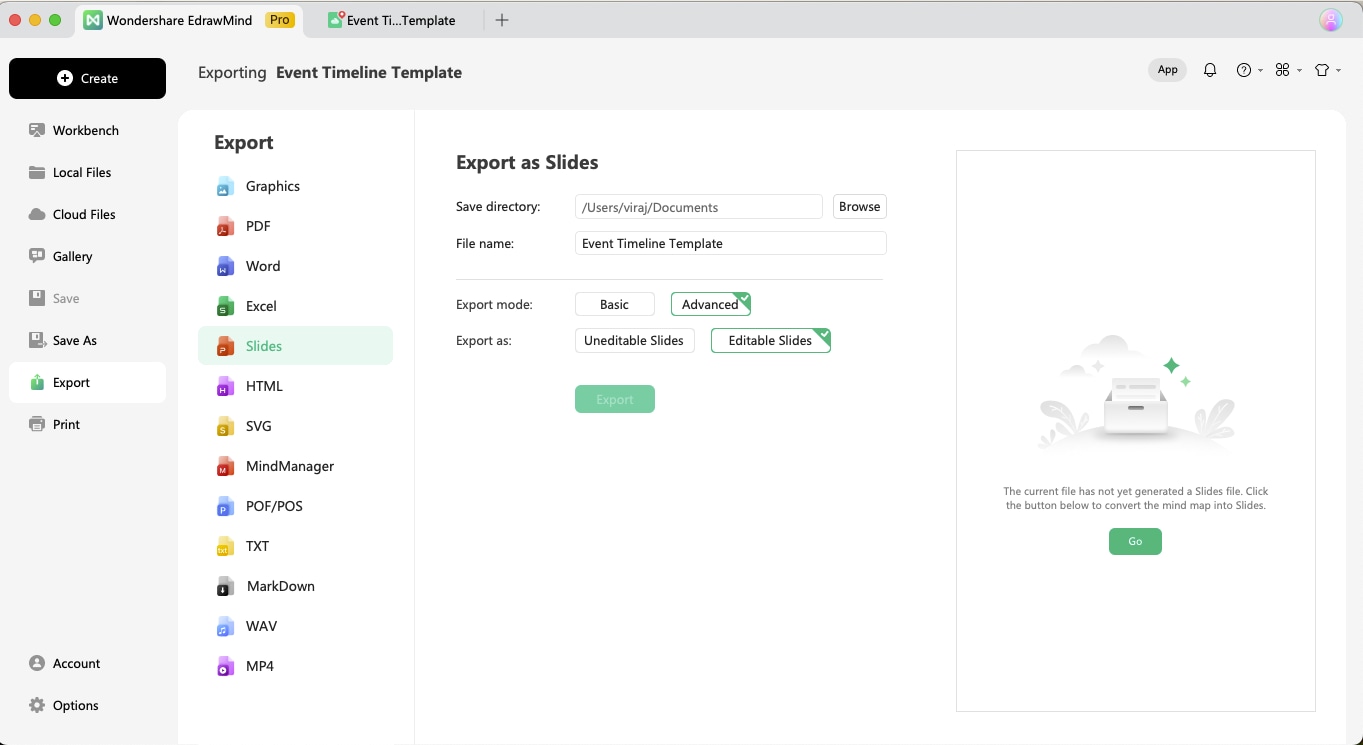
Step 4: Export and Share
Export your timeline in various formats, such as JPEG, PNG, PDF, HTML, SVG, PPTX, and more. If necessary, print it directly or share it via social media.
Part 3: Quick Solution to Make a Timeline with EdrawMind
Besides creating a timeline from scratch, we can use EdrawMind's timeline examples.
The developers of EdarwMind upload thousands of free timeline templates to the library. And its users will also share personal timeline templates with the gallery. We can pick a suitable one and use it directly. This saves time and it's friendly to beginners.
Also, the AI helper of EdrawMind can help us with the timeline design.
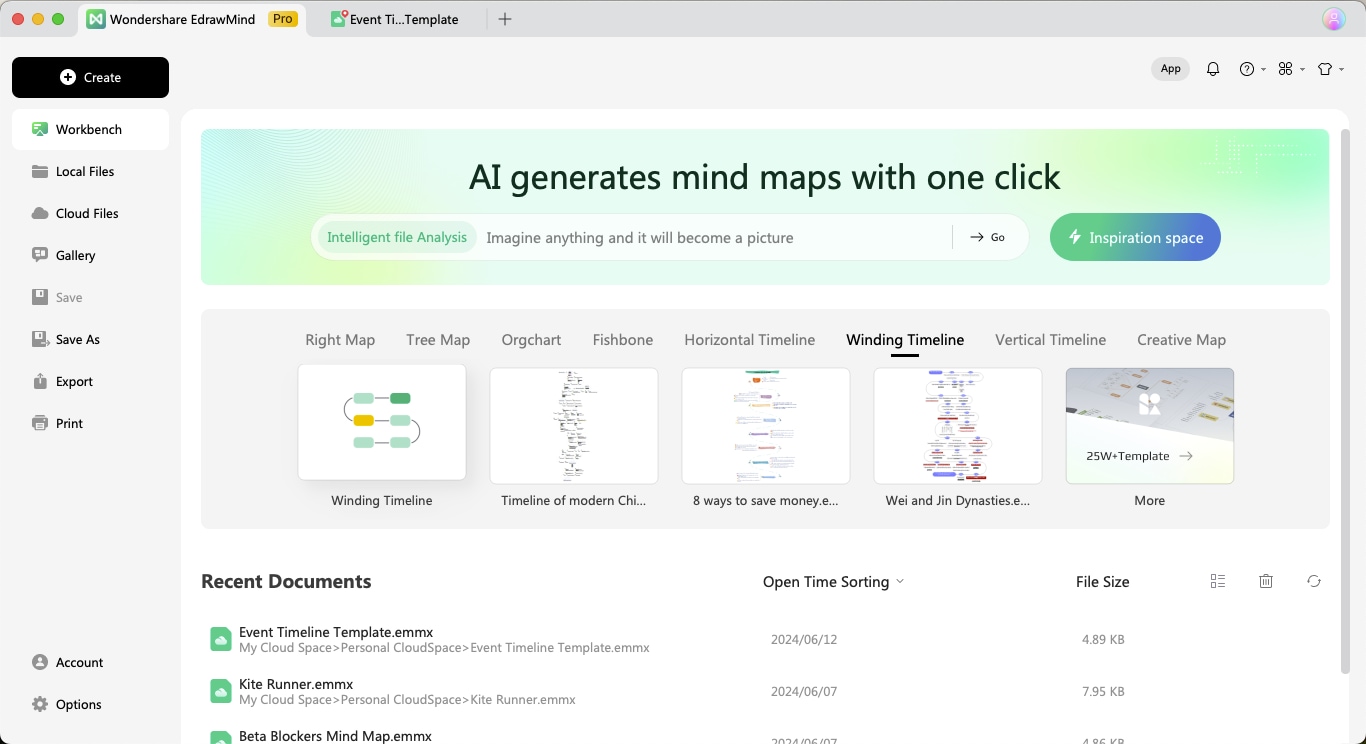
Step 1: Select Timeline Type and Theme
From the homepage, choose a Horizontal, Winding, or Vertical Timeline. Select a theme from the gallery or customize colors and icons to match your style.
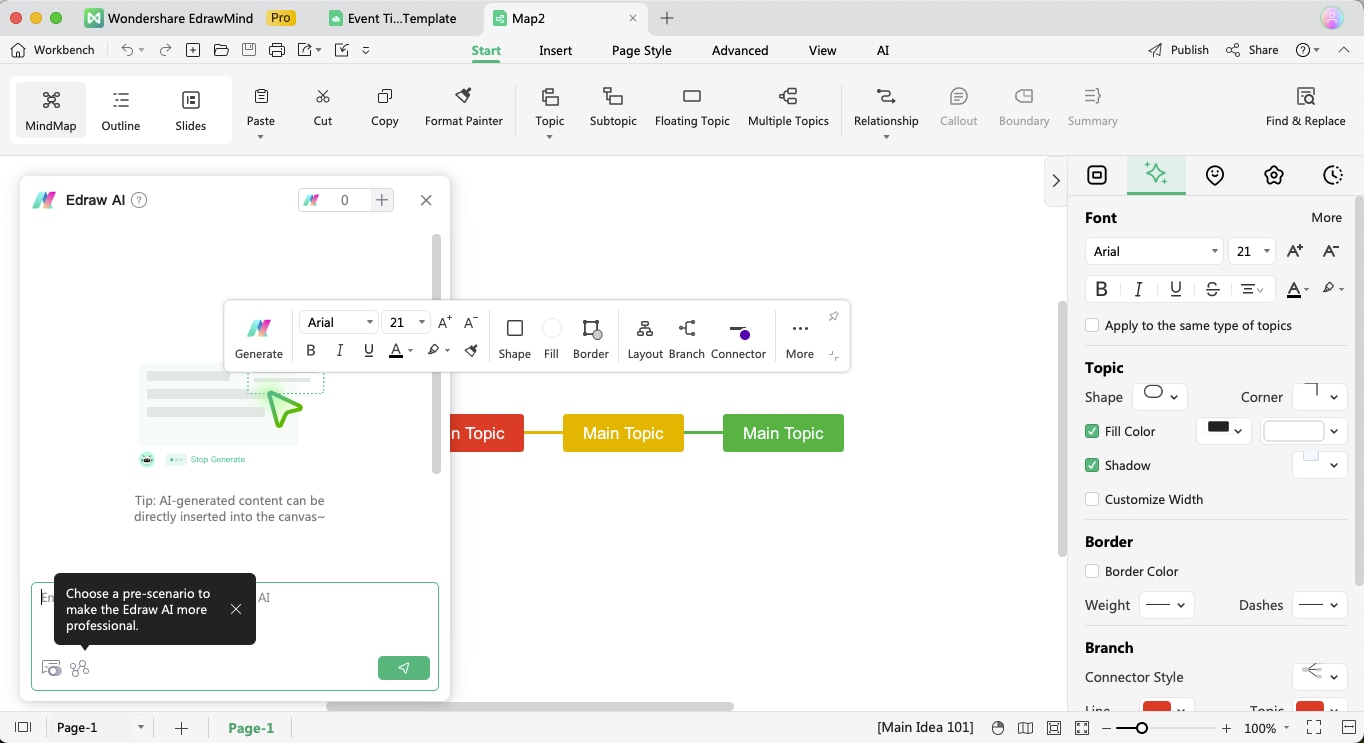
Step 2: Use AI Assist for Data Entry
Access Edraw AI, where you can input and create timeline diagrams or other graphics instantly.
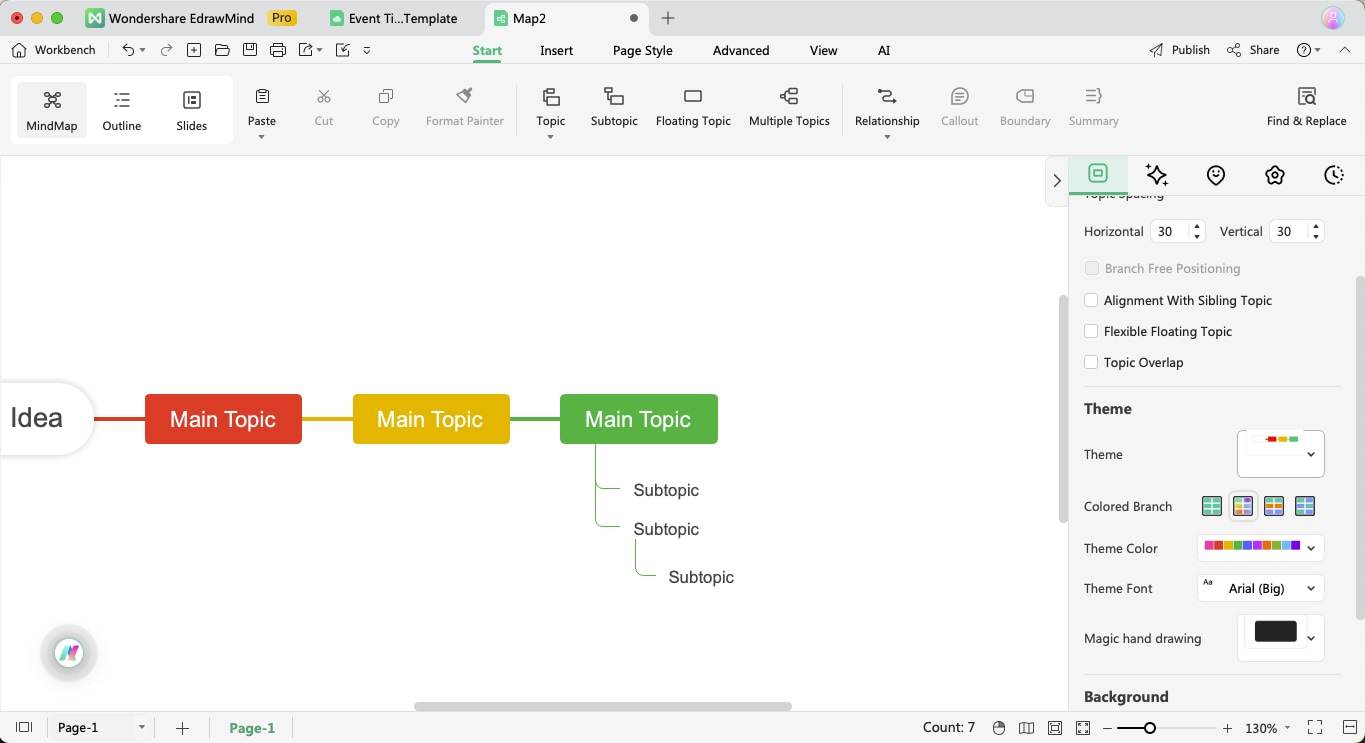
Step 3: Add Multiple Branches
Enhance your timeline by adding multiple branches to each event. This allows for a more detailed and comprehensive representation of your timeline data.
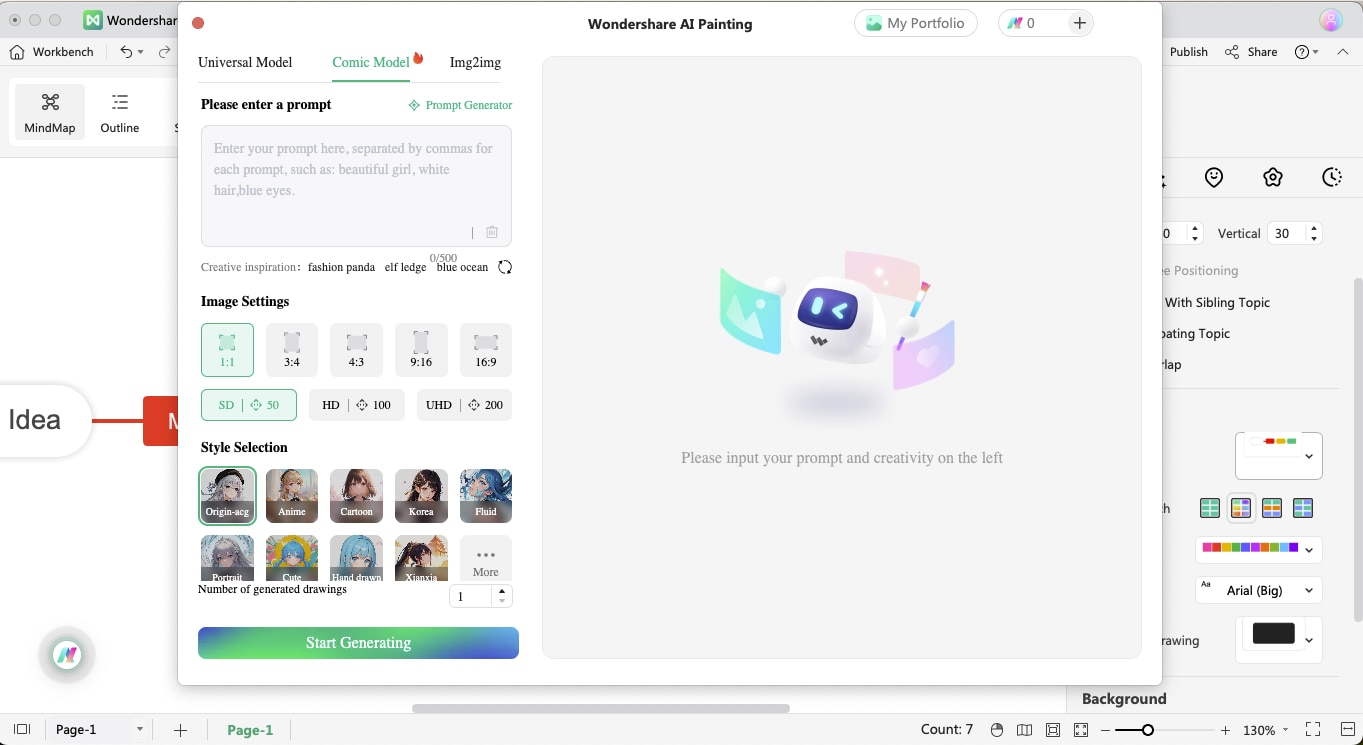
Step 4: Import and Customize Images
Import images or use AI-generated images for a visual boost. You can also adjust the size and shape of these images to fit perfectly within your timeline.
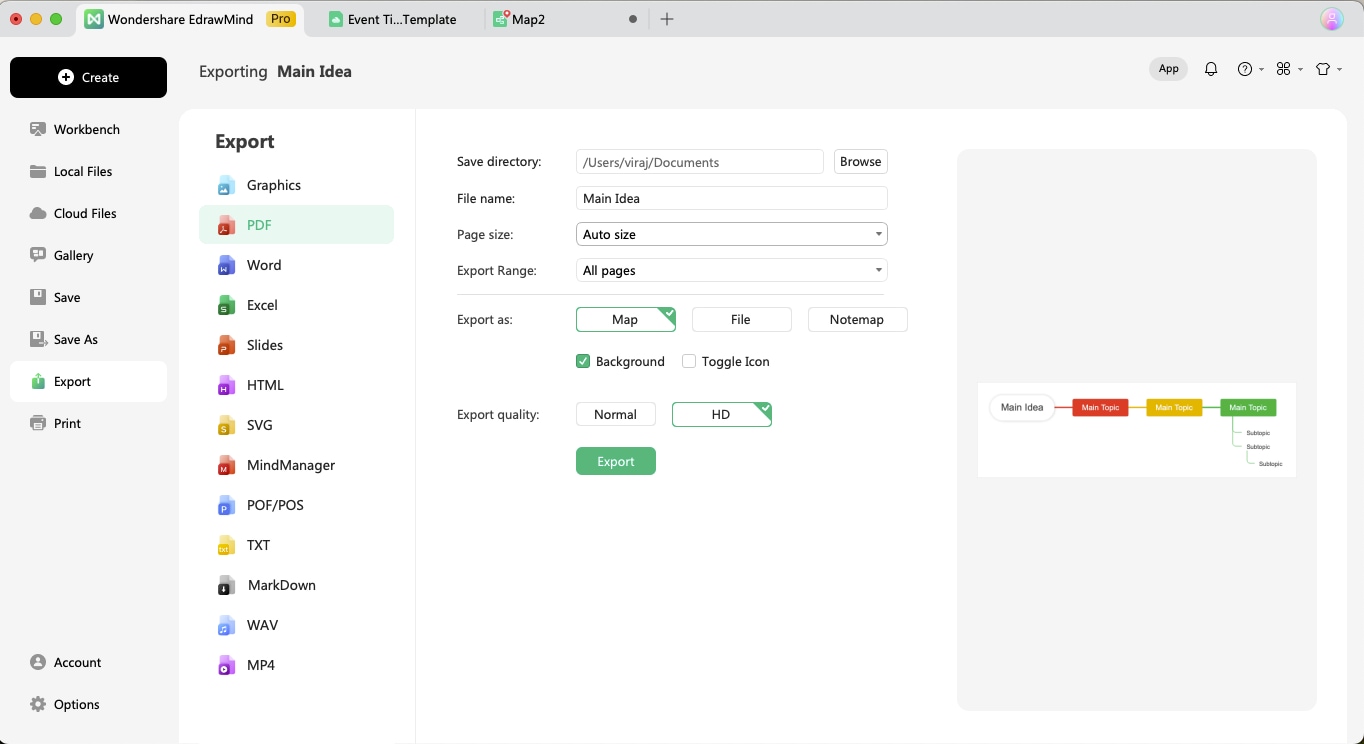
Step 5: Export and Share
You can export your completed timeline in PDF, PNG, SVG, HTML, PPTX, and other formats. You can also create a live presentation to present the timeline diagram directly.
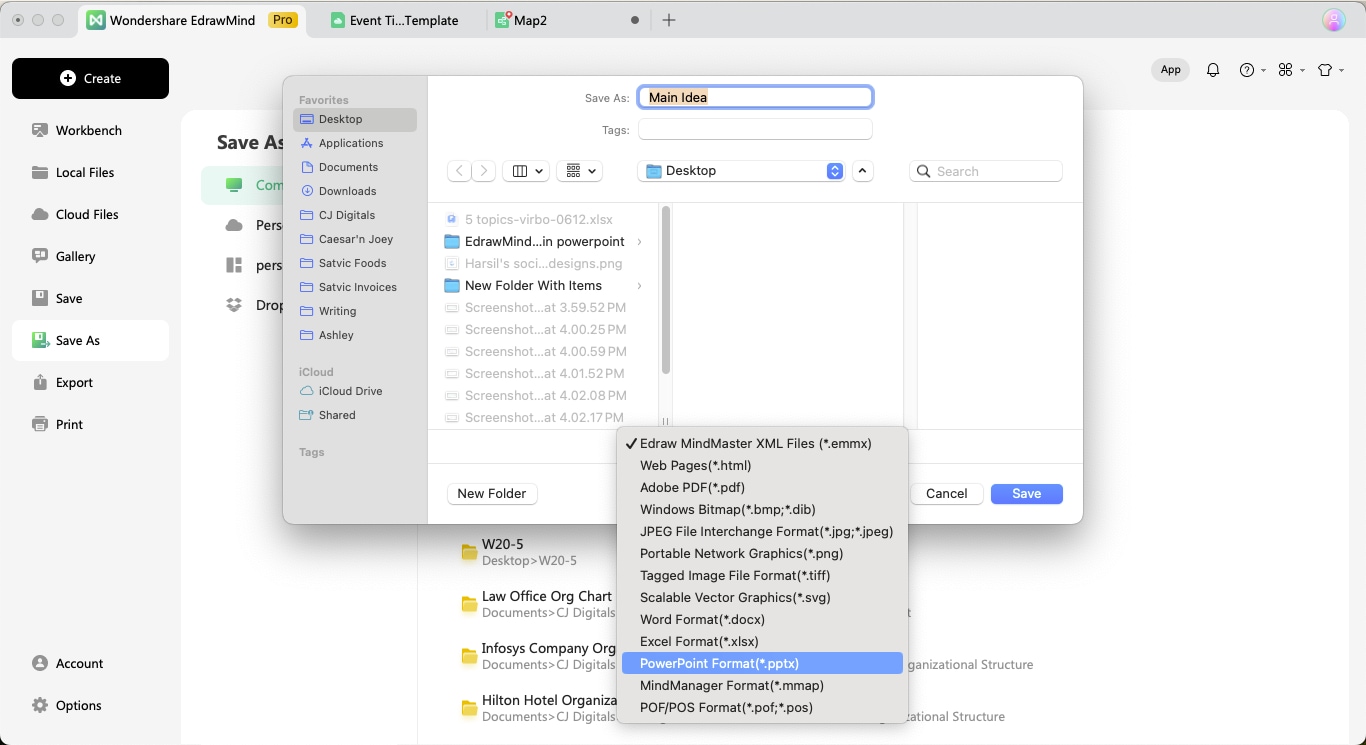
Once you make the timeline diagram in EdrawMind, you can export it to PPTX. The same file can later be imported to PowerPoint, which you can add to your other documents.
Part 4: EdrawMind or PowerPoint - Which One to Choose?
Microsoft PowerPoint is ideal for various use cases, including creating presentations, charts, and basic timelines. Its integration with Microsoft Office and the familiar interface makes it a versatile tool for professionals and educators. However, when it comes to creating detailed diagrams, PowerPoint lacks symbols, templates, AI assistance, and even online resources.
EdrawMind, on the other hand, is a dedicated timeline maker that offers specialized features. It's free and online and provides thousands of templates, which makes it easier to create detailed timelines. With AI assistance, 1500+ templates, 25000+ symbols, and online resources, EdrawMind stands out for users needing comprehensive and collaborative timeline creation tools. So, if you plan to make a timeline in PowerPoint, you can always check EdrawMind’s timeline templates.


