In the world of project management, timelines are essential tools to help keep projects on track. It ensures everyone involved in the organization is on the same page. A timeline is a visual representation of the sequence of events that make up a project or process. It helps to establish deadlines, milestones, and key deliverables.
Google Docs is a popular platform for creating and sharing documents. It offers a range of valuable features, including timeline templates. This article will guide you through creating a timeline in Google Docs using templates. Explore the page below to learn more.

Google Docs Timeline Template Resources
Google Docs offers various timeline template resources available online. These templates can be helpful for project management, event planning, and historical research. Here are some examples of timeline templates and resources:
1. Vertex42
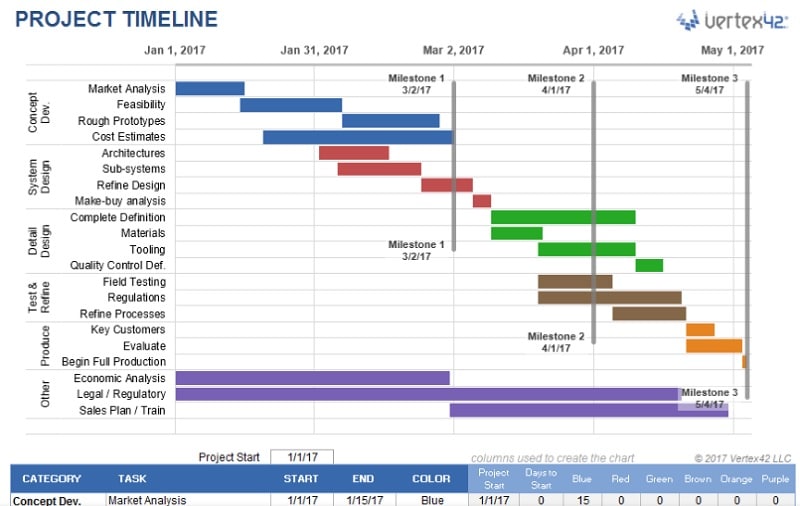
Vertex42 provides a range of free timeline templates for Google Docs. The website also offers a variety of free templates for Microsoft Excel and Google Sheets. The templates are customizable and come in different styles.
2. Template.net
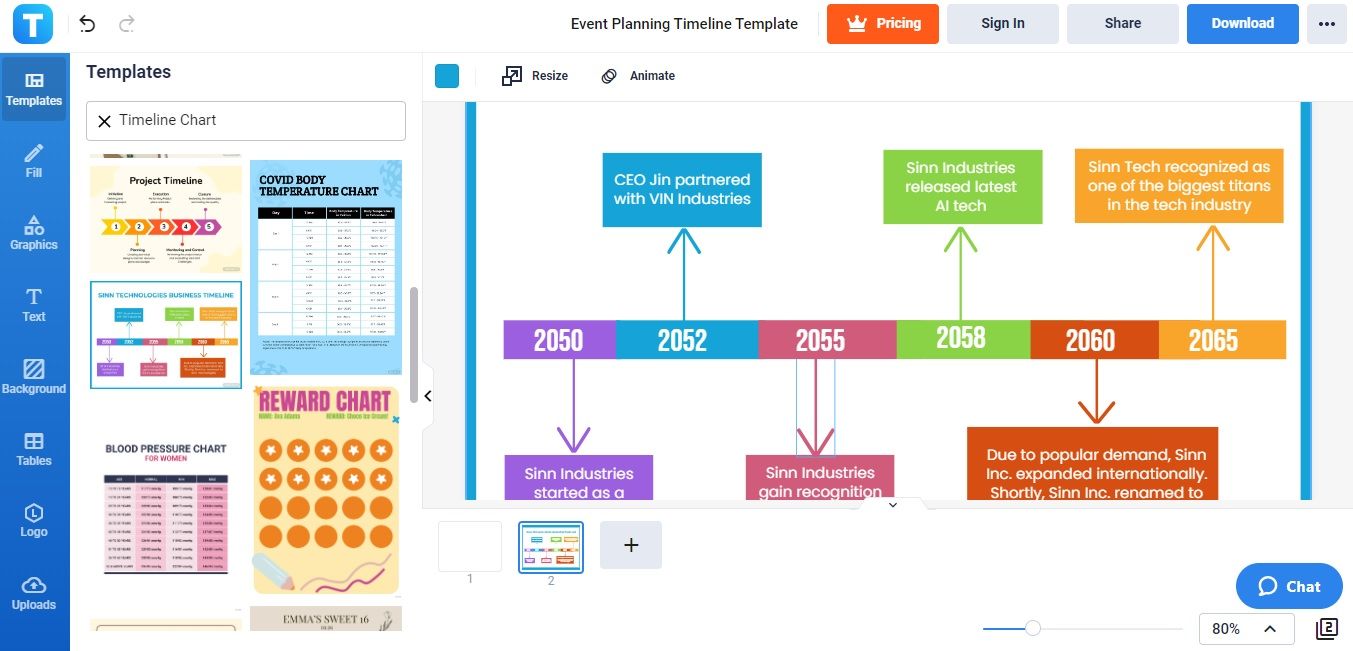
Template.net offers a wide selection of professionally designed templates for making a timeline in Google Docs. These templates cover various industries, including business, education, and history. You can choose from various layouts and designs to modify according to your preferences.
3. Smartsheet
Smartsheet is a project management platform that offers a variety of pre-made timeline templates that can be used in Google Docs. These templates include Gantt charts, project timelines, and event timelines. Users can customize the templates to fit their project needs and easily share them with team members.

4. Timeline JS
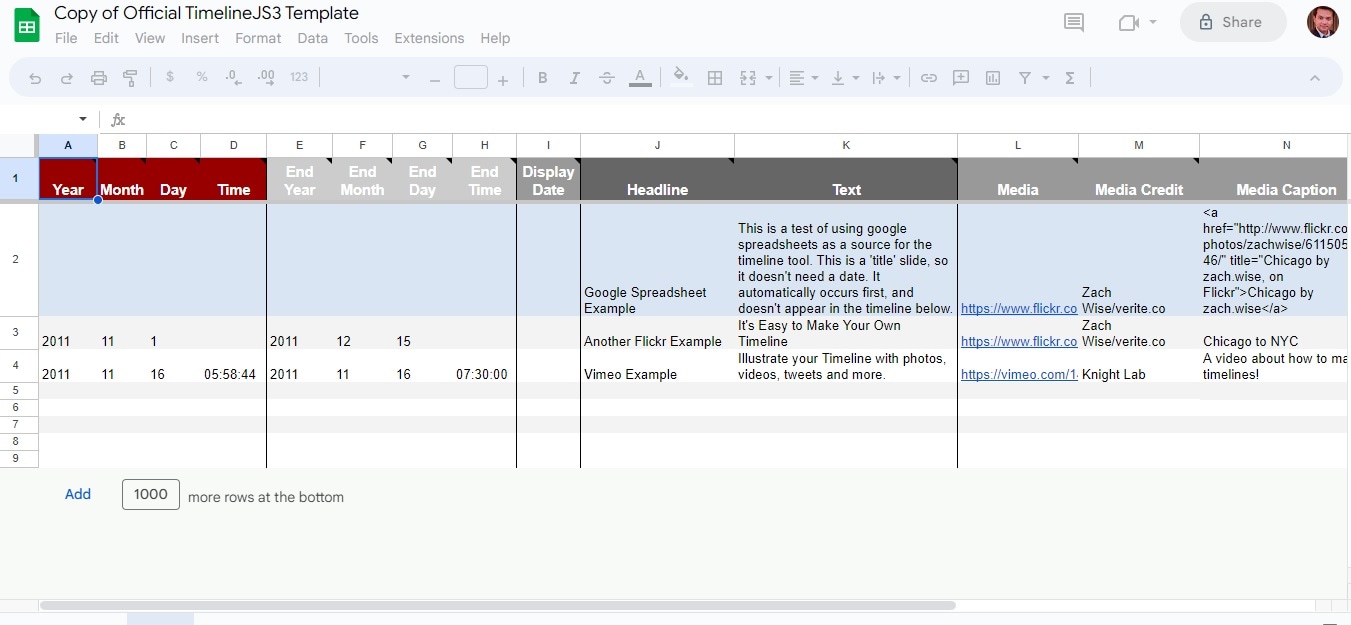
Timeline JS is an open-source timeline tool that allows you to create interactive timelines using Google Sheets. Their customizable templates include images, videos, and other multimedia. Timeline JS is valid in conjunction with Google Sheets, which can be accessed through Google Docs.
How To Create a Timeline in Google Docs Using Templates
Google Docs do not have a built-in timeline template. However, you can still create a timeline using the Drawing tool built into Docs. To create a timeline using the Drawing tool, here are the steps:
Step1: Go to Google Docs and click blank to create your timeline. Click Insert > Drawing and choose New from the menu bar to create a new drawing.

Step2: Click Insert from the menu bar in the Drawing window and choose Line. Select Line and choose a line style that fits your timeline's design. Draw a line on the canvas to represent the timeline.
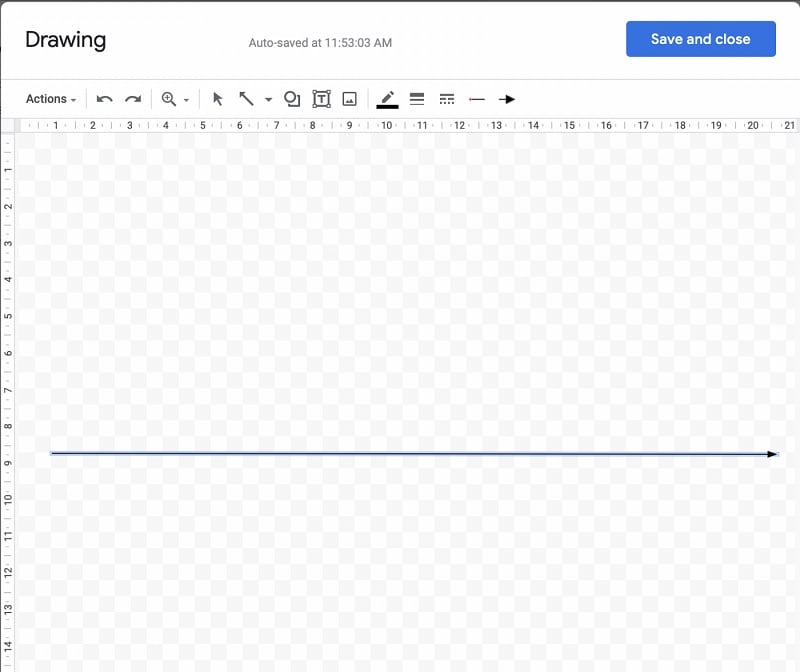
Step3: Use the Text box tool to add dates and events along the timeline. You can customize the font style, size, and color using the Text Color and Font tools in the toolbar. Adjust the position and alignment of the text boxes by clicking and dragging them to the desired location and using the Align tools in the toolbar.
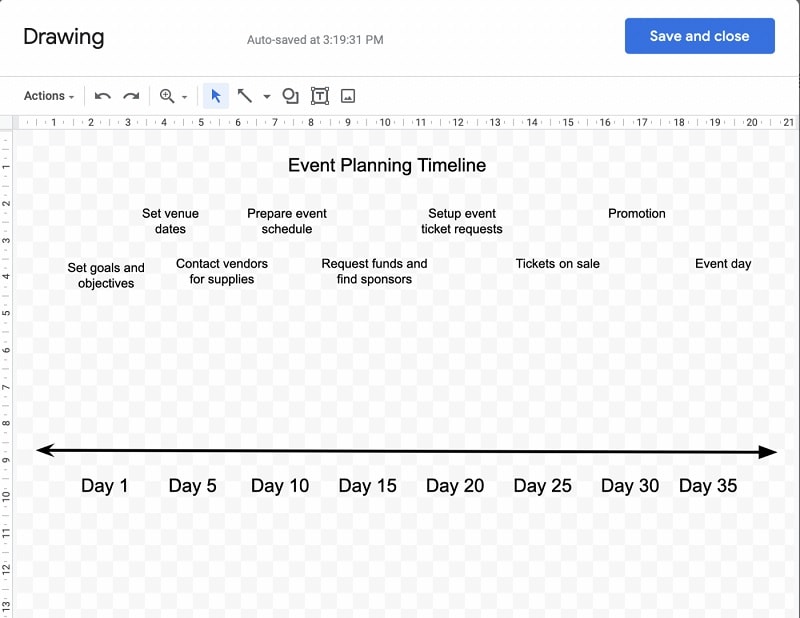
Step4: Add project information, such as events or milestones, to the timeline. Once done, save your customized timeline by selecting File from the menu and choosing Make a copy to save to your Google Drive. Share the timeline with your team or stakeholders by selecting Share from the menu and entering their email addresses.
Step1: Open Google Docs in your web browser and sign in with your Google account. Click on the Template Gallery button located at the top of the page.

Step2: In the search bar, type timeline, and press enter. You will see a list of timeline templates available. Click the one you want to use. The template will open in a new document where you can customize it to fit your project needs.
?Not only Google Docs can use templates to create timeline, but also can use google slides timeline templates and google sheets timeline templates to create your own timeline.
Introduction to Wondershare EdrawMind for Timeline Creation
EdrawMind Online is an excellent option for creating timelines. It's a great alternative to Google Docs due to its wide range of features. You can easily create visually appealing and informative timelines for various purposes. While Google Docs has a drawing tool that can be used to create timelines, EdrawMind Online provides advanced features specifically designed for creating and organizing timelines.
 loading="lazy"
Key Features of EdrawMind
Here are the key features of EdrawMind Online that sets it apart from Google Docs.
- Customizable templates: EdrawMind offers a wide variety of customizable timeline templates. This feature saves you time by allowing them to create a timeline with a pre-made design quickly.
- Collaborative tools: The online version allows team members to collaborate simultaneously. This feature is helpful for team projects where multiple people must contribute to the timeline's creation.
- Extensive formatting options: You can easily customize timelines using EdrawMind's extensive formatting options. This feature allows users to add images, shapes, and colors to create appealing timelines.
- User-friendly interface: EdrawMind's interface is intuitive and user-friendly. This makes it easy for beginners to create timelines. The drag-and-drop functionality and easy-to-use tools make creating a timeline a hassle-free experience.
- Integration with other tools: EdrawMind integrates with a variety of different tools. They include Google Drive, Microsoft Office, and Adobe Creative Cloud. This feature allows users to incorporate timelines with other documents and projects.
How To Create a Timeline in EdrawMind Online
To create a timeline using EdrawMind Online, follow these steps:
Step1
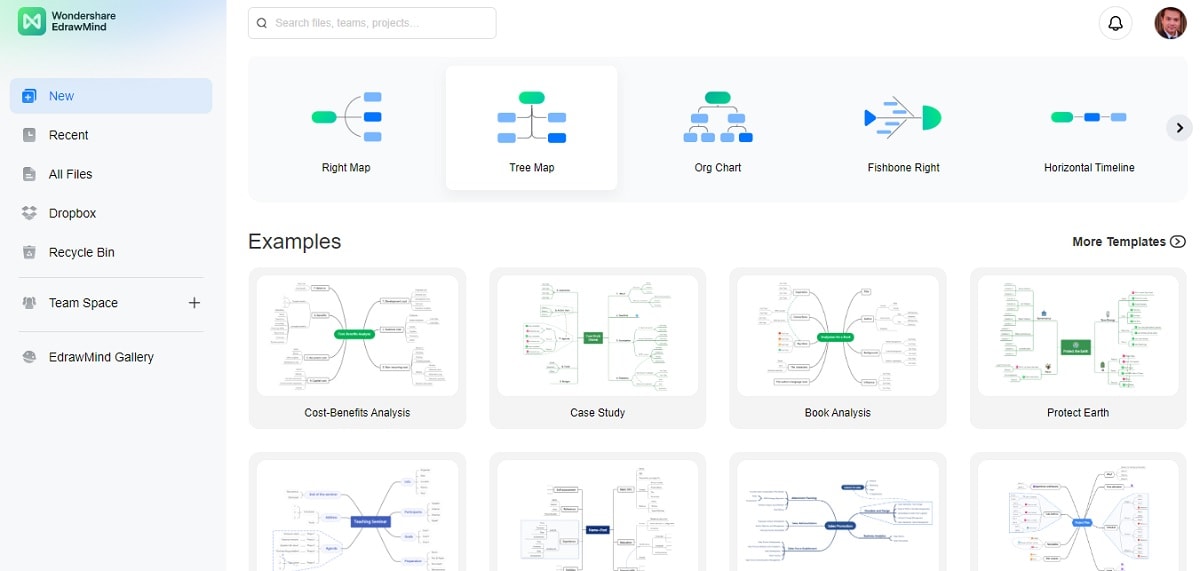
Visit the EdrawMind Online app and create a new account. Once you've logged in, click the New button on the top left corner of the screen and select Horizontal Timeline, Winding Timeline, or Vertical Timeline from the template library. Please choose one that fits your project needs, or start with a blank canvas.
Step2
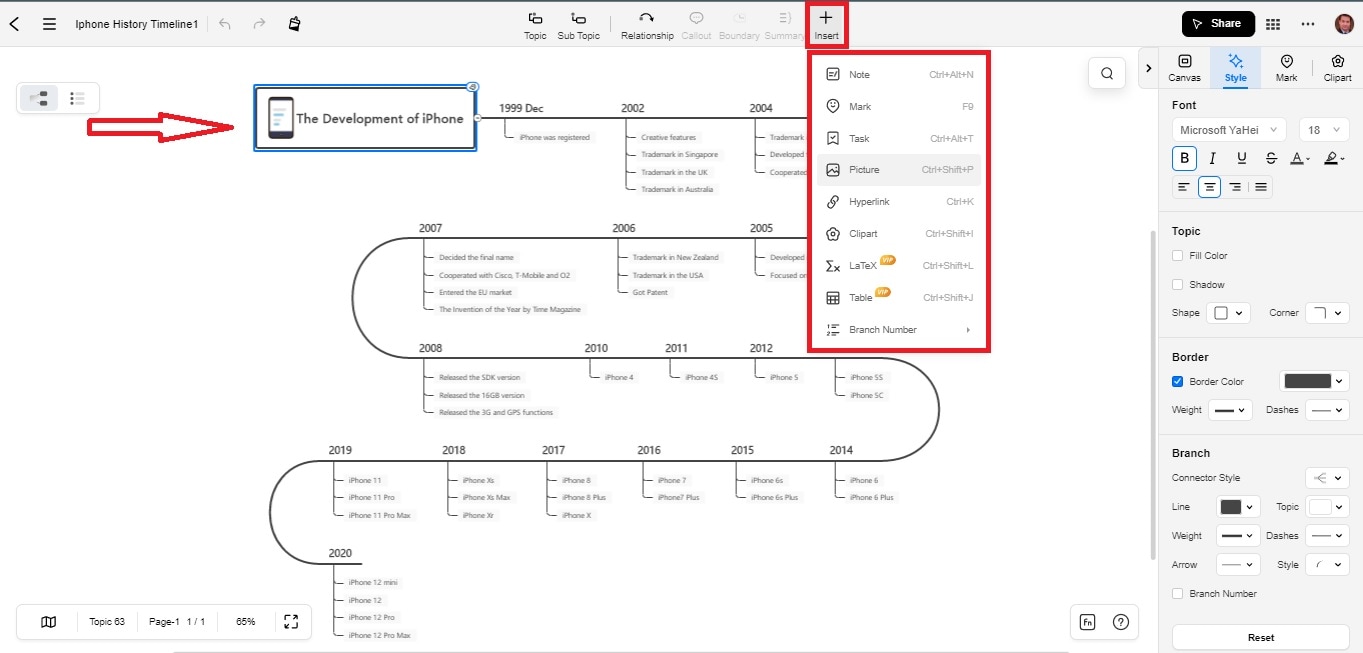
Customize the timeline template by adding or deleting events, adjusting dates, changing colors and fonts, and adding images or icons. Use the Insert menu to add shapes, icons, images, text boxes, and connectors to the timeline.
Step3
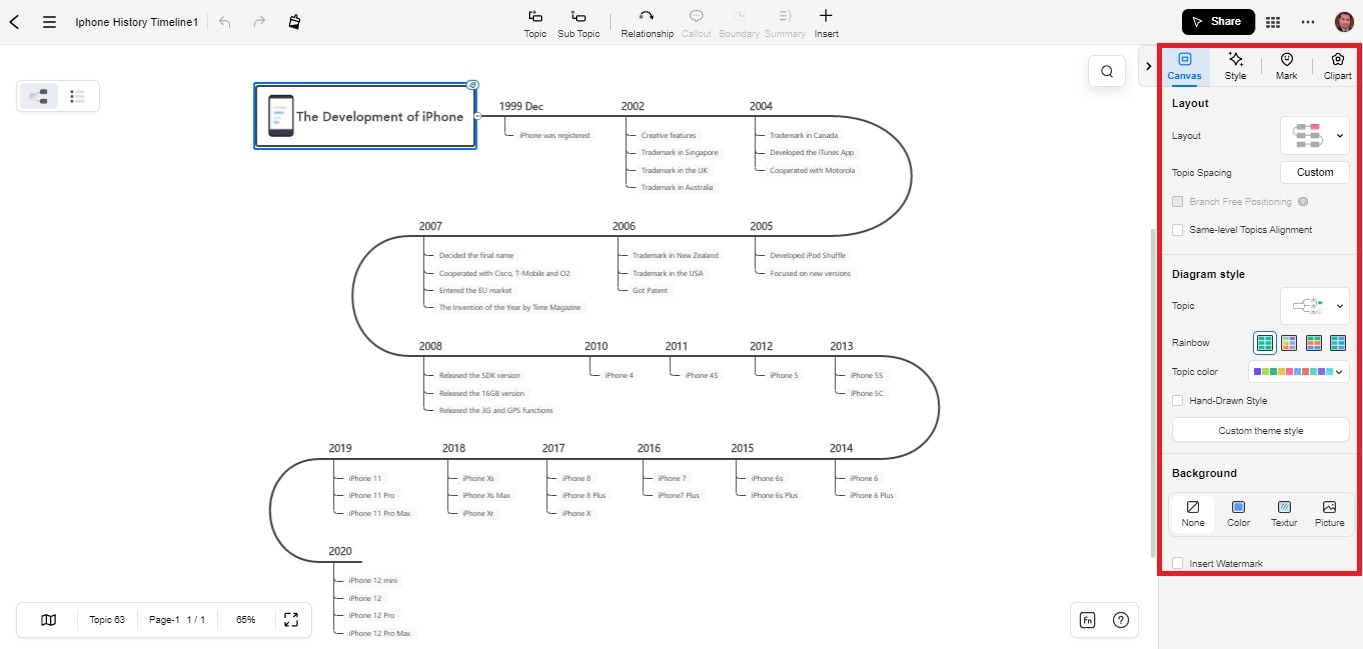
Add milestones and events to your timeline by selecting the appropriate shapes from the toolbox and dragging them onto the canvas. Use the Properties panel to set the start and end dates for each milestone, and any additional information, such as notes or images.
Step4
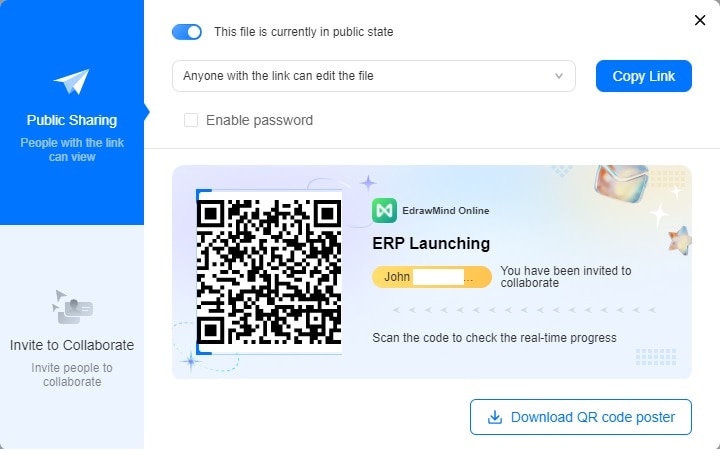
Once satisfied with your timeline, export it as a PDF, PNG, or other file format to share with your team or stakeholders. Collaborate with your team members by sharing the link to your EdrawMind timeline and inviting them to edit or comment on it in real-time.
Pros and Cons of EdarwMind
If you're still undecided about using EdrawMind Online to create timelines, here are its pros and cons.
Conclusion
Timeline templates are bpowerful tools for organizing plans and projects. They improve your project management, organization, and communication. Whether you're a student, professional, or team leader, utilizing timeline templates can help you stay on track, meet deadlines, and easily deliver projects.
With the many resources available, like EdrawMind Online, creating visually appealing and functional timelines is easier than ever. Try it out today and see how it can improve your timeline creation process. Don't be afraid to explore different timeline creation tools to find the best fit for your project needs.


