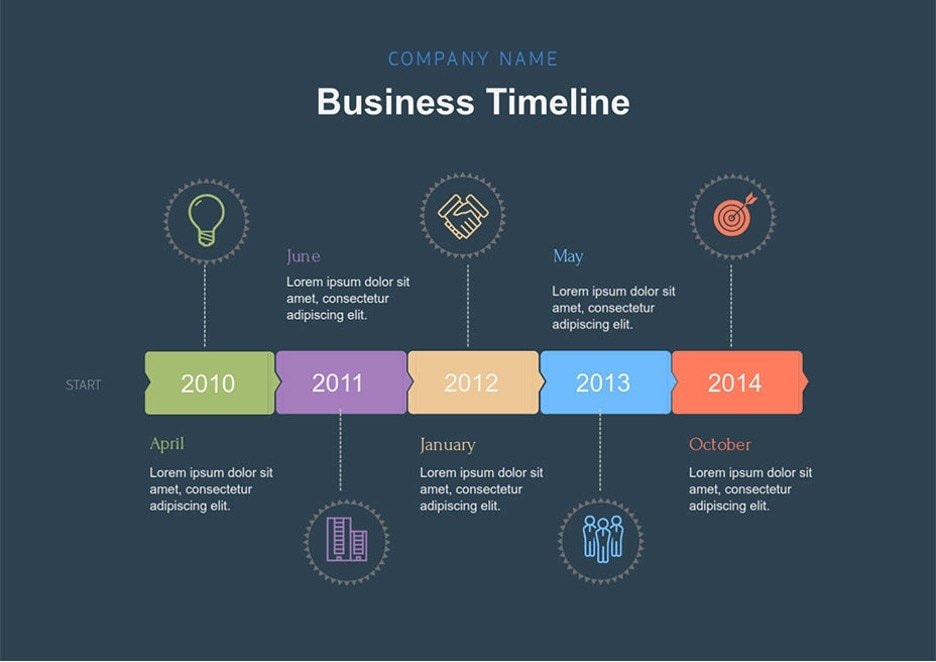
Timelines are used in different contexts. In history, they are used to present past events in the chronological order in which they occurred. In work, it can be used to lay down the “milestones” that the team has to follow.
Timelines have many other uses. However, a common gripe is that they sometimes feel too basic. This is especially the case because timelines are meant to summarize information, so much key information is lost.
This is why this article will show you how adding interactivity can help improve a timeline with the help of EdrawMind. This will teach you how to make good interactive timelines for your purposes.
In This Article
What Are Interactive Timelines
In essence, an interactive timeline is a timeline with clickable elements. The user can literally interact with the timeline to either show more information or connect to other sources for further reading.
The key benefit here is having a summarized layout of a timeline with easy access to additional information. That’s really what makes an interactive timeline a great choice.
Key Features of an Interactive Timeline
Because of the unique makeup of the interactive timeline, it’s necessary to lay out its main or usual features so that you can get a better grip of what this kind of timeline offers.
Clickable Structure
One of the primary features that distinguishes an interactive timeline is its clickable structure. Each event can hold extra layers of information. This may be short explanations, dates, examples, or even sub-events.
When you click on an item, the added details appear, and when you close it, the timeline stays neat. This is helpful for subjects where you want a quick overview but still want access to supporting information.
Media Elements
Interactive timelines often include media elements as well. You can place portraits, maps, diagrams, or even short video links to help explain what happened.
These visuals fill the gaps that text alone can’t cover. For example, a timeline on early civilizations becomes clearer when you can open images of artifacts or view a map of territories that changed over time.
Customizability
Another feature is customizability. You can adjust colors, change node shapes, or organize events by themes or categories.
This makes the timeline easier to follow and helps highlight which points matter most. Some people use colors to group eras, while others use shapes or symbols to mark major turning points.
Collaborative
Many tools that support interactive timelines also allow sharing and collaboration. This means that several people can work on the same timeline simultaneously.
It’s useful for group projects or team presentations because everyone can add notes or corrections as needed. There’s no need to pass versions around since updates appear instantly.
Practical Uses
As you can see, interactive timelines are both helpful and practical for various tasks. Students can use them to condense long lessons. Teachers, on the other hand, can send these interactive study guides to students.
Professionals can use them to present project stages or historical data. They can also use it as a “progress” guide, allowing the team to interact and mark the items that are being done, much like a checklist.
In short, an interactive timeline is a familiar timeline format that adds much-needed flexibility. It keeps the main structure simple, yet ensures that the timetable can serve as an all-in-one resource for any purpose.
How To Create an Interactive Timeline
You might think that creating an interactive timeline is a complicated process. After all, it involves several elements, such as notes, attachments, and links. But don’t worry, it can become a lot simpler to create with the right tool.
Since you can’t really interact with image files, you’ll need a tool to “interact” with the timeline anyway. You can also use a website and take advantage of HTML or other languages, but that would be hard.
Thus, creating an interactive timeline with a program that supports them would appear to be the best idea. For this purpose, Wondershare EdrawMind seems to be one of the best choices. Here’s why:
- Supports interactive features like attachments, notes, comments, media, and more
- 700+ cliparts and symbols that you can add inside the timeline
- Real-time collaboration
- Multiple file format export (JPG/PNG, PDF, Word, Excel, Slides, HTML, etc.)
- Interactive elements can carry over the different file type exports if supported
Steps To Create an Interactive Timeline With Wondershare EdrawMind
Here, you can explore what makes EdrawMind a powerful tool for creating interactive timelines. Follow the steps provided below:


Step 1 Create a New Project
Follow the steps below to make a new project or the initial content of your timeline:
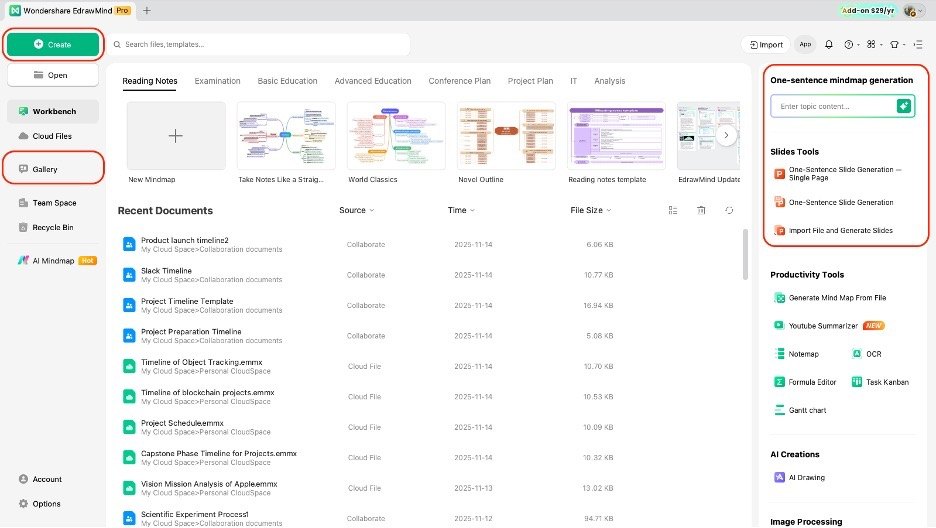
- On the homepage, go to Create > Blank Mind Map
- You can also browse templates in the Gallery or the Workbench
- Or, you can generate the timeline content with the AI mind map generator.
Step 2 Change to Timeline Layout
As you may notice, EdrawMind uses the mind map layout as a default. Don’t worry, because you can easily change this.
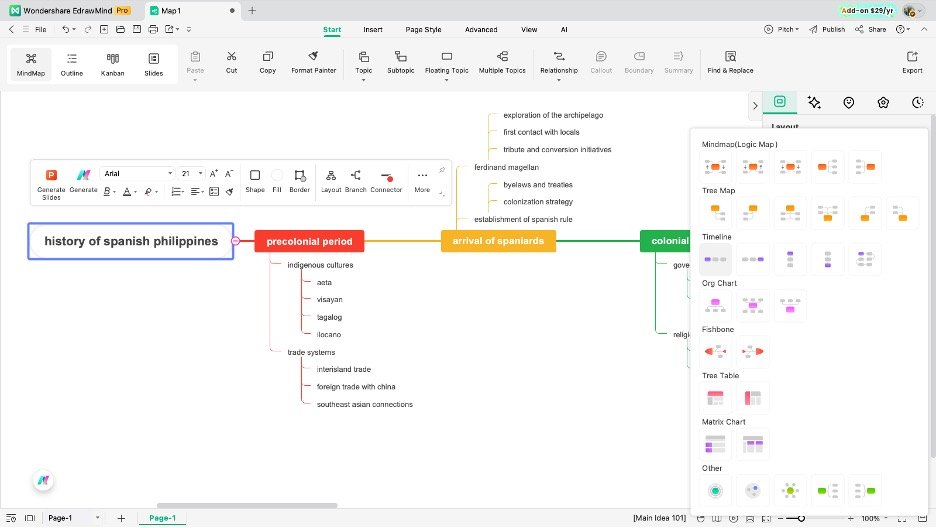
- Access the Layout panel on the right-hand side.
- Open the drop-down menu for Layout.
- Then, select from any of the available timeline options.
Step 3 Edit Labels and Add Nodes
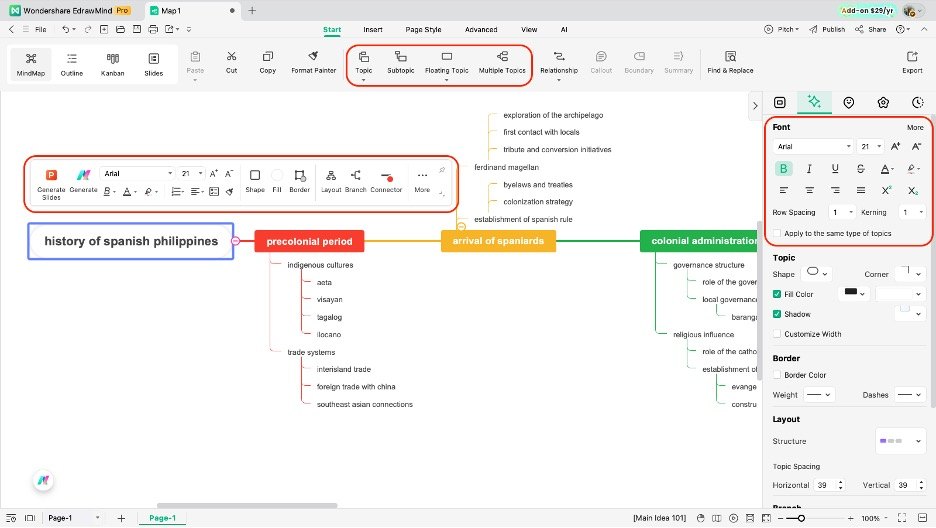
To change the text of the timeline, do the steps below:
- Double-click on the nodes and type in your text content
- Use the text controls in either the appearing customization bar or the Style > Font panel.
- Select a node, then use the Topic/Subtopic button to add more nodes accordingly.
Step 4 Adding Interactive Elements
Now, take a look at the different steps to add interactive elements, which complete the “interactive” part of the timeline.
- Go to the Insert tab on the main ribbon and select the node to which you want to add interactive elements.
- Use the Attachments tool to insert documents like PDF files, .docx files, or other content.
- Use the Hyperlinks tool to link a node to certain websites, YouTube videos, etc.
- Use the Notes button to add a collapsible document to a node, where you can add new information.
- Use the Comments button to create floating notes or comments on a certain node.

Step 5 Enable Real-Time Collaboration
To really maximize the interactive portion of your timeline, you have to share it with your teammates or friends.
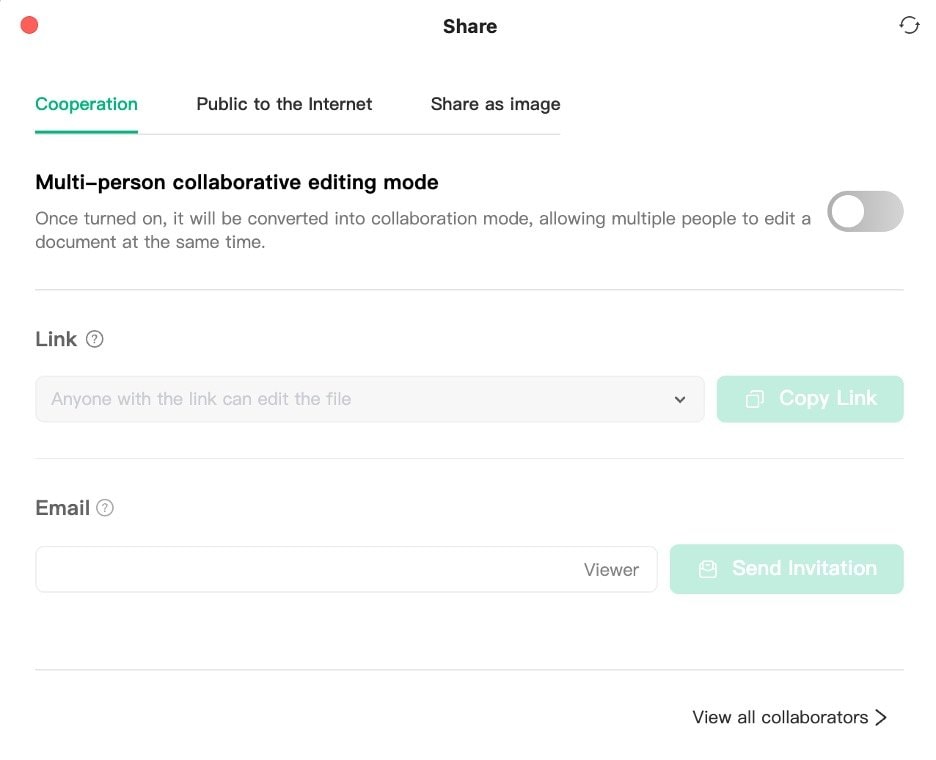
- Use the Share button in the top-right corner
- Under Cooperation, tick the Multi-person collaborative editing mode.
- Change the access settings to edit or view-only, as applicable (they will still be able to use the interactive elements in view mode).
- Invite people through a link or email.
Step 6 Export
If you want to share your interactive timeline in some other way:
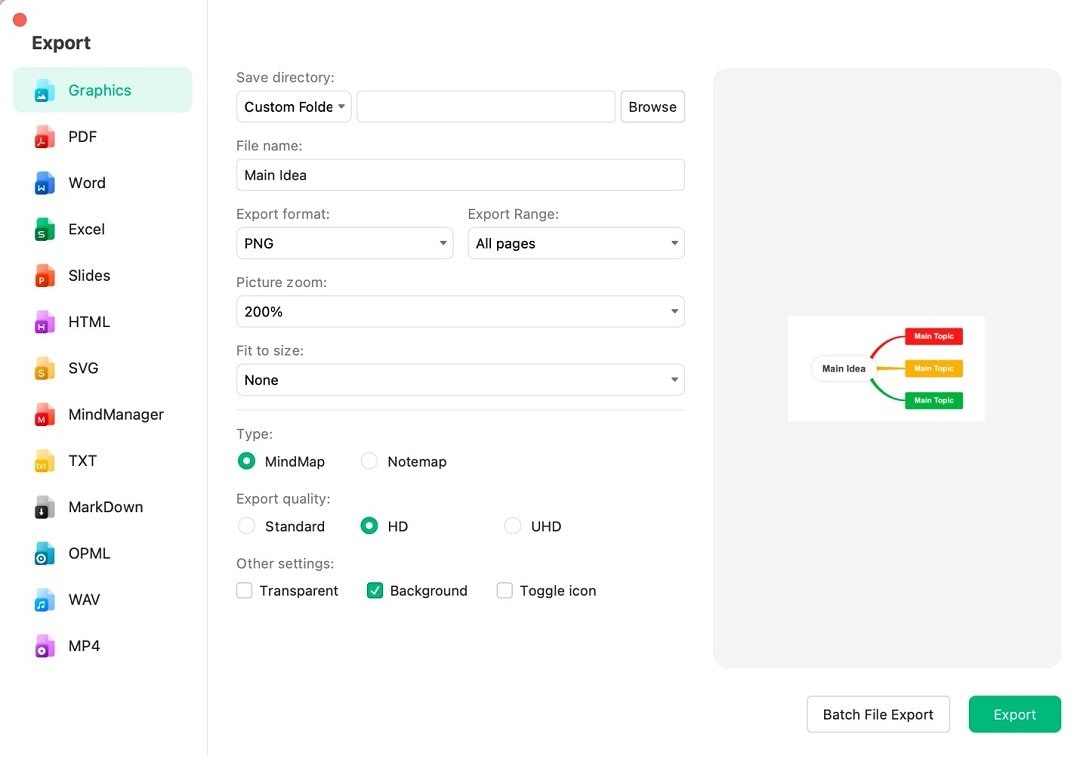
- Use the Export button in the top-left portion
- Use any file type other than JPG or PNG (Graphics) that supports interactive elements.
Advanced Techniques for Timeline Creation
After building a basic interactive timeline, you can begin adding techniques that enhance navigation and make it more useful for in-depth study.
These additions help organize longer narratives, connect supporting files, and create a smoother experience for anyone viewing the timeline.
Link to Other Documents/Media
A helpful technique is linking to other documents or media. Many timeline tools let you attach files or connect events to videos, articles, or maps.
This keeps the main timeline uncluttered while still giving quick access to important references. It’s especially useful for topics that require background reading or visual explanations.
Collaborate in Real-Time
Real-time collaboration is another valuable feature to utilize. With tools like EdrawMind, several people can edit the same timeline at once.
Classmates can add notes, update dates, or upload sources without waiting for someone else to finish. This makes group timelines easier to maintain and ensures that everyone works with the most recent version.
Use Collapsible Sections
If your timeline software supports collapsible sections, utilize them. Collapsible branches let you hide or expand groups of events.
This is helpful for periods with many smaller details, such as wars, discoveries, or overlapping developments.
Explore Non-Linear Navigation
Finally, consider exploring non-linear navigation when the topic covers wide or branching narratives. A world exploration timeline is a good example.
Instead of forcing events into one long line, you can create separate paths for different regions or voyages. Users can open the route they want to follow, such as Asia, the Pacific, or the Americas.
This makes the timeline feel more natural to explore and helps illustrate how different journeys happened at the same time.
3 Interactive Timeline Examples
Lastly, here’s a quick rundown of some examples taken from Wondershare EdrawMind’s Mind Map Gallery for an interactive timeline. It’s EdrawMind’s user-based sharing platform for diagrams.
Please note, however, that you’ll need to download EdrawMind and the provided templates to appreciate their interactivity fully.
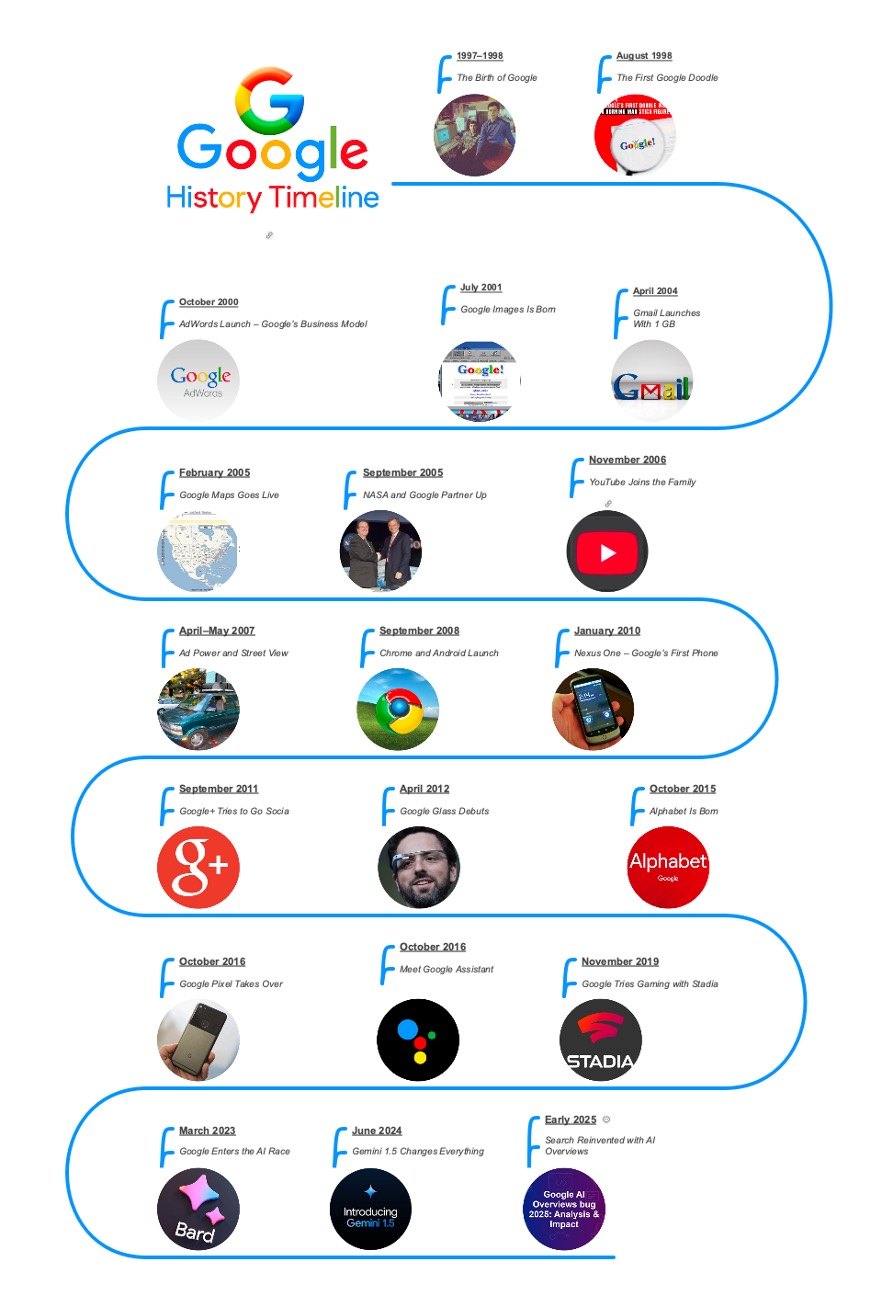
Google History Timeline
This template presents Google’s development in a clean chronological layout. Each milestone includes space for descriptions, product launches, and major turning points.
When edited interactively, you can attach videos of key announcements or link to articles covering each event. It’s a simple timeline but offers plenty of room for expansion and customization.
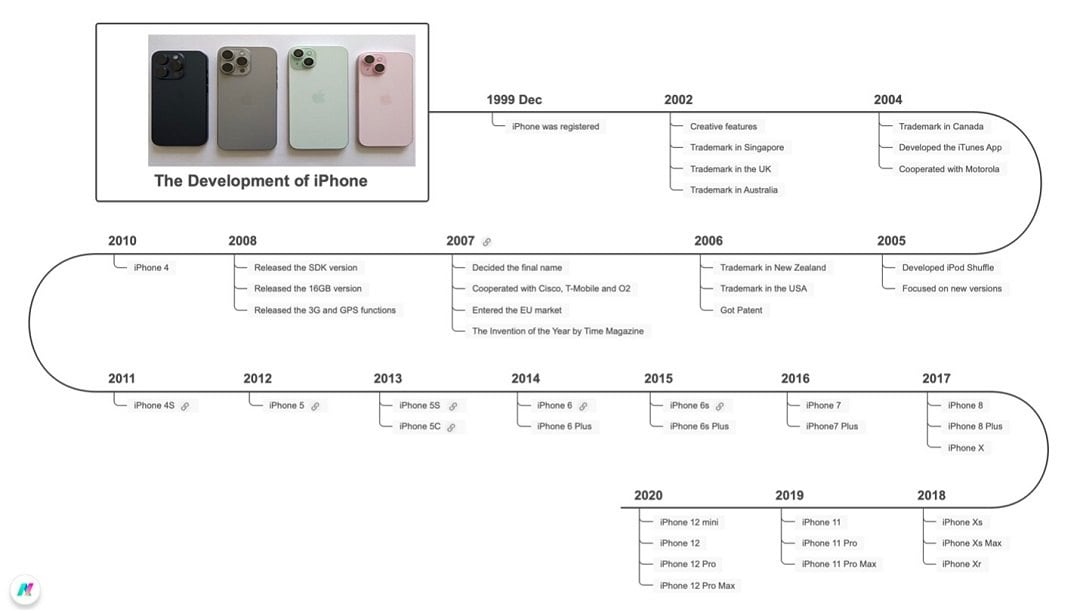
iPhone History Timeline
The iPhone history template walks through releases across different generations. It has built-in links to some of the videos or archives of iPhone’s major releases.
You can easily adapt it by attaching videos, keynote clips, or articles to each model for a more interactive experience. The current file has attachments up to the iPhone 6s, which you can easily add to.
Project Timeline Template
This >project timeline template is interactive, allowing you to use it as a checklist as well. As you can see, it has different checkboxes that you can click to mark them as complete.
You can even change the icons beside the “Task x” texts to mark them as in progress or completed.

Conclusion
By the end of the article, you should have appreciated the difference in benefits between a normal timeline and an interactive timeline. You can get more use and information with this form of timeline.
This guide has also introduced you to Wondershare EdrawMind. It’s a good choice for adding interactive elements and sharing that interactivity with your friends. For your next project, make sure to try it out.