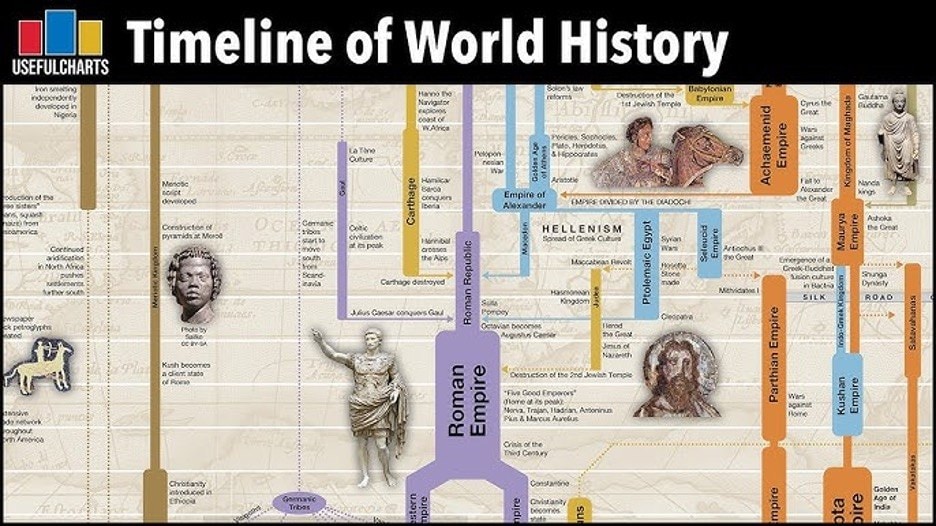
History is a subject that involves much information. And often, teaching it chronologically is crucial to ensure a thorough understanding of a specific topic or era. For this purpose, you’ll usually see timelines that arrange the events.
These visual tools are called history timelines. They lay out the events in the order as they happened, and offer additional information for the reader to appreciate what happened in the past at a glance.
It’s easy to appreciate timelines when you read them, but learning how to make them is another. This article will explore how to make history timelines for your next study session.
In This Article
How To Create a History Timeline
Now, you can try to create your very first history timeline. It can be overwhelming, but the key to boosting your confidence is having the right tool. Here, you’ll look at Wondershare EdrawMind.
One good option for building a history timeline is Wondershare EdrawMind. As a tool, it’s focused on providing users like you with creative drawing tools and AI assistance so that you can maximize the program's potential.
For starters, here are some key features of EdrawMind that you’ll like and will be helpful as you create your history timeline:
- AI webpage & YouTube summarizer, making it easy to absorb material from the internet.
- An AI web search function so that you can look up the right history bits for your timeline
- Presentation mode, which allows you to generate PowerPoints from your history timeline easily
- With over 700 ready-made cliparts and icons, you can customize your timeline accordingly.
- Real-time collaboration so that you can work with your team
Interested? Continue reading to learn how you can start maximizing these features for your timeline.
Steps To Create a History Timeline With EdrawMind
To begin creating your history timeline with EdrawMind, follow the steps provided below:


Step 1 Create a New Project
There are several ways you can start a new project in EdrawMind:
- In the homepage, go to +New > Blank Mind Map
- Duplicate a timeline template from the Gallery or quick access panel (homepage)
- Ask AI to generate a mind map of your desired history topic.

Step 2 Change to Timeline Layout
By default, EdrawMind runs in mind map mode. So, convert the layout to a timeline:
- Go to the Layout panel.
- Open the drop-down menu.
- Select from any of the available timeline options.

Step 3 Edit Text and Add Events
Now, it’s time to add text or edit information in your timeline/template.
- Double-click on nodes to edit their text content.
- Use the appearing customization bar or Style panel > Font to customize the text appearance.
- Use the Topic/Subtopic tool to add more nodes (select the node you want to add extra nodes to).

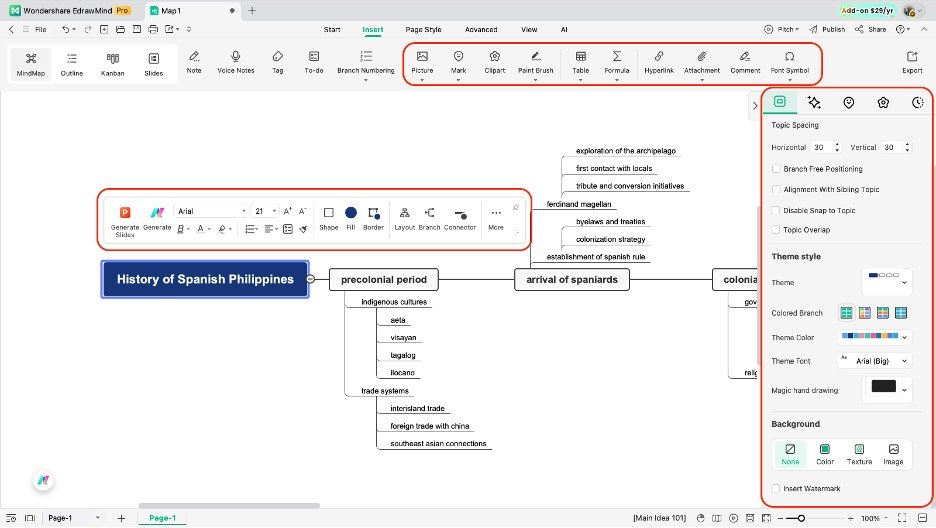
Step 4 Customize the Timeline
EdrawMind has different options for customization. You can try out the other stuff below:
- Use the appearing customization bar for context-specific editing (shape, border, line, etc.)
- Use the Style panel on the right-hand side to change the theme/layout.
- Go to Insert to add pictures, marks, icons, images, cliparts, and more.
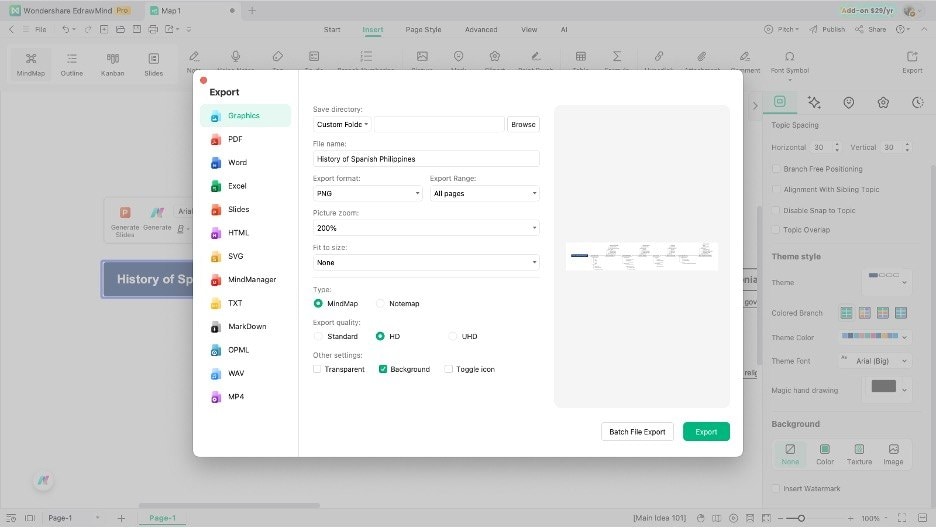
Step 5 Share and Export
Once done, you can export your content accordingly.
- Click the Export button on the top-left portion of the ribbon
- Use any of the file types provided as necessary (PDF, PNG, JPG, Visio, Markdown, etc.)
Advanced Techniques for Timeline Creation
After learning how to make a history timeline, you will naturally develop new techniques to make them better or easier to appreciate. However, if you’re a newbie in timeline-making, some tips wouldn’t hurt.
This section will introduce you to some advanced techniques that will undoubtedly enhance your timeline-making skills.
Add Media Elements
One helpful method is adding media elements. Portraits of important figures, maps of territorial changes, and images of artifacts can make the timeline easier to understand.
These visuals provide context, especially for events that are difficult to imagine or explain through text alone. EdrawMind allows you to insert images directly into the nodes, keeping everything in one place.
Apply Tags or Icons to Major Events
Another technique is applying tags or icons to major events. Simple badges such as stars, flags, or shapes can mark turning points, beginnings, or endings within a topic.
This makes it easy to scan the timeline and immediately identify important historical milestones.
Add Hyperlinks, Attachments (Make It Interactive!)
You can also make your timeline more interactive by inserting hyperlinks, attachments, or notes. Hyperlinks can direct you to articles or videos, while attachments can store related documents or summaries.
Notes are useful for adding extra explanations without crowding the main timeline. These additions help you study more efficiently because the supporting information is accessible with a single click.
Divide Content Into Eras or Phases
For timelines covering long historical periods, dividing the content into eras or phases is valuable. You can group events by century, dynasty, or major thematic period.
This keeps the timeline organized and helps prevent information overload. Labels, color-coded sections, or distinct branches can help establish these divisions clearly.
History Timeline Templates
If you’re still not ready to make your first timeline, or you want to have more inspiration before you start making them, read this part. This part will explore templates from EdrawMind’s Mind Map Gallery.
Mind Map Gallery is EdrawMind’s user-powered sharing platform for diagrams. It boasts over 30,000 templates, including historical timelines that you might like or consider duplicating.
Anyhow, here are five examples of history timelines taken from the gallery:
US History Timeline
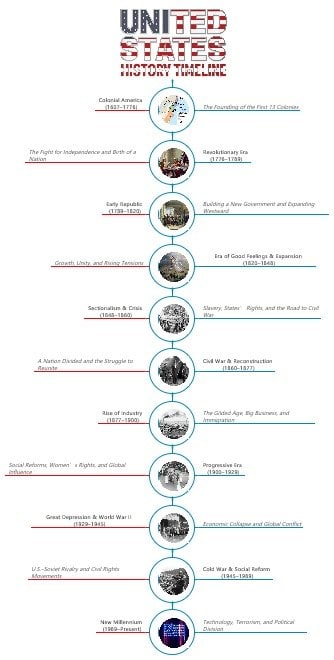
This first example is a historical timeline of the United States of America. This is a popular topic, particularly given the country's significant influence. You can use the template as a foundation and expand it accordingly.
Additionally, it features a nice, on-theme header that incorporates the country's flag. Then, it lists key events in America’s history. You can edit this and use it for your needs.
History of the Renaissance
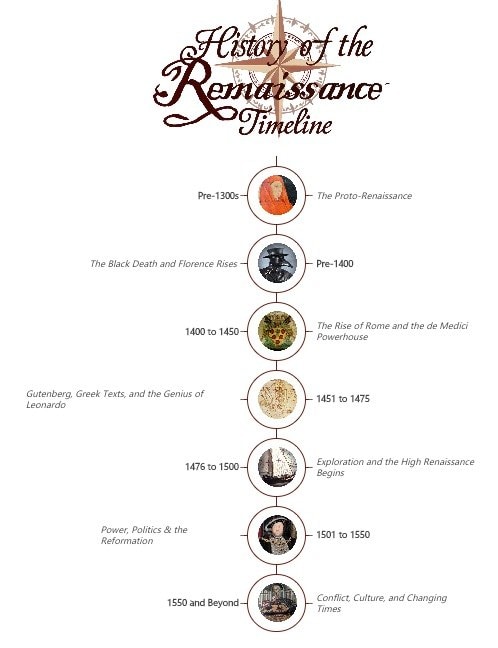
Second, here is a beautiful history of the Renaissance timeline. Like the previous example, this one uses an aptly themed header with photos relevant to the key events (including pictures of key figures like Henry VII).
This isn’t exhaustive, so if you want to use it, you can add more nodes and pictures as necessary. The Renaissance is a long period, and this is one of those timelines that would benefit from categorization.
English Literature History Timeline
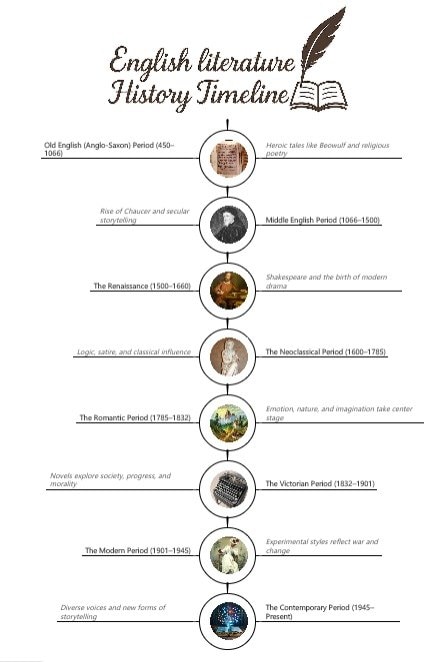
Our next example explores the key events in the history of English literature. It’s a different topic from the previous ones covered, but it’s an insightful resource for those interested in the study of creative writing.
You can expand this with more content or use it as is, but make sure to add your own touch and edit it accordingly.
Google History Timeline
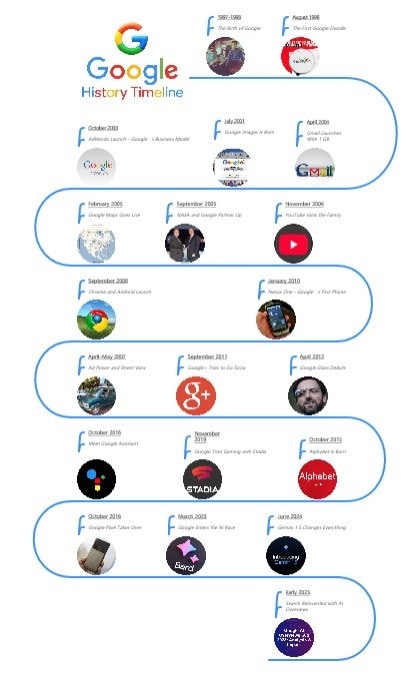
Next, you can take a look at something more modern. Here’s a comprehensive timeline of Google, one of the world’s biggest tech companies. People are familiar with Google, so it’s essential to understand its history.
This example uses the colors and themes of the company itself. It’s instantly recognizable and helpful as the information you’ll need when studying Google’s history.
iPhone History Timeline
Lastly, this is the history of one of the most popular devices ever made. This example explores the history of the iPhone, a revolutionary device that, arguably, impacted modern culture.
Since this is not comprehensive and only covers iPhones up until 2020, you can edit it to add more information about the recent releases.

Conclusion
Overall, using a history timeline of historical events can make your study of the subject significantly easier. As you’ve seen in the examples, and as you’ve tried making one, it easily highlights important information.
This makes the history timeline an ideal tool for presentations or review. For presentations, your audience will appreciate the organized re-arrangement of history because it’s more digestible.
If you’re looking for a companion to make your next history timeline, make sure to try out EdrawMind. You’ve seen and tried firsthand how its features can significantly improve your timelining experience.