A timeline is a graphical representation of events that shows the order in which they occurred over a specific period. Timelines can track historical events, project milestones, or personal goals. They help to visualize the passage of time and provide a clear understanding of how things have progressed.
Google Slides, a web-based presentation software, offers a user-friendly timeline creation platform. It allows users to add text and images and customize the layout and design to suit their needs.
This article will explore tips and tricks for creating visually appealing timelines using Google Slides. Additionally, this article will introduce alternative software called EdrawMind, which offers more advanced features for creating timelines.
How To Create Timeline Using Google Slides
Google Slides is a web-based presentation software developed by Google. It is part of the Google Workspace suite, including other productivity tools such as Google Docs and Google Sheets. With Google Slides, users can create, edit, and share presentations online using a variety of templates, themes, and multimedia options. The software allows users to collaborate in real-time with others, making it a popular choice for remote teams.
Key elements of Google Slides:
- Users can collaborate with others in real-time, allowing for multiple people to work on a presentation simultaneously.
- With an internet connection, people can access Google Slides from anywhere and save presentations to Google Drive for easy storage and sharing.
- Google Slides offers a variety of templates and themes that can be customized to fit specific needs.
- Multimedia integration, where users can easily add images, videos, and audio to their presentations.
A Quick Guide to Creating a Timeline Using Google Slides
The following section is a step-by-step way to create a timeline using Google Slides.
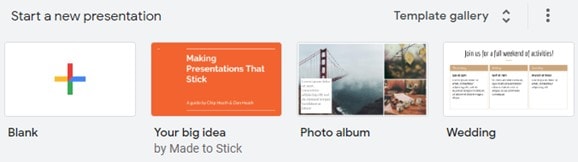
Step1: Open Google Slides and click Blank under the Template gallery.
Step2: Go to the Insert tab, and click Diagram on the drop-down menu to open the Diagram pane.
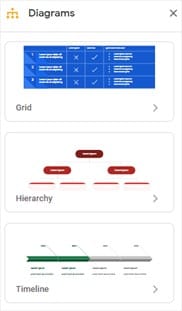
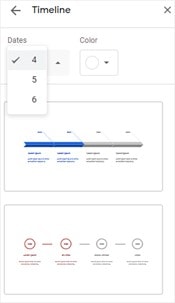
Step3: Click the third diagram thumbnail to display more inbuilt timeline templates. You can change the number of Dates to increase or decrease the number of the shapes.
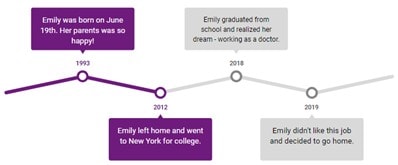
Step4: After selecting a suitable template, you can type or paste the related content of the timeline into the template. Usually, you can enter the event and date on the timeline.
Step5: Click File and Save to save your timeline.
?Learn more creative google slides timeline templates you can quickly grab and use for your next presentation.
Tips and Tricks To Make a Timeline in Google Slides More Visually Appealing and Effective
It is essential to make it attractive and eye-catching to enhance your timeline. Here are 4 tricks that you can do to make your timeline appealing.
1. Consistent Colour Scheme
A consistent color scheme helps establish visual harmony throughout your timeline. Using a limited palette of colors, you can create a sense of unity and cohesiveness that helps enhance the readability of your timeline. It can also create visual interest by drawing the audience's attention to specific timeline milestones or events when colors complement each other, and your presentation's theme is used.
2. Use of Icons or Symbols
Icons and symbols in Google Slides enhance aesthetics, simplify complex ideas, and engage diverse audiences with universal appeal. Customizable and professional, they captivate attention, making your presentation more engaging, memorable, and informative.
3. Shapes/Images/Photos
Shapes, images, or photos can help draw your audience's attention to specific milestones or events. They can also help break up the text and make the timeline look less cluttered. Images or photos can also help create the context for the events or milestones in your timeline.
4. Animation
Animation can help highlight important information, such as specific milestones or events in your timeline, making them more prominent and easier to notice. Animation can also help enhance storytelling in your timeline. Using animation to show the progression of events over time, you can create a more compelling narrative that keeps your audience engaged and interested.
EdrawMind, an Alternative Software To Create Timelines
EdrawMind is a versatile and user-friendly mind-mapping software that allows users to create a wide range of diagrams, flowcharts, and mind maps for personal and professional use. It offers powerful tools and features that make it easy to create and edit mind maps, including drag-and-drop functionality, built-in templates and themes, and a wide range of customization options.
1. Four Main Types of Timelines in EdrawMind
With EdrawMind, creating a timeline is easy. Select the timeline template from the templates library, then drag and drop the timeline elements onto the canvas. You can customize the timeline by adjusting the date range, adding events, and changing the colors and formatting to suit your needs.
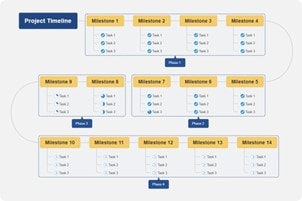
1.1 Horizontal Timeline
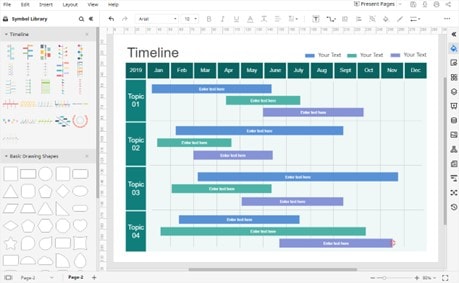
A horizontal timeline is a picture that shows the order of events or important moments over time. In EdrawMind, you make a horizontal timeline by putting events or moments on a straight line with marks showing time passing equally.
People use horizontal timelines for many things, like planning projects, showing history, or telling their own stories. They're simple to understand and show events clearly. EdrawMind lets you change how much time each mark shows and the colors and writing style.
1.2 Vertical Timeline
EdrawMind can also make a vertical timeline, that goes up and down instead of side to side. This kind of timeline shows events in order from top to bottom, with marks showing the time between them.
Vertical timelines are good for showing lots of events without taking up too much space. They can also look more attractive than horizontal timelines because you can be more creative with the space.

1.3 Winding Timeline
EdrawMind can also make a special kind of timeline called a winding timeline. This type of timeline shows events in order along a curvy or wavy line. It's not used as often as vertical or horizontal timelines, but it can look more attractive and exciting. People use winding timelines for creative projects or events, not following a straight line. The marks on the timeline show time passing in equal amounts.
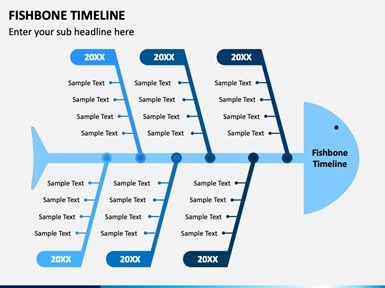
1.4 Fishbone Timeline
A fishbone timeline (also called Ishikawa or cause-and-effect diagram) is a picture that shows how events or important moments led to a specific result. To make one in EdrawMind, you start with the result at the end and add lines that show what caused it.
People use fishbone timelines for many things, like fixing problems, understanding why things happen, and ensuring things are done right. They help you see and understand complicated information and find the reasons behind a problem.
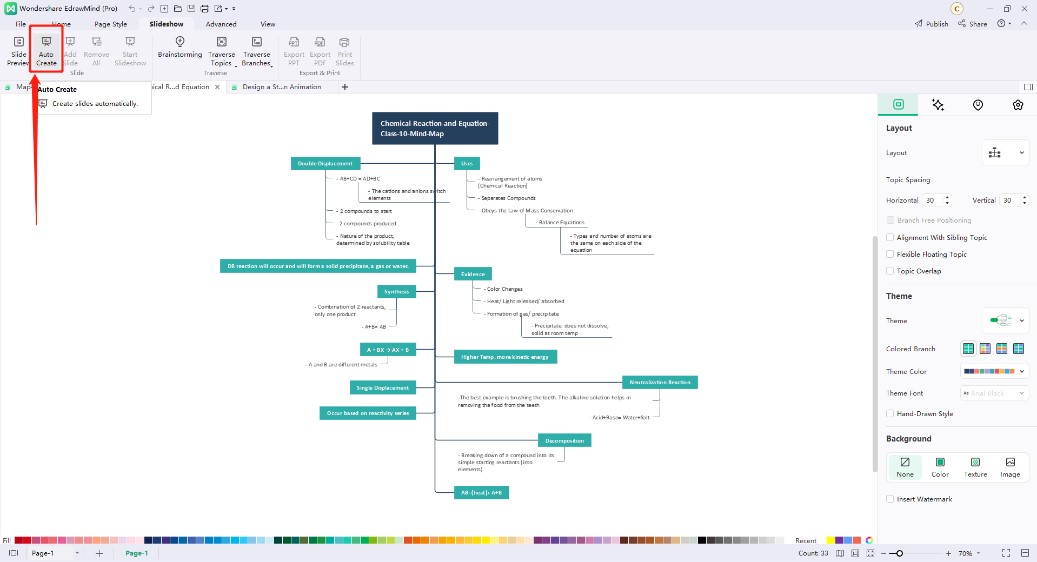
2. Auto Create Slide Feature in EdrawMind
Auto Create Slide is a tool in EdrawMind that makes a presentation using the information from your mind map. When you turn it on, EdrawMind makes a new slide for each main idea in the mind map and adds details as bullet points or pictures.
This tool is good when you want to make a presentation fast without copying and pasting from the mind map to another tool. It also helps you keep everything the same between the mind map and the presentation. The presentation will update automatically if you change something in the mind map.
2 Ways To Create Timeline Using EdrawMind
This section will discuss two methods to create a timeline using EdrawMind.
Method 1: Create a Timeline Using Templates in EdrawMind
Here is a simple step-by-step example of creating a timeline on EdrawMind using preset templates.
Step 1
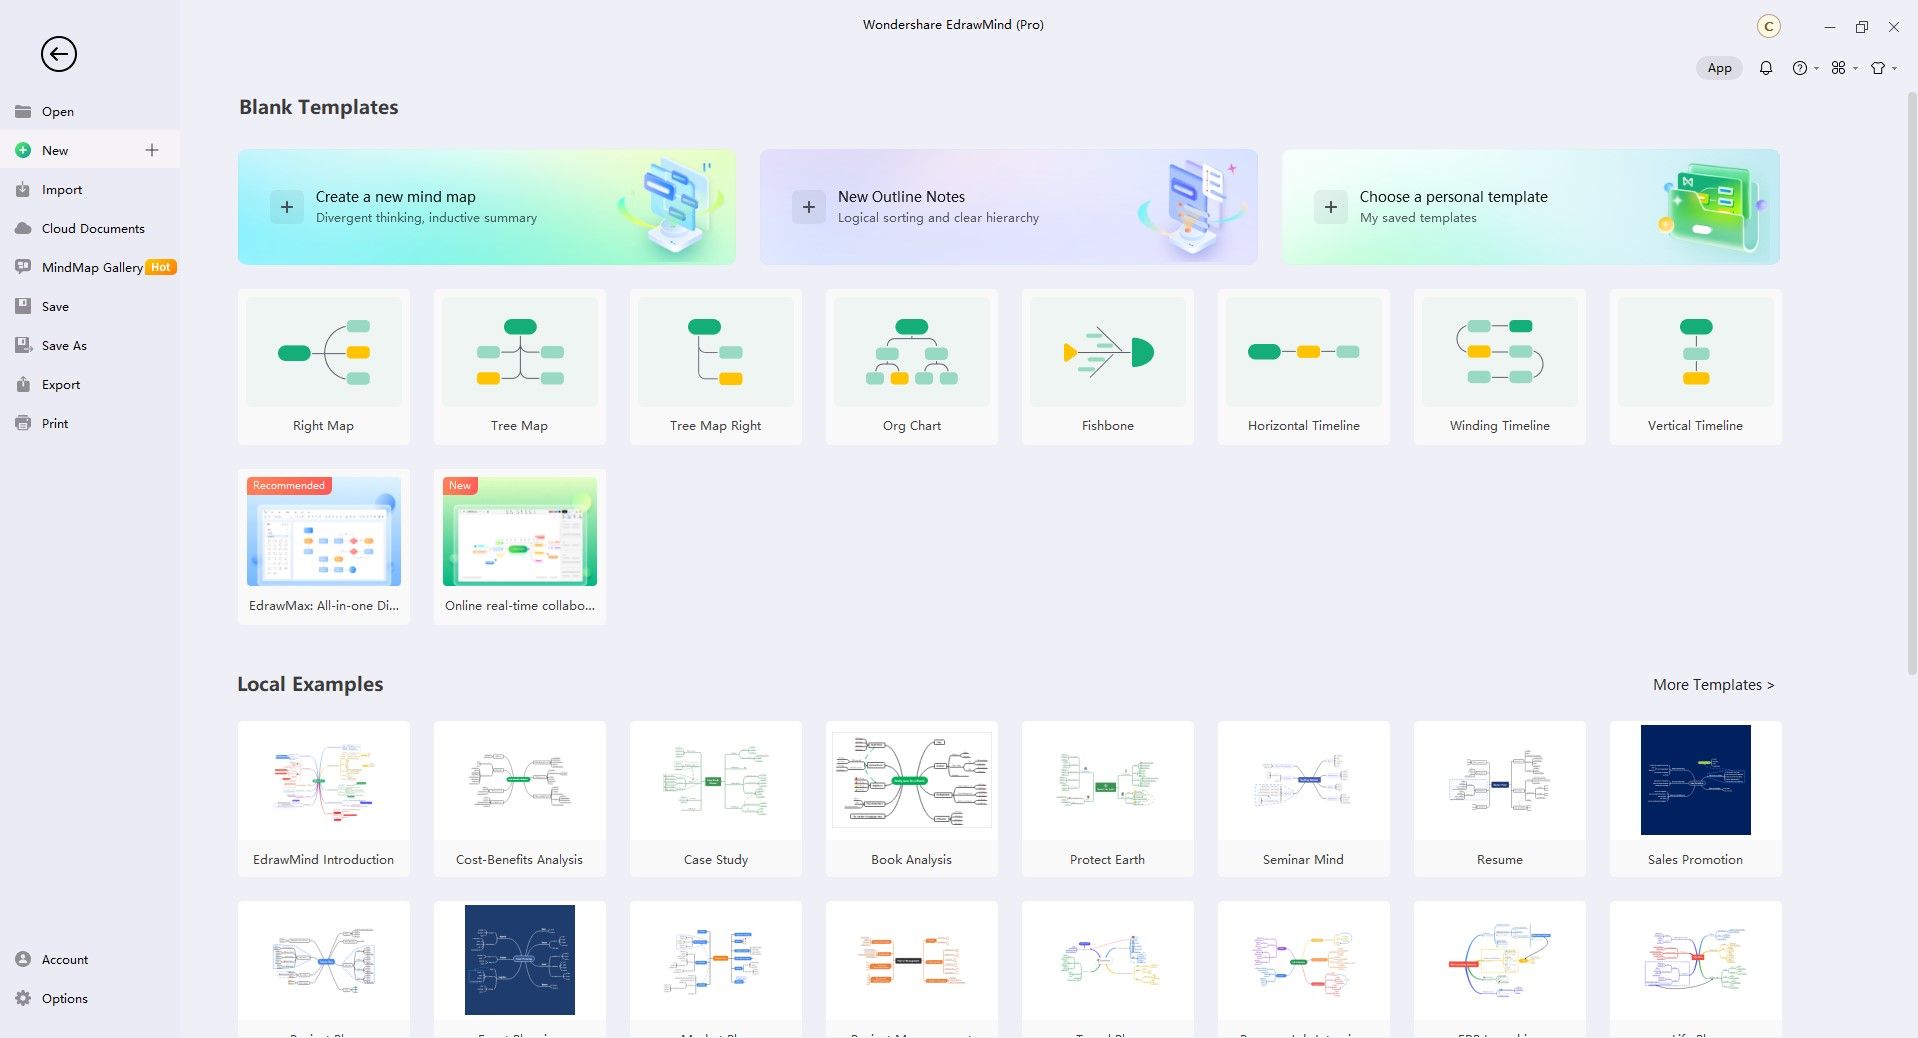
Open EdrawMind and click New to create a new document.
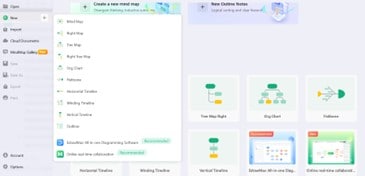
Step 2
Select one of the timeline templates available. In this example, a horizontal timeline was selected.

Step 3
Customize the template to fit your timeline needs by adding, removing, or editing the timeline shapes, text, and colors. You can adjust the timeline layout, font size, and spacing to achieve the desired look and feel.
Step 4
Save your timeline by clicking on File and selecting Save As. Choose a name and location for your file and click Save.
?Learn more about more creative EdrawMind blank timeline templates you can quickly grab and use for your next presentation.
Method 2: Create a Timeline From Scratch
Besides using templates, you can create your desired timeline and add any unique shapes and directions. Follow the simple steps below to build your timeline from scratch.
Step 1
Follow the Step 1 and Step 2 from Method 1.
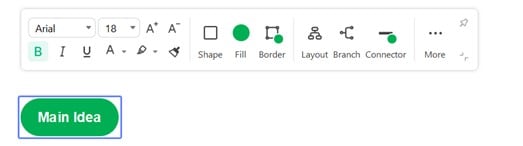
Step 2
Select all topics using Ctrl + A and tap Delete on your keyboard to remove all subtopics to leave the Main Idea only.
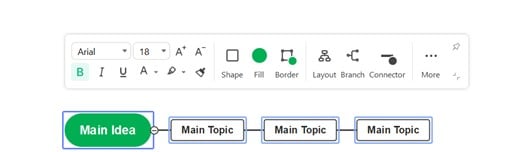
Step 3
Set the format of the Layout and Branch or colors of Connector for new topics in the timeline. You can also input your desired wordings in each topic or subtopics by clicking on the shape's middle.
Step 4
Save your timeline by clicking on File and selecting Save As. Choose a name and location for your file and click Save.
Conclusion
To make a reasonable timeline in Google Slides, you must plan carefully and keep it simple and clear. This article has tips to help you create an excellent timeline that gets your point across.
EdrawMind has many templates for making timelines in Google Slides, like ones for history or project plans. You can also change things like the layout, colors, and fonts.
EdrawMind works with Google Slides, so you can save your timeline as an image or PDF and use it in your presentation. Using EdrawMind to make your timeline can help you make it look good and show your ideas clearly.