


Every decision has its good and bad results. It is better to have them planned out before you make those decisions. According to a study by the Specialty Equipment Market Association, most businesses fail because of poor decision-making. That’s why it is vital to use decision trees. It presents a hierarchical structure showcasing outcomes for each event. This algorithm can help you prevent errors, like higher expenses and increased risks.
Creating a decision tree can initially seem challenging, but not when you the easiest way. You can even make this diagram on tools like Microsoft Word. So, let’s learn how to make a decision tree in Word. We will also cover an alternative and easier way if Word isn’t feasible. Let’s dig in.
In this article
How to Make a Decision Tree in Word
Generally, you have two ways of how to make a decision tree in Word. Let’s look at both methods in this step-by-step guide:
A. Making a Decision Tree via The Shape Library
Microsoft Word has a decent collection of shapes in its library. You can use that to create a decision tree. Here’s how:
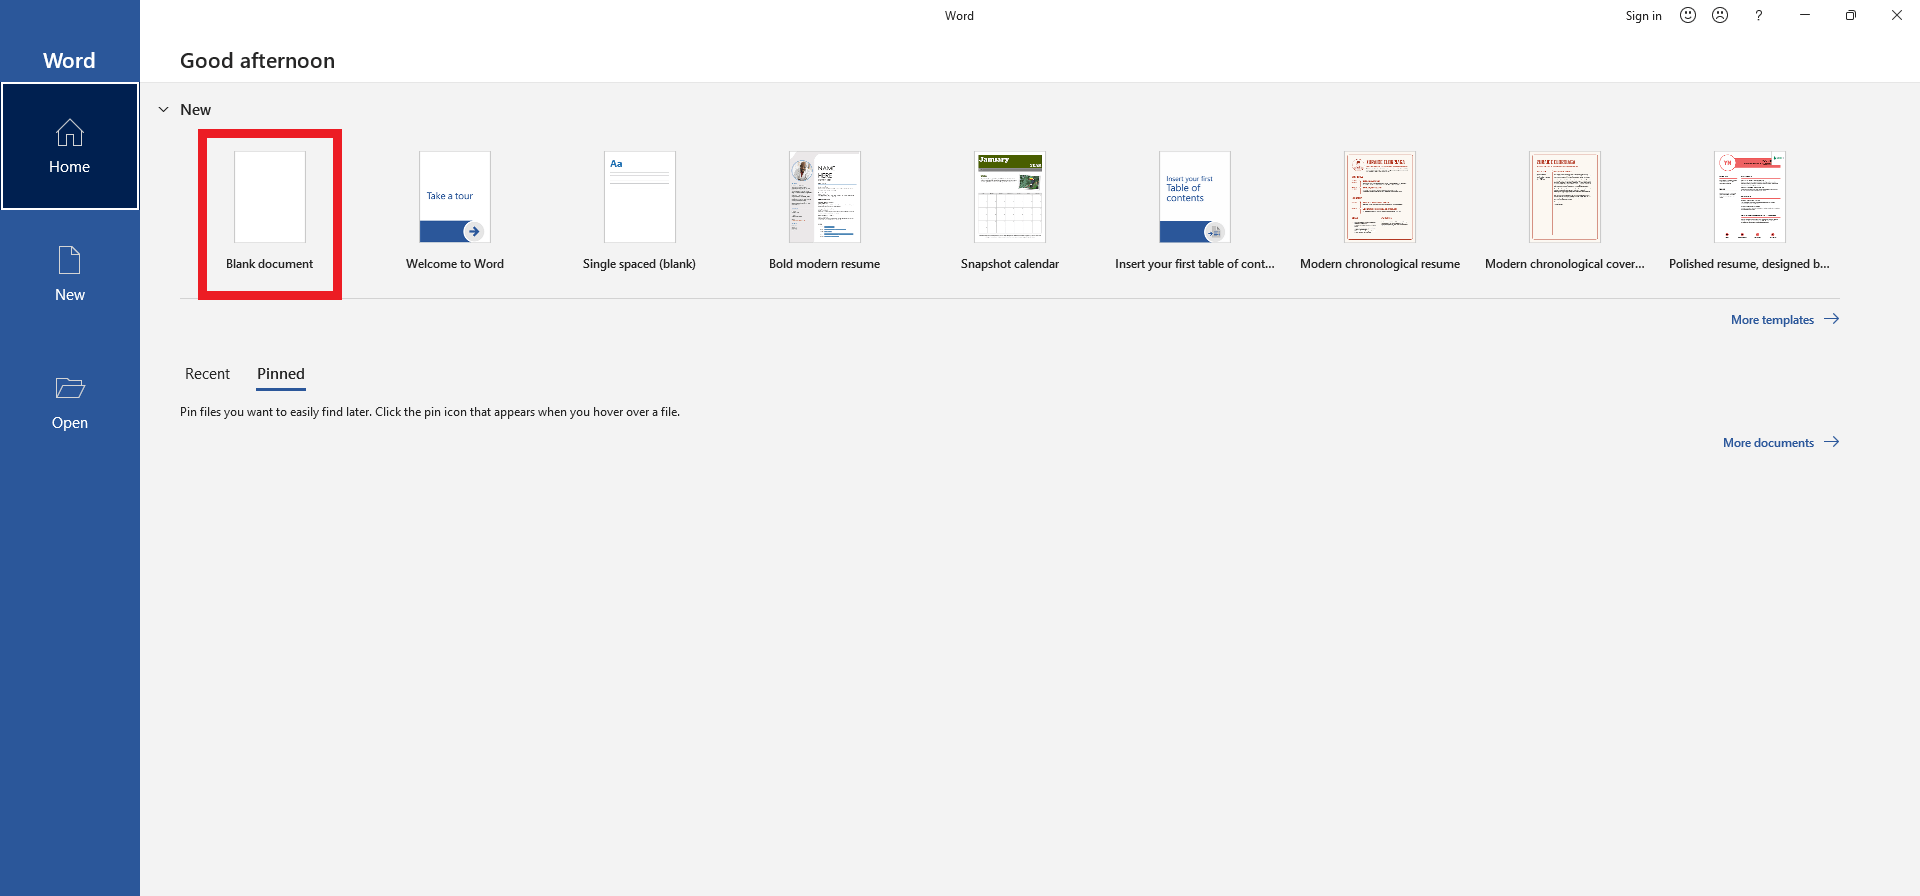
- Launch Microsoft Word and open a Blank Document.
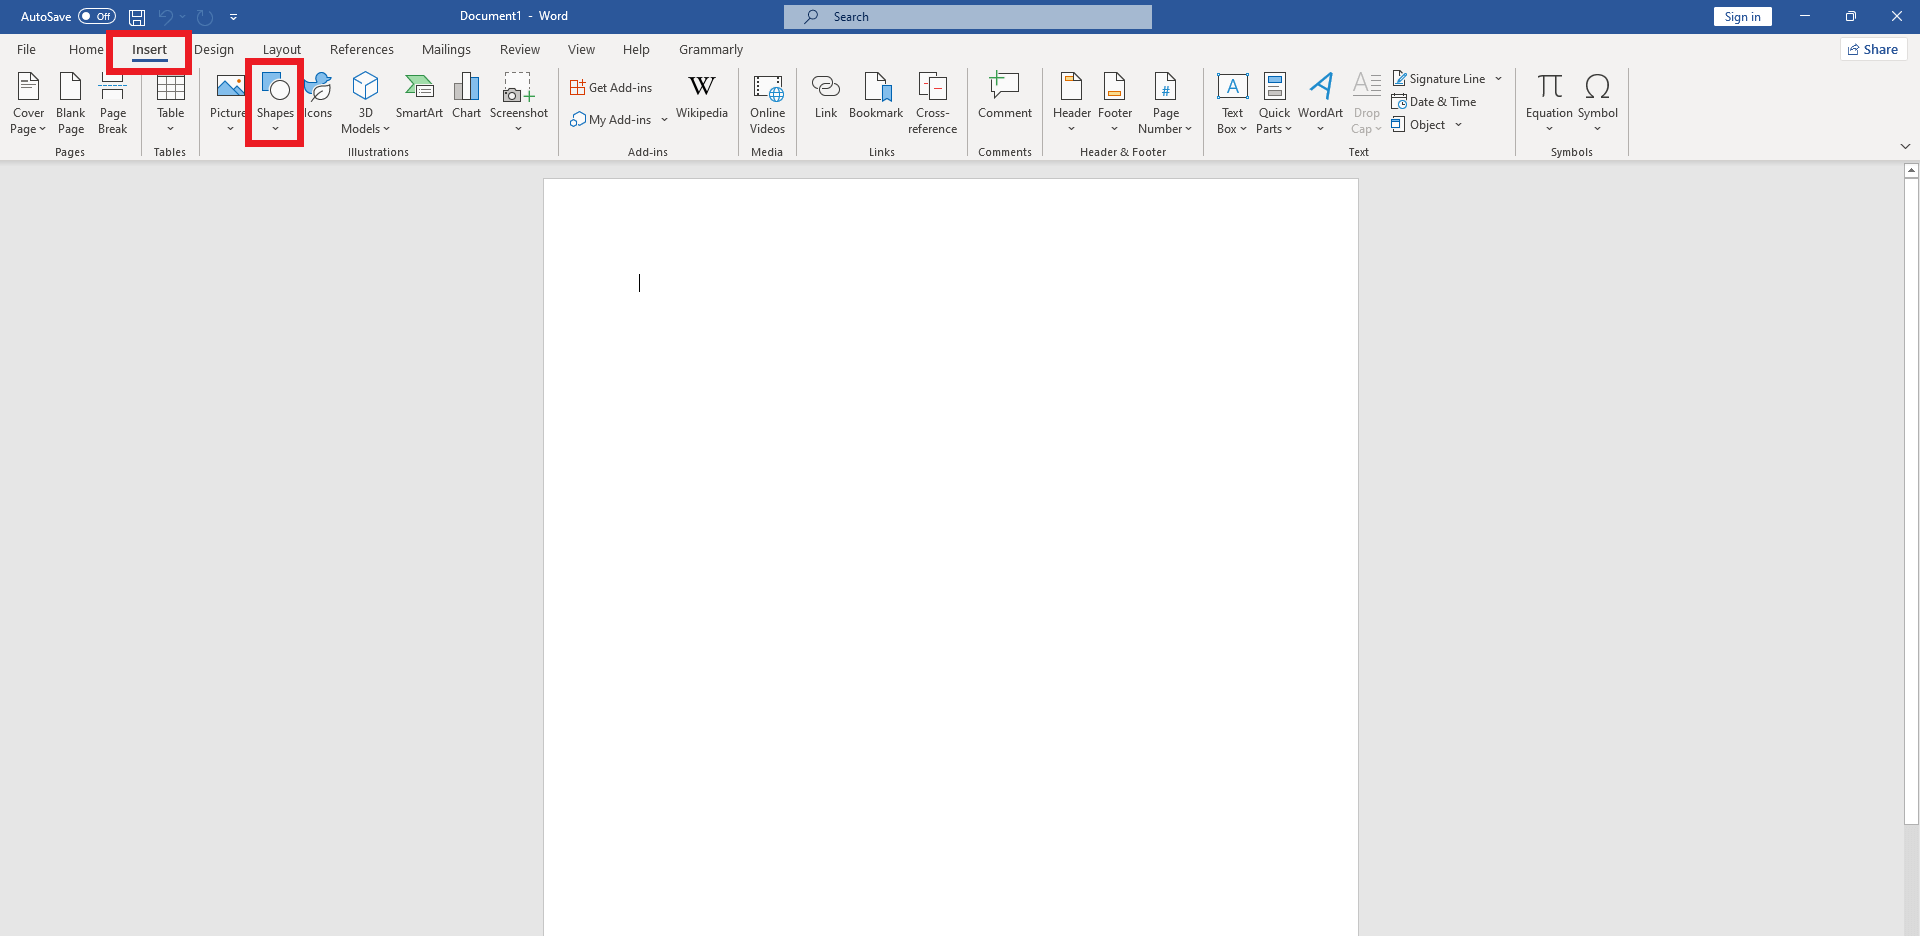
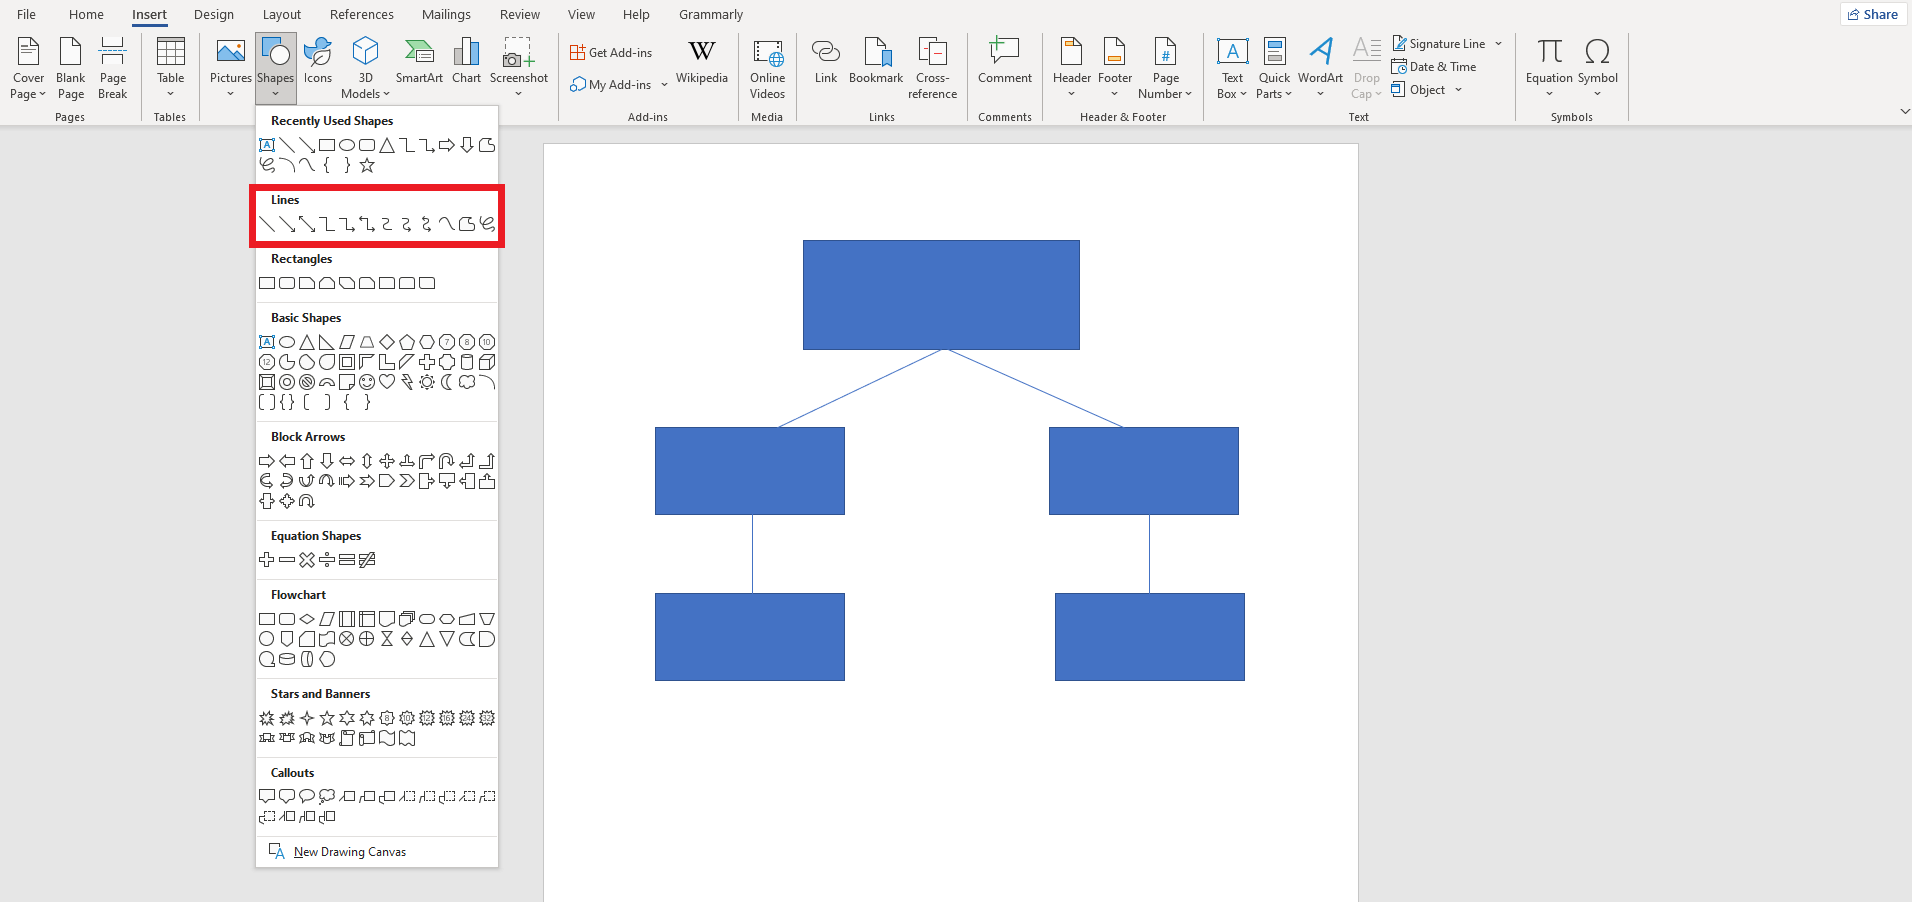
- Navigate to Insert on the top menu bar and click Shapes.
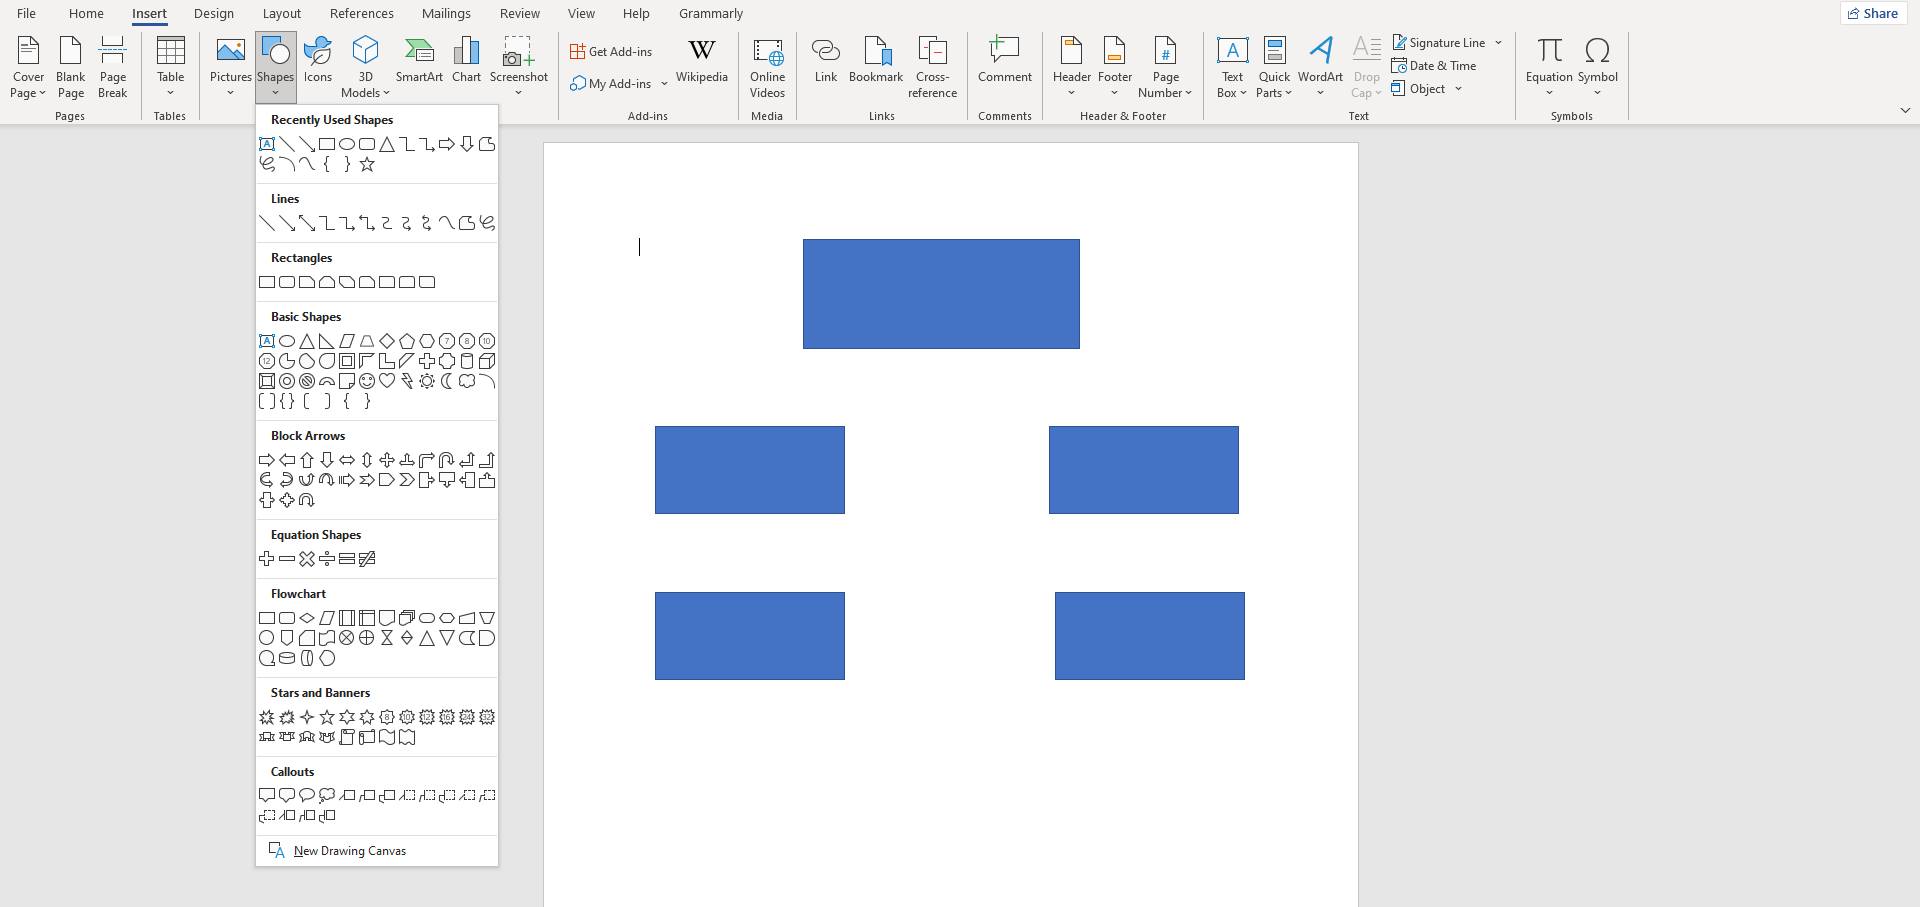
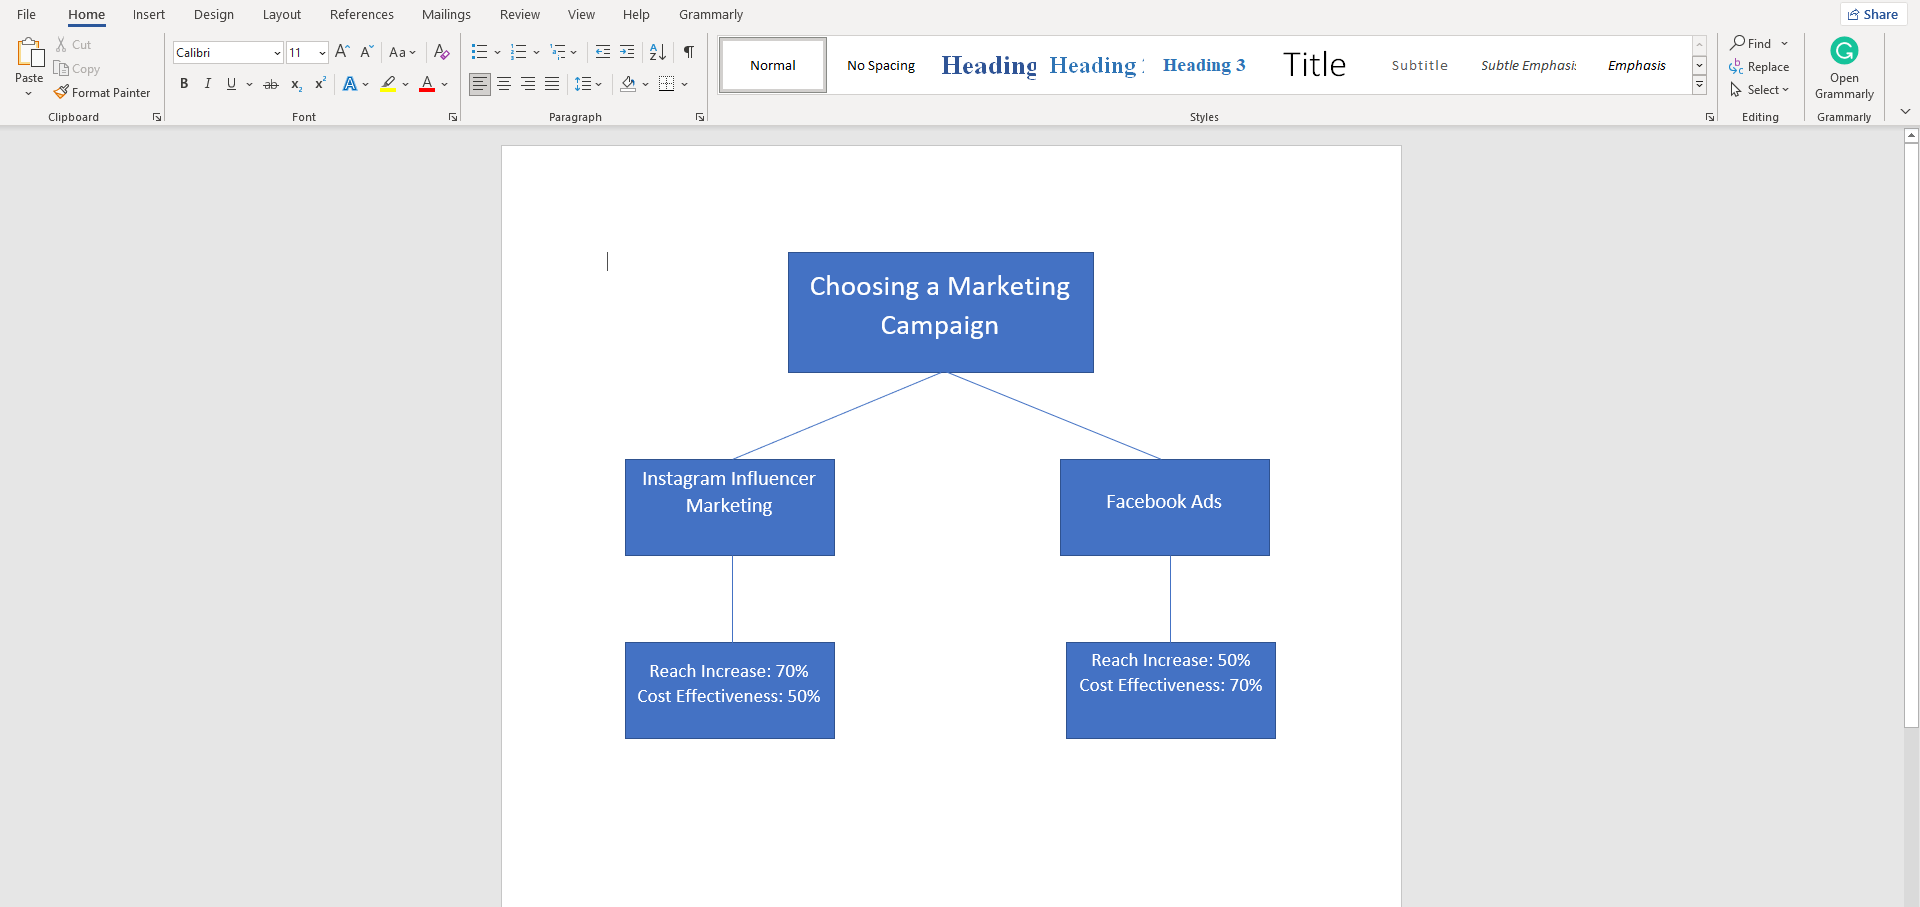
- Select any shape from the list and draw it on the blank document. Similarly, draw multiple shapes on the canvas.
- Draw connections between these shapes using the Line.
- Click any shape to add text to it.
B. Creating a Decision Tree via SmartArt
The SmartArt feature offers a variety of ready-made diagrams in Word. Let’s see how to use them to create a decision tree:
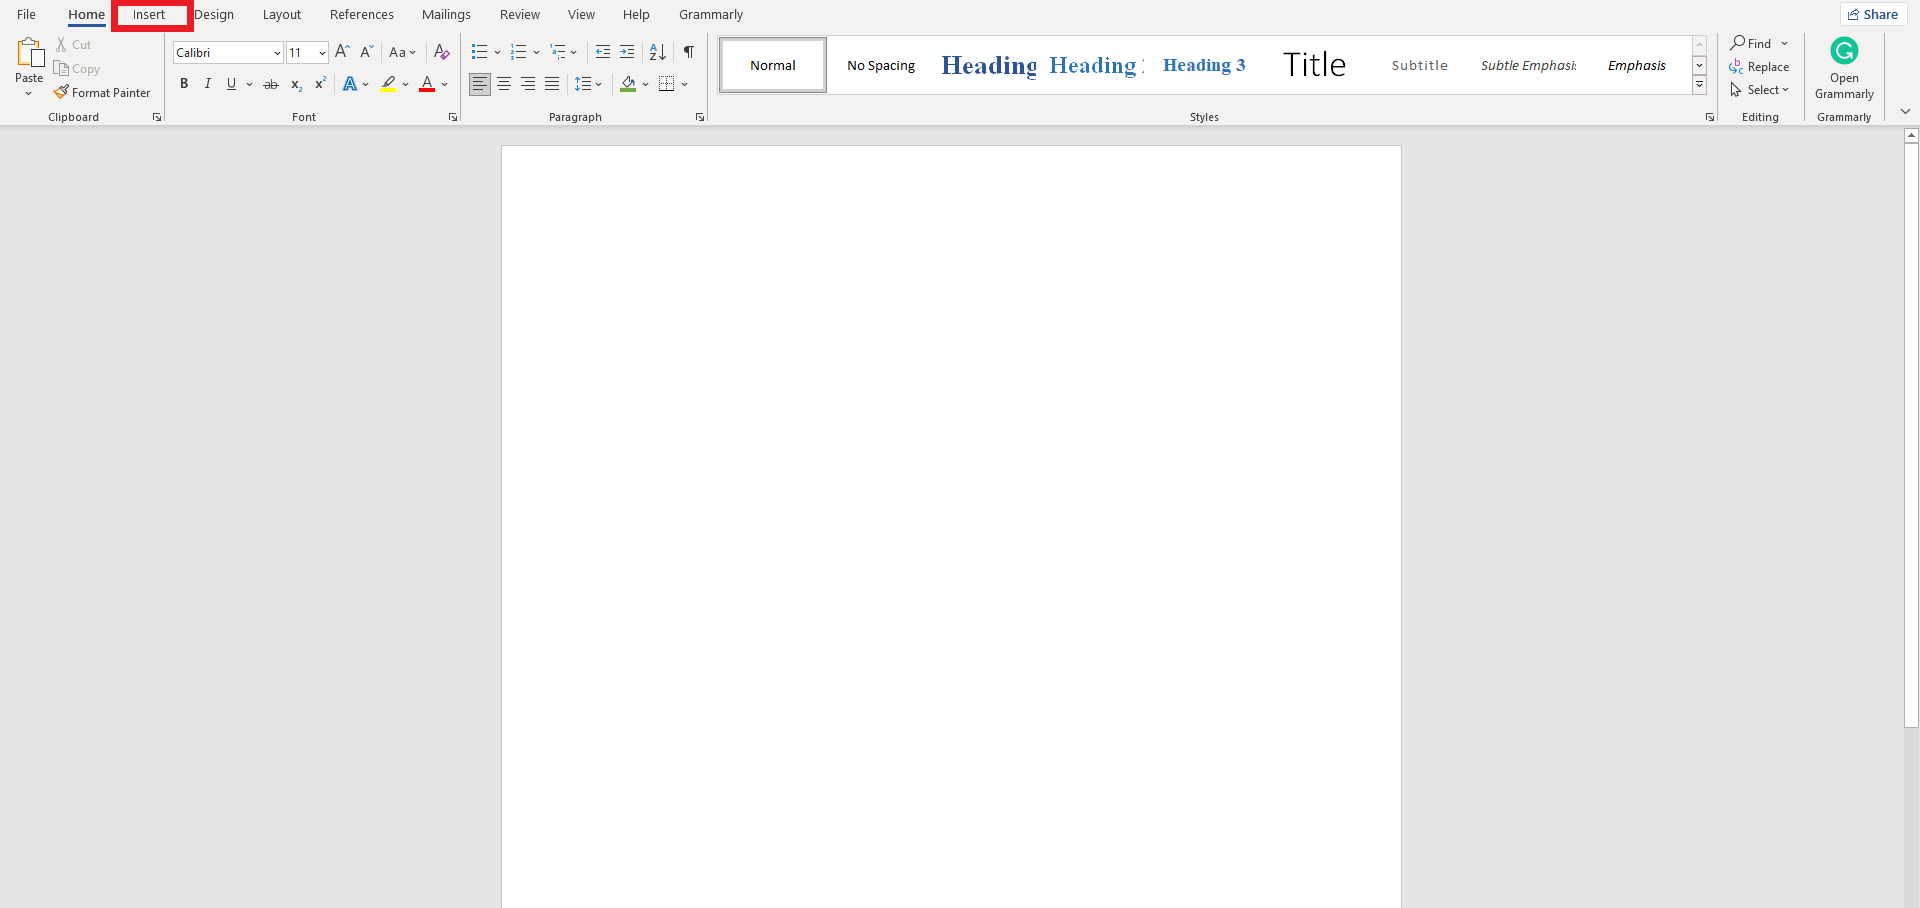
- Open a new Word document and go to Insert.
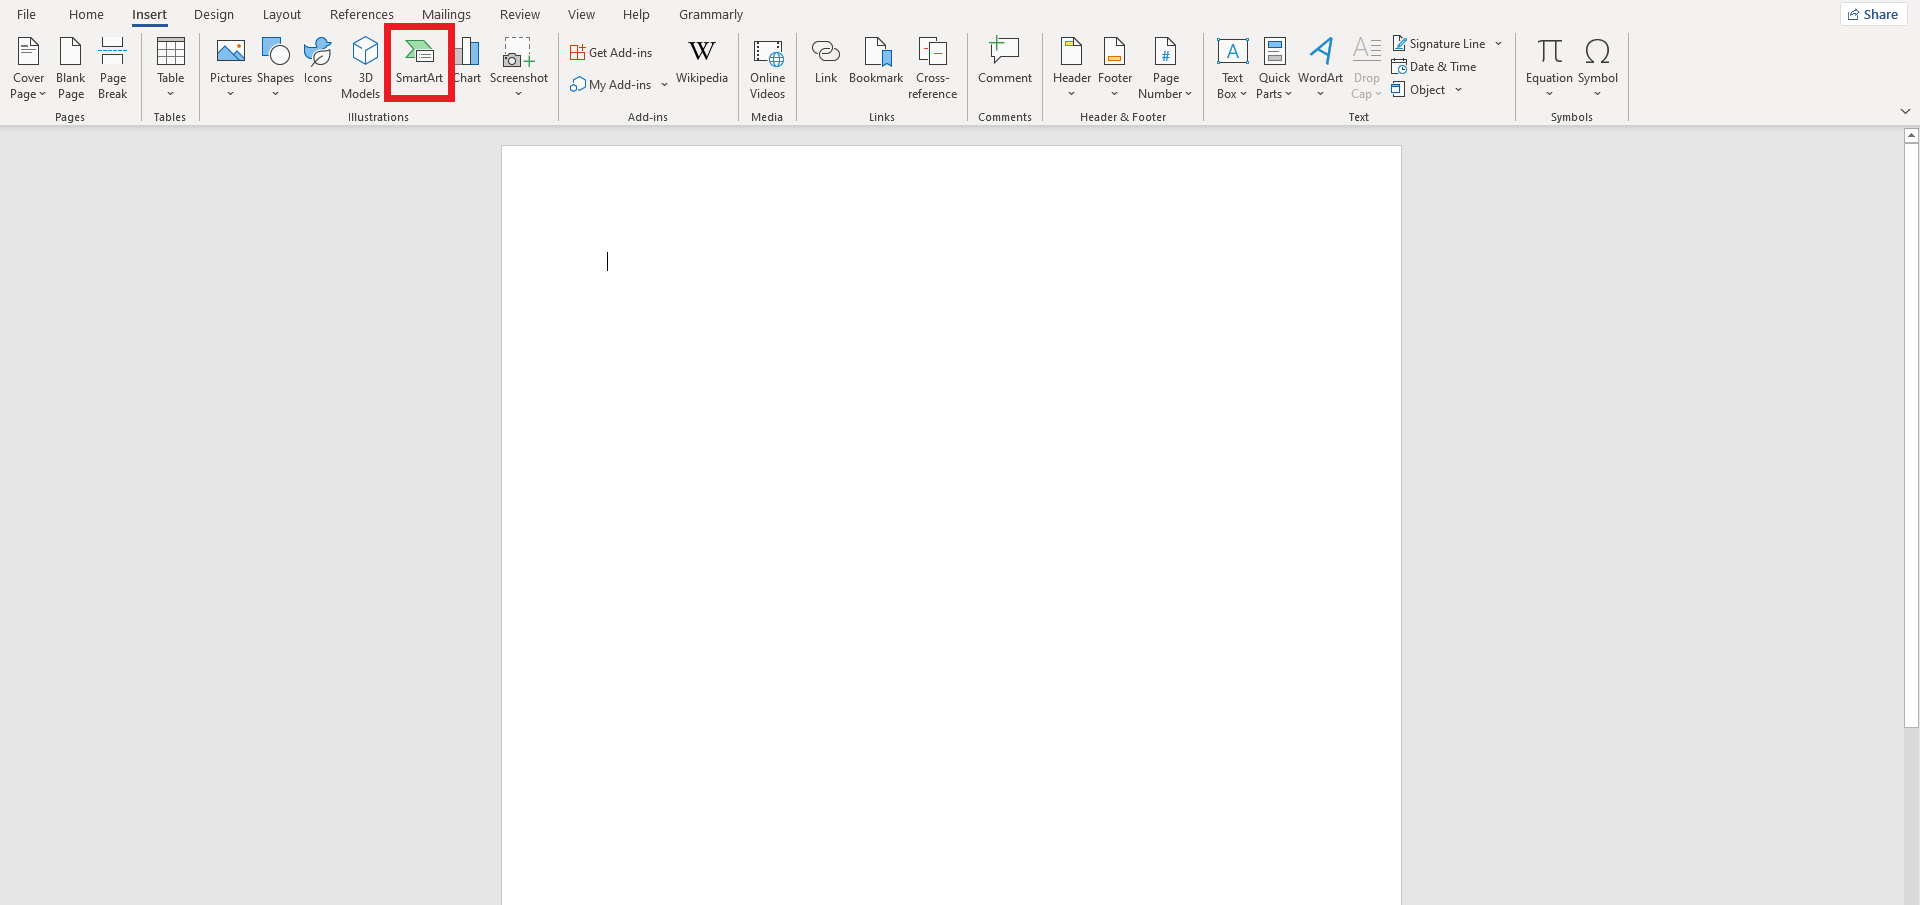
- Click SmartArtin the Illustrations tab.
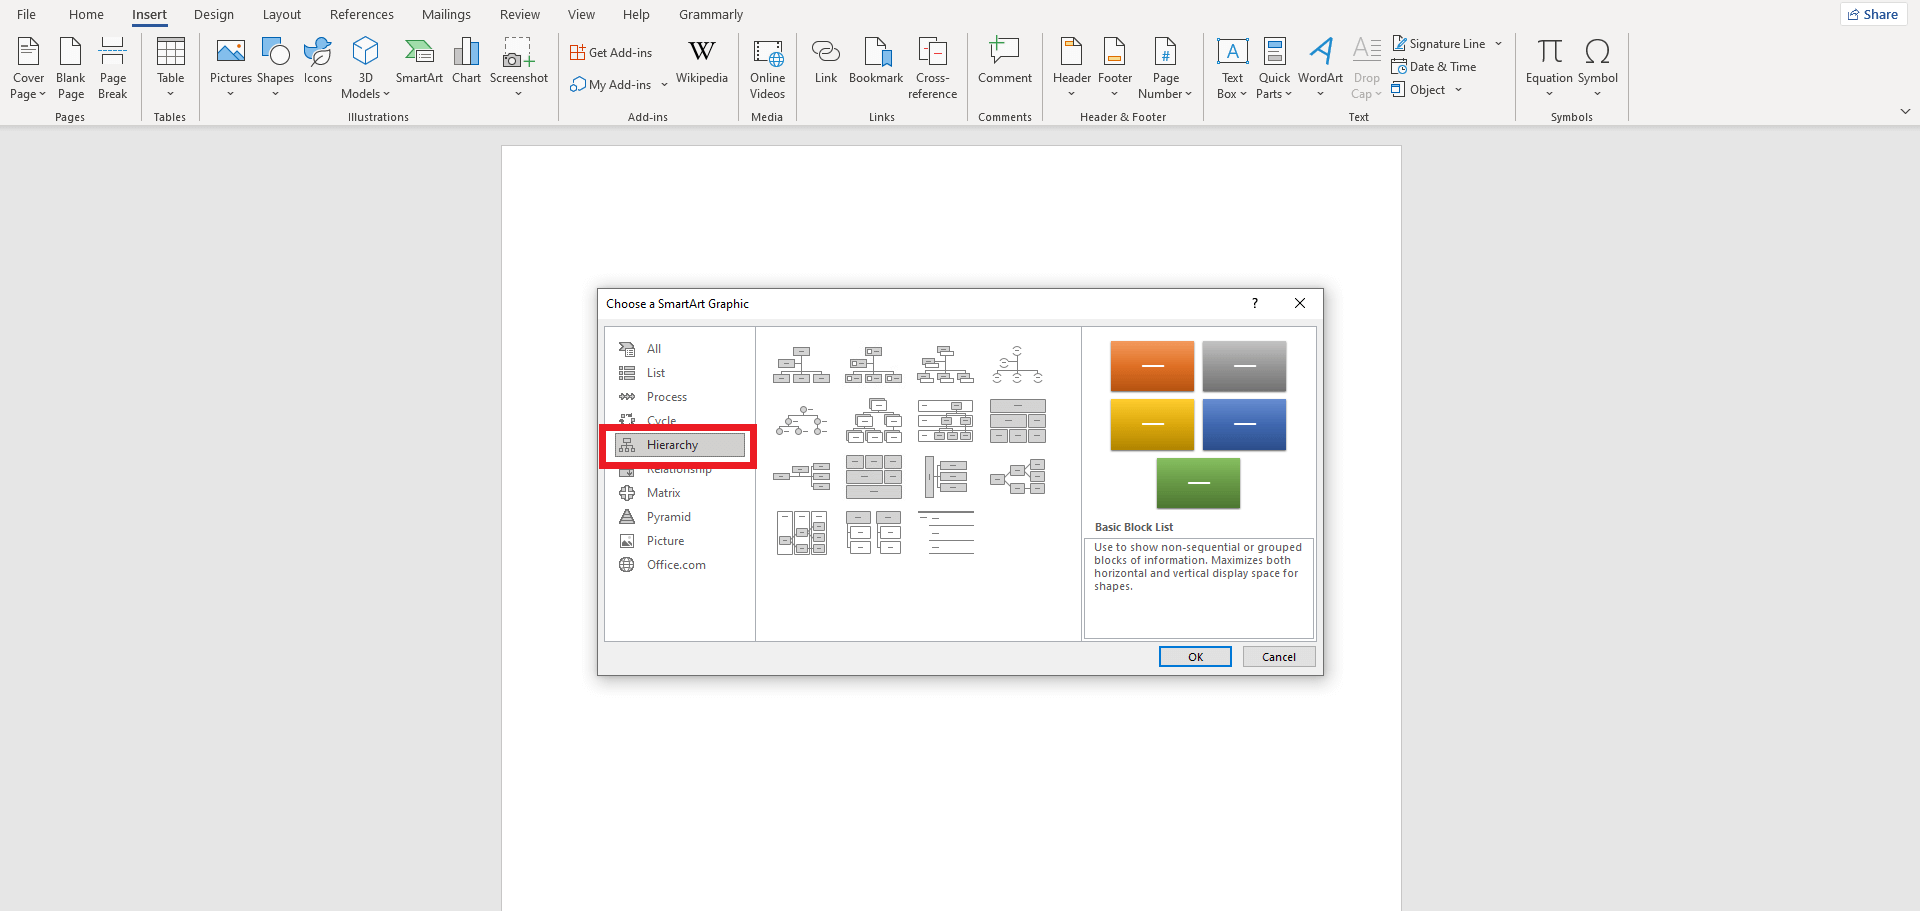
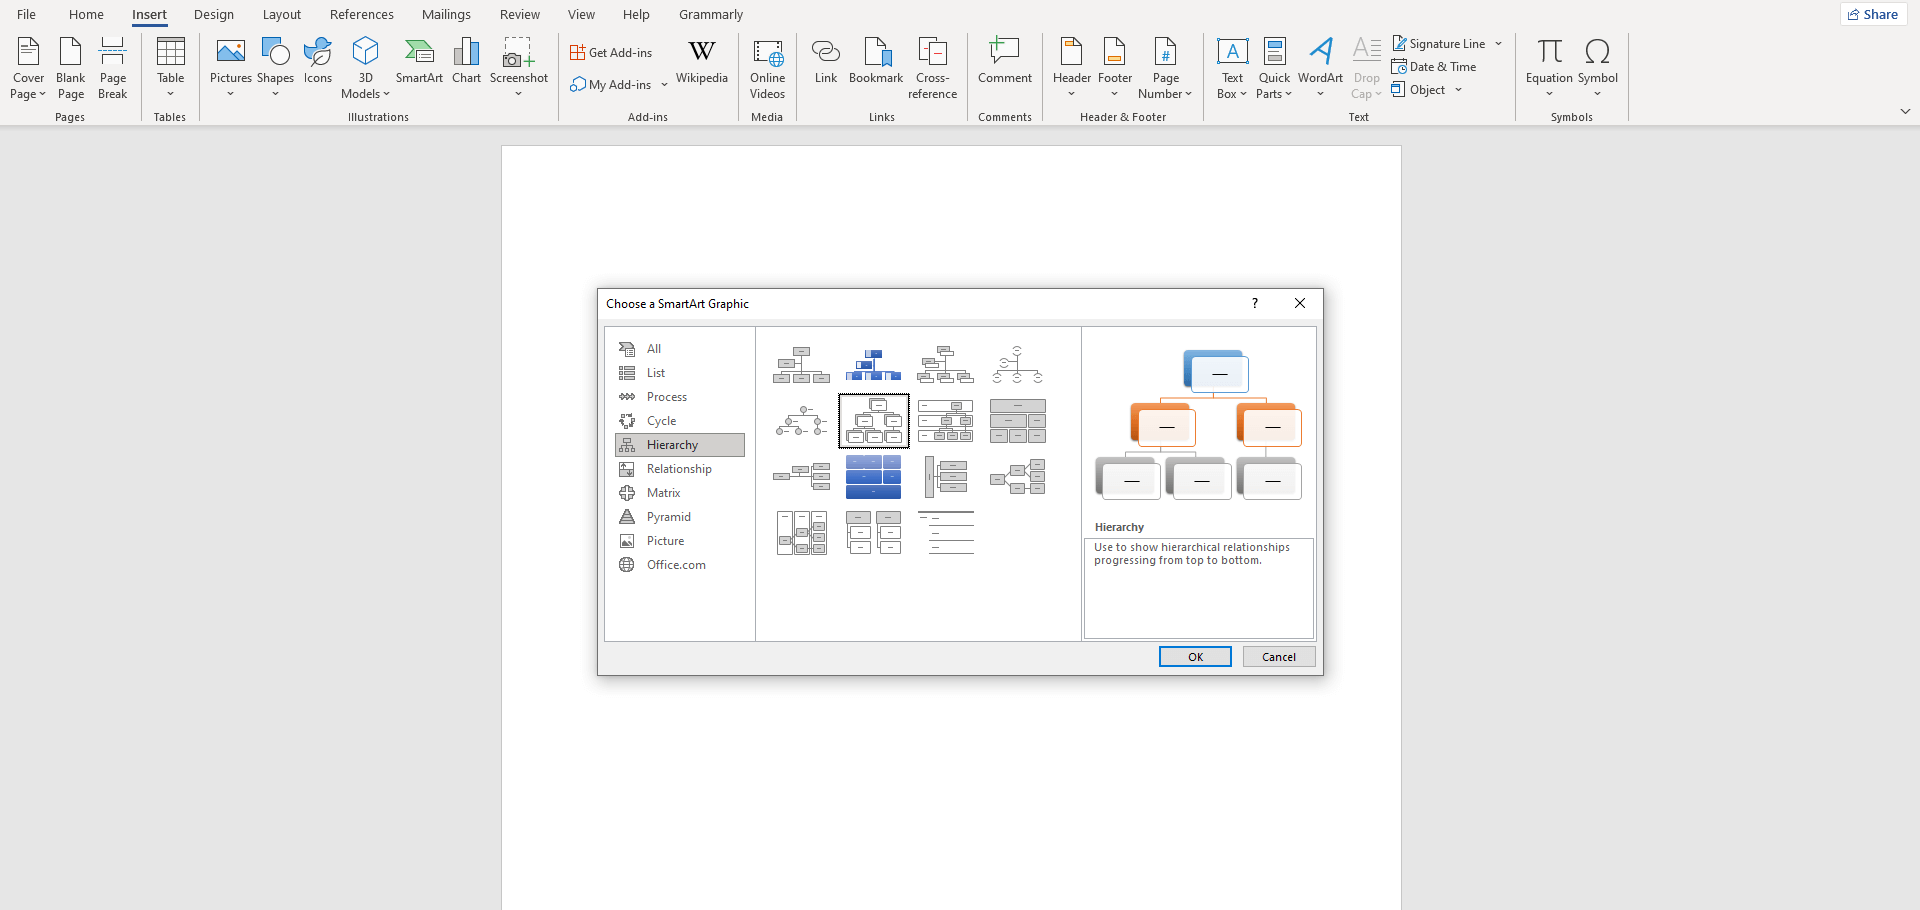
- Now, a new window will open with a list of diagrams in SmartArt. Select Hierarchyfrom the left side.
- Since the decision tree is a hierarchical diagram, you can select any option from the list. Let’s go with the Hierarchyfor this guide.
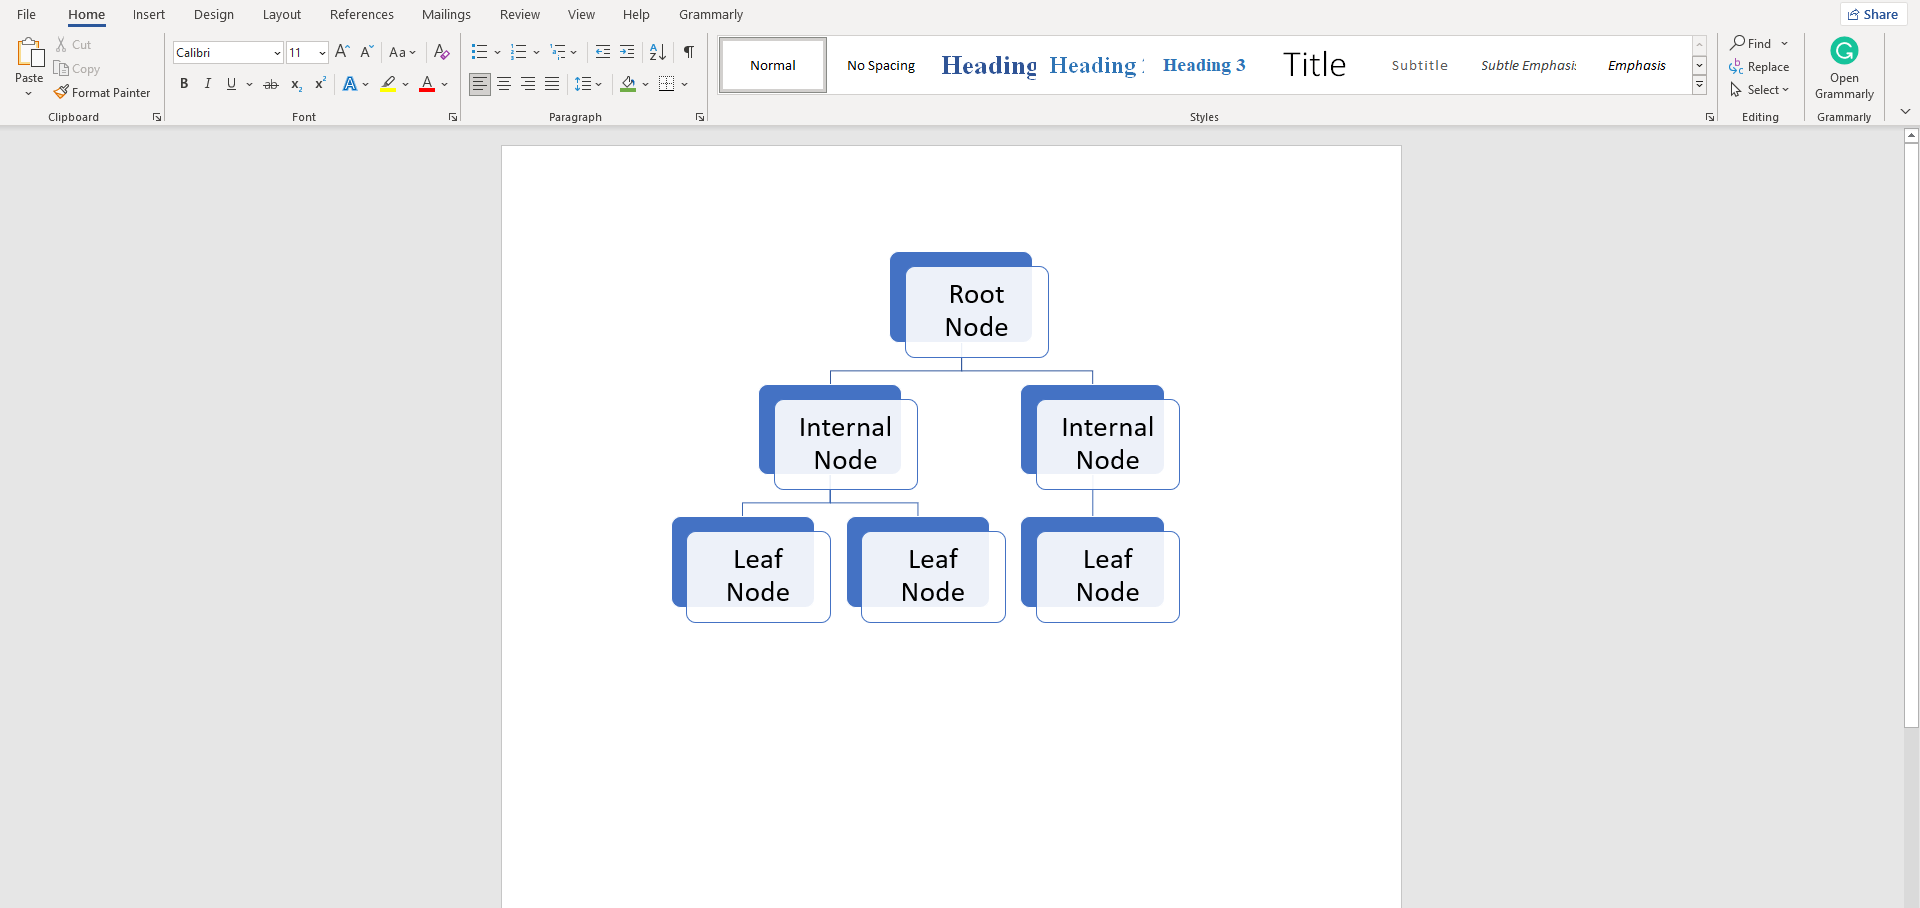
- You can now customize this decision tree diagram according to your requirement.
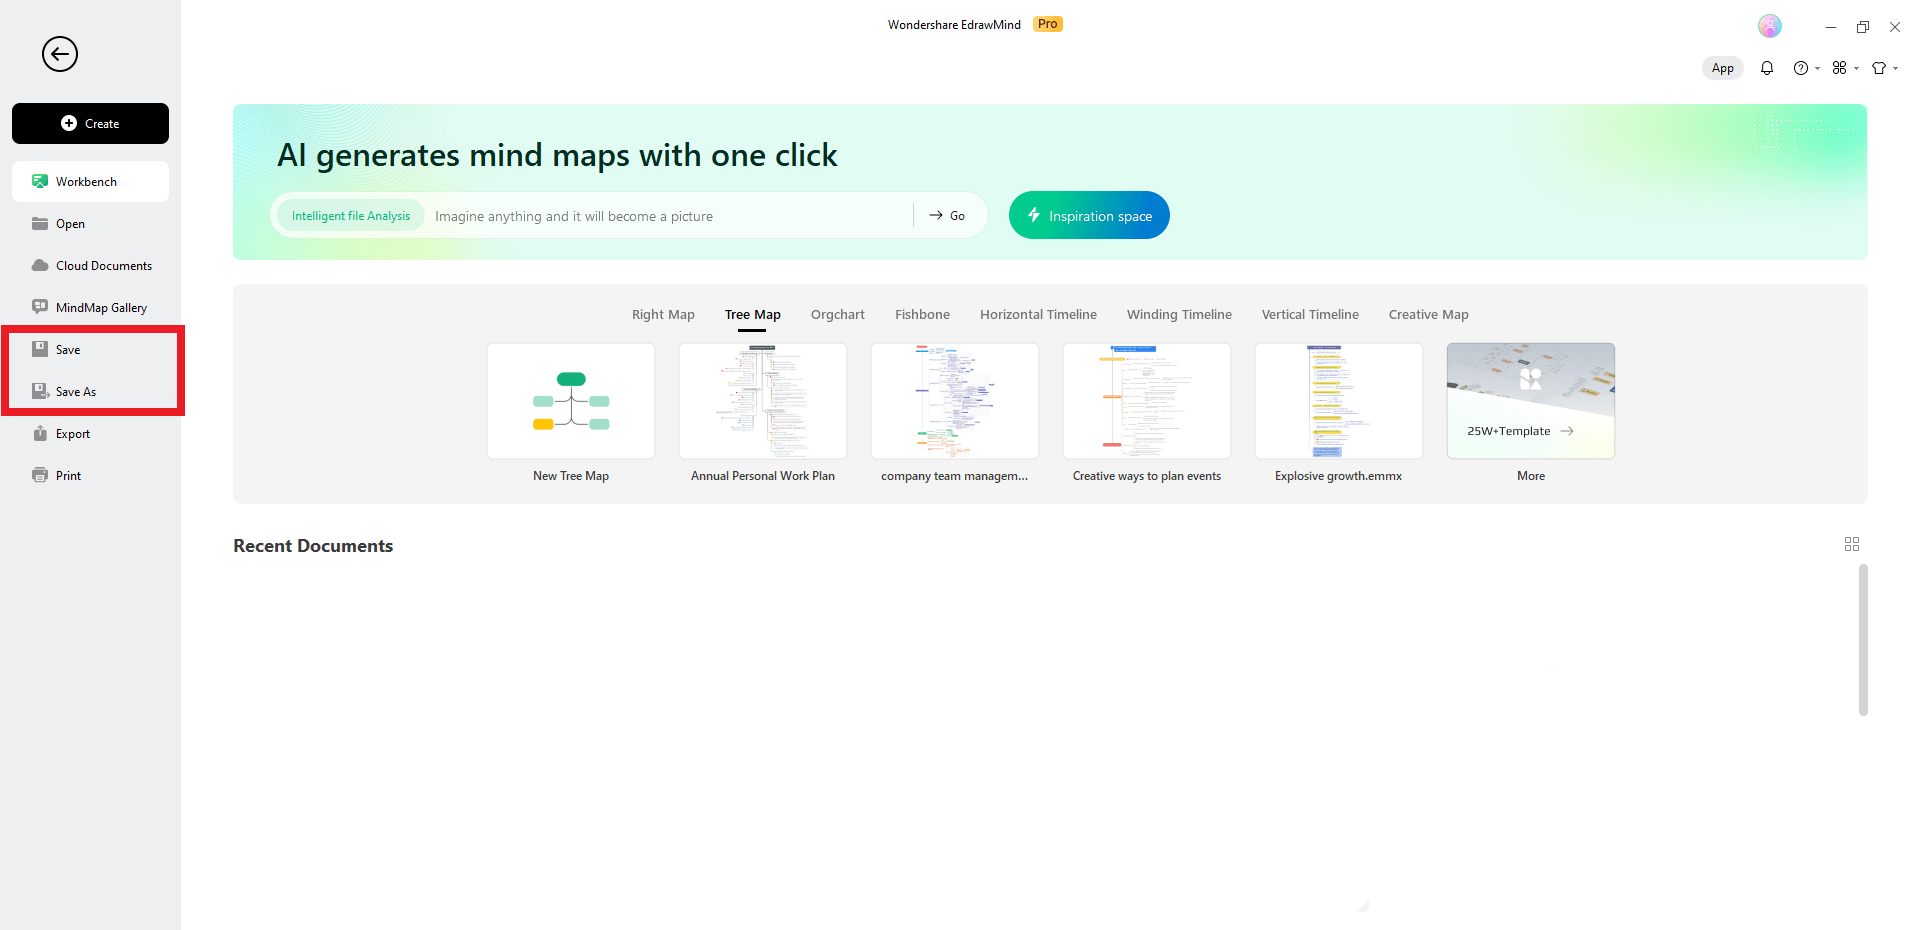
Once your decision tree is ready, it’s time to save it. Saving works the same for both methods. Here’s what you need to do:
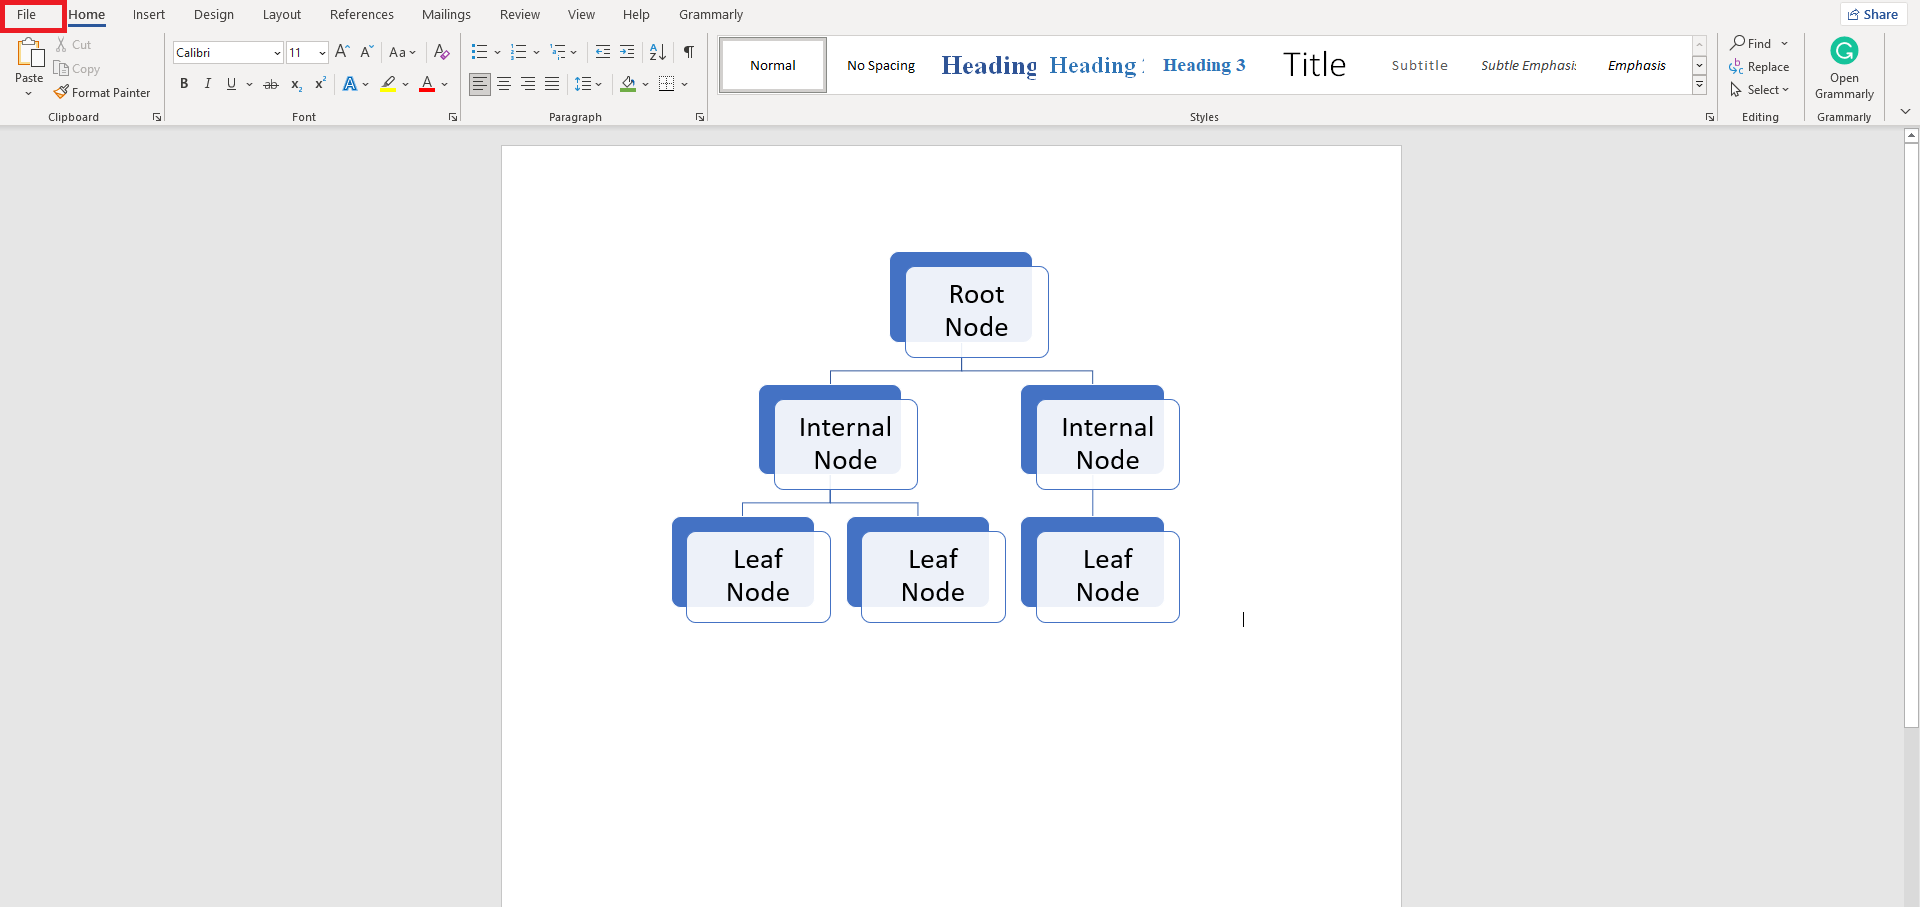
- Click theFile button at the top-left corner.
- Select Saveor Save As from the left sidebar.
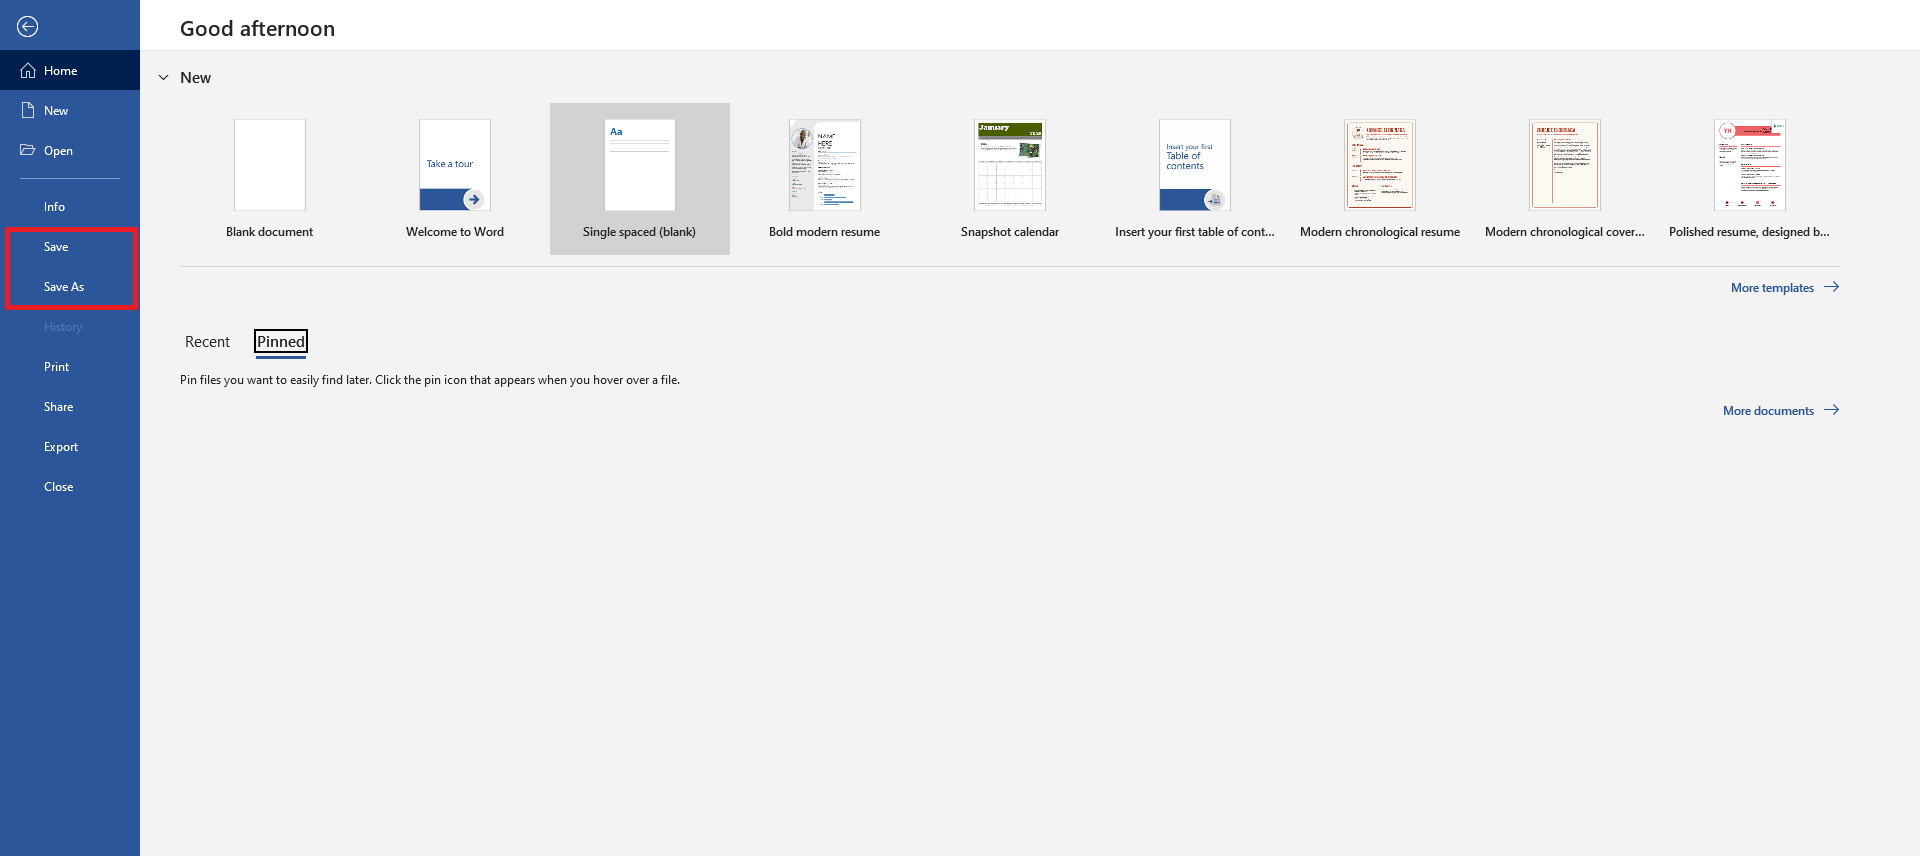
You can also Export your decision tree in a different format. Word supports exporting Plain Text, XPS, and PDF documents.
Tips & Tricks for Making a Decision Tree in Word
Here are some tips and tricks to help in making decision trees in Word.
1. Keep it Flexible
Decision trees are updateable diagrams due to their non-linear structure. That means you can add more plans and their outcomes in a tree whenever required. Word allows you to create and save flexible diagrams. Remember to utilize the Change Shape or Add Shape features to modify your decision trees in the future.
2. Use Colors
A decision tree shouldn’t be boring to look at. You can elevate its appeal by adding vibrant colors to every shape. Now, that doesn’t mean you have to fill a different color in each element. A good example is having a unique color for each hierarchical level. This way, each level has its distinct identification. Plus, the diagram will look good!
3. Utilize the SmartArt Feature
The SmartArt feature is beneficial, especially when you are short on time. You can pick a pre-made diagram, modify it, and save it on your device. Otherwise, you have to select and draw shapes one by one. While it is a more personalized approach, it can take time. Thus, the SmartArt diagrams can be excellent alternatives.
4. Text Wrapping
After creating a decision tree, wrap it Tight around the text. You can see the flowing icon with the diagram for this option. It helps you move the tree freely anywhere in the document. Otherwise, your diagram will remain in one position.
5. Avoid Long Texts
Adding text in a shape is easy in Word. But that doesn’t mean you should add extensive texts in your decision trees. Remember that a diagram looks good with minimal text. Thus, you should only write keywords and short phrases instead of long sentences.
How to Make a Decision Tree in EdrawMind
If making a decision tree in Word is challenging, consider trying EdrawMind. It is a more straightforward tool with easy-to-use features and ready-to-use templates. Here is how to make a decision tree in EdrawMind:
Step 1:Getting Started
- Download the EdrawMind desktop application or open its web version.
- You must log in with your Wondershare or social accounts to access EdrawMind.

Step 2:Open The Tree Diagram
After opening the EdrawMind application. Follow the steps below:
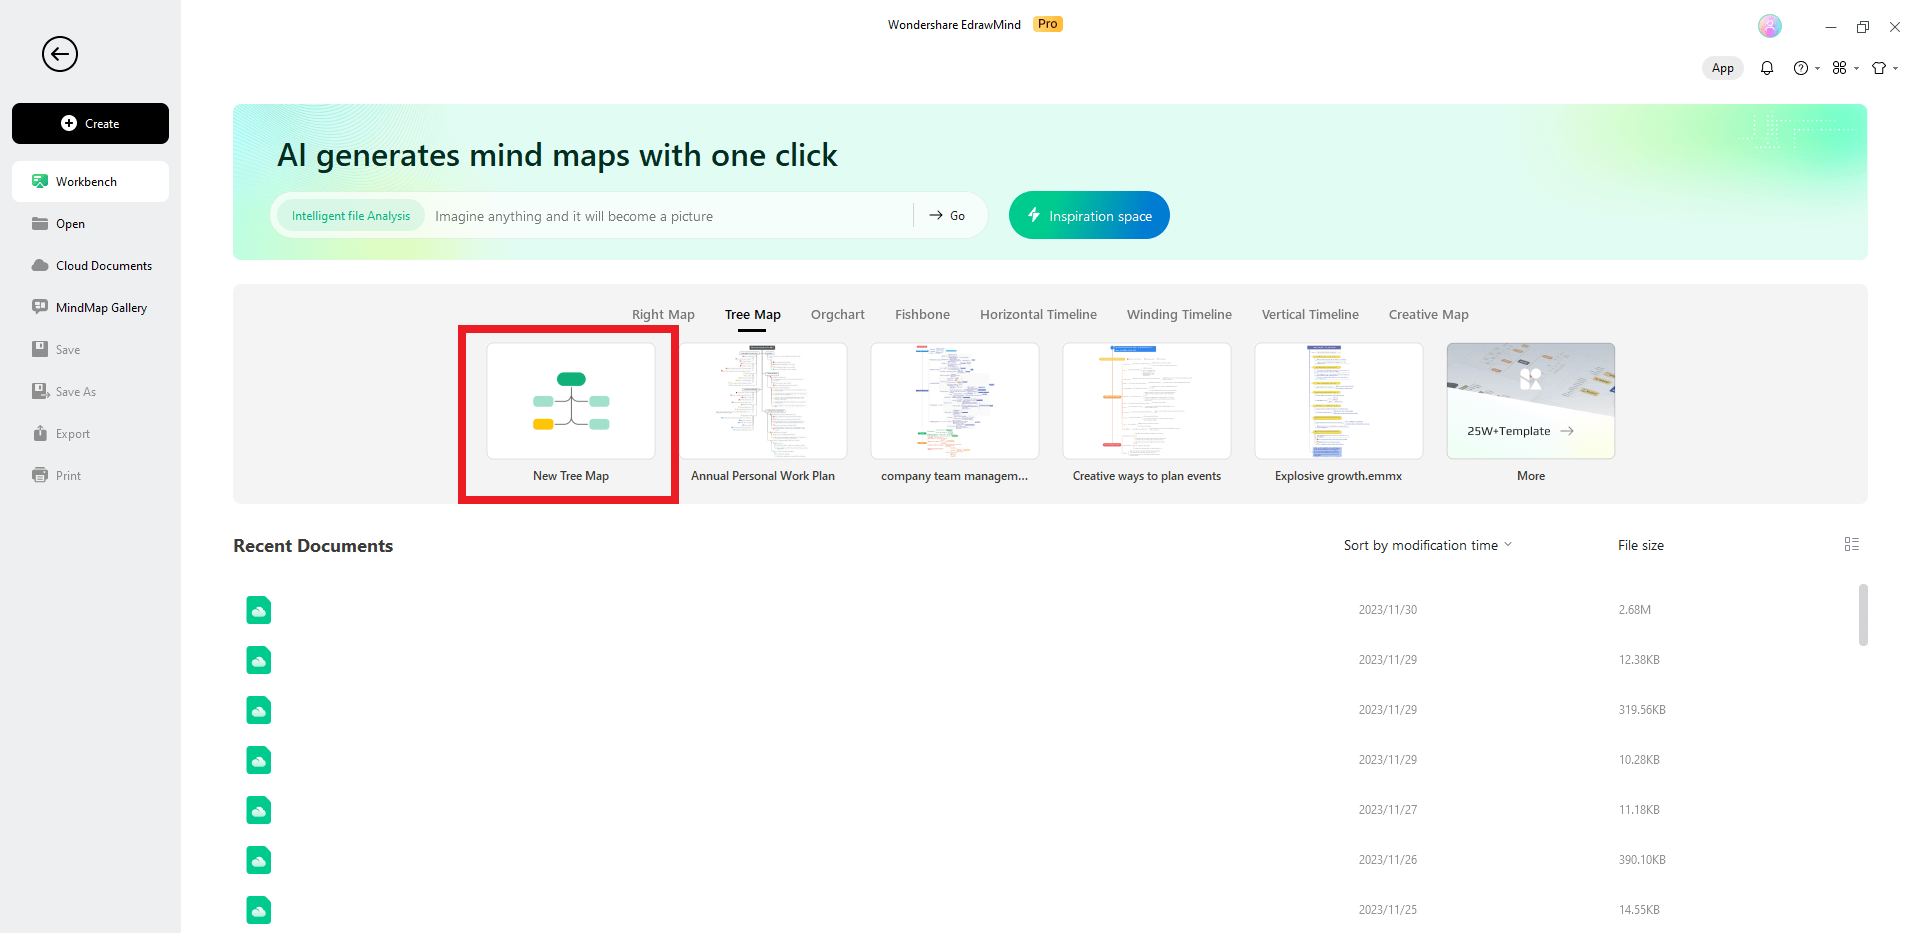
- Click the Tree Map button from the EdrawMind main screen.
- Select the New Tree Map from the horizontal list.
Step 3:Add New Topics and Subtopics
These are the most critical steps as they change the overall tree’s appearance and specifications. Here’s what to do:
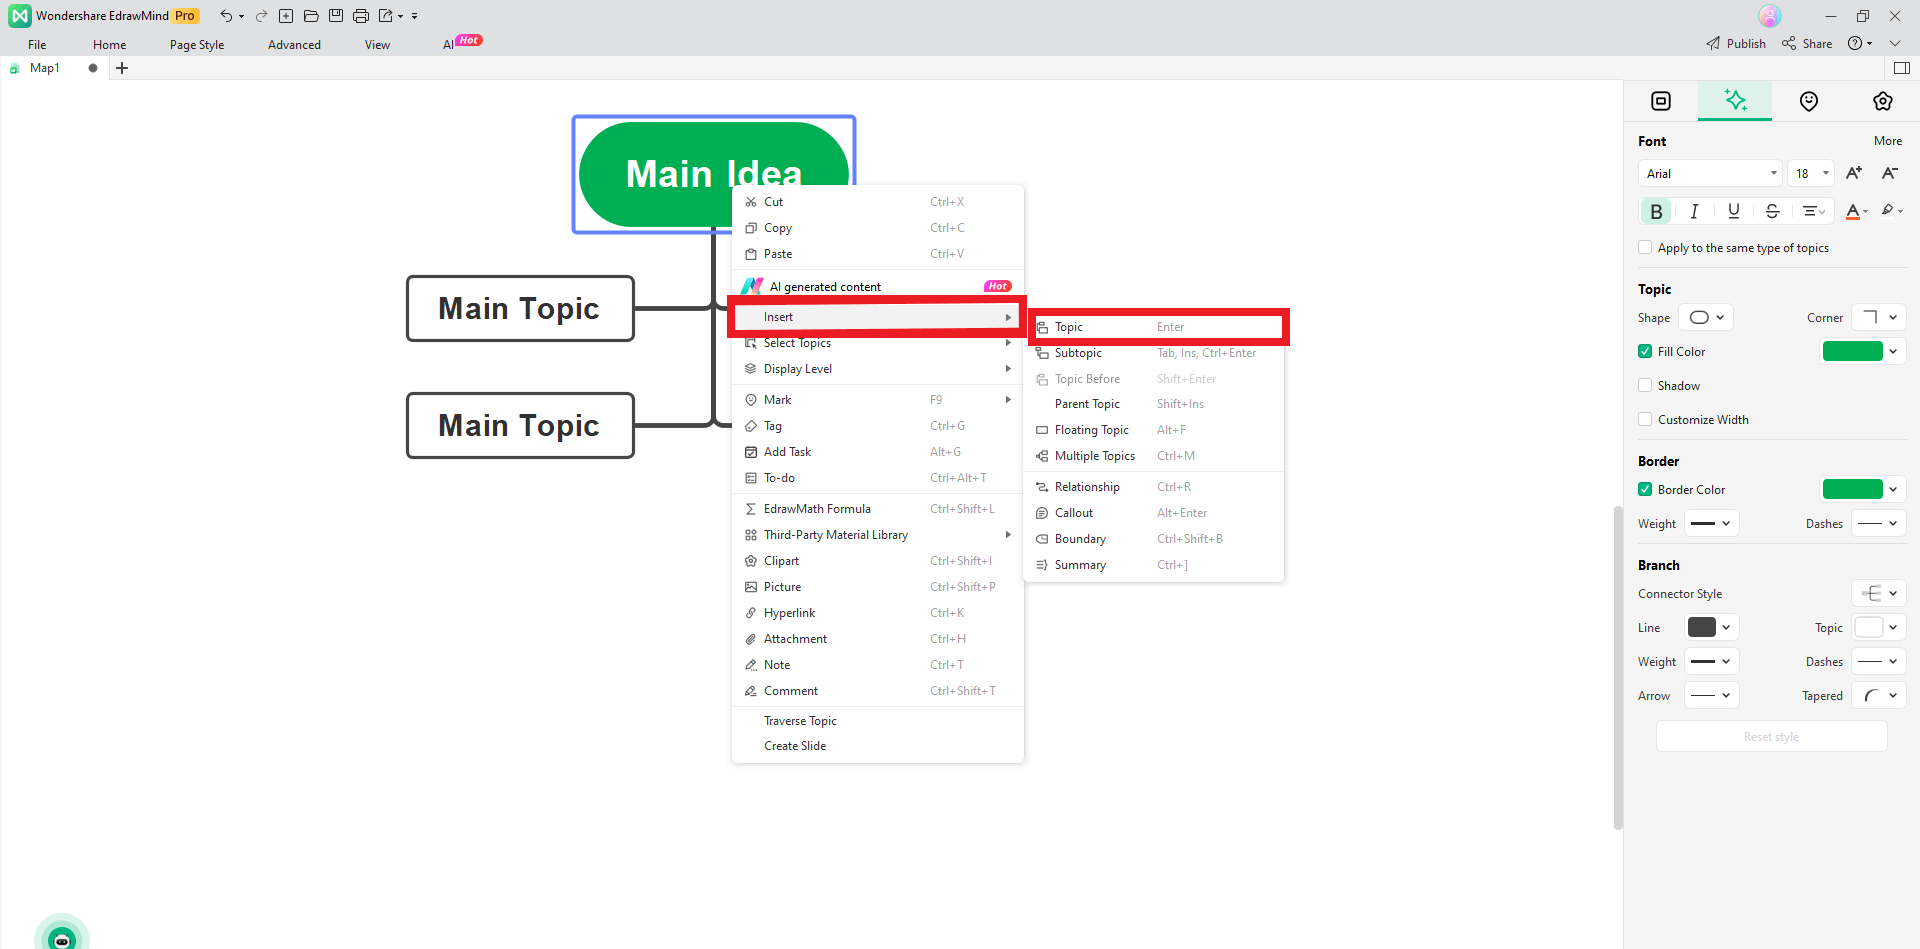
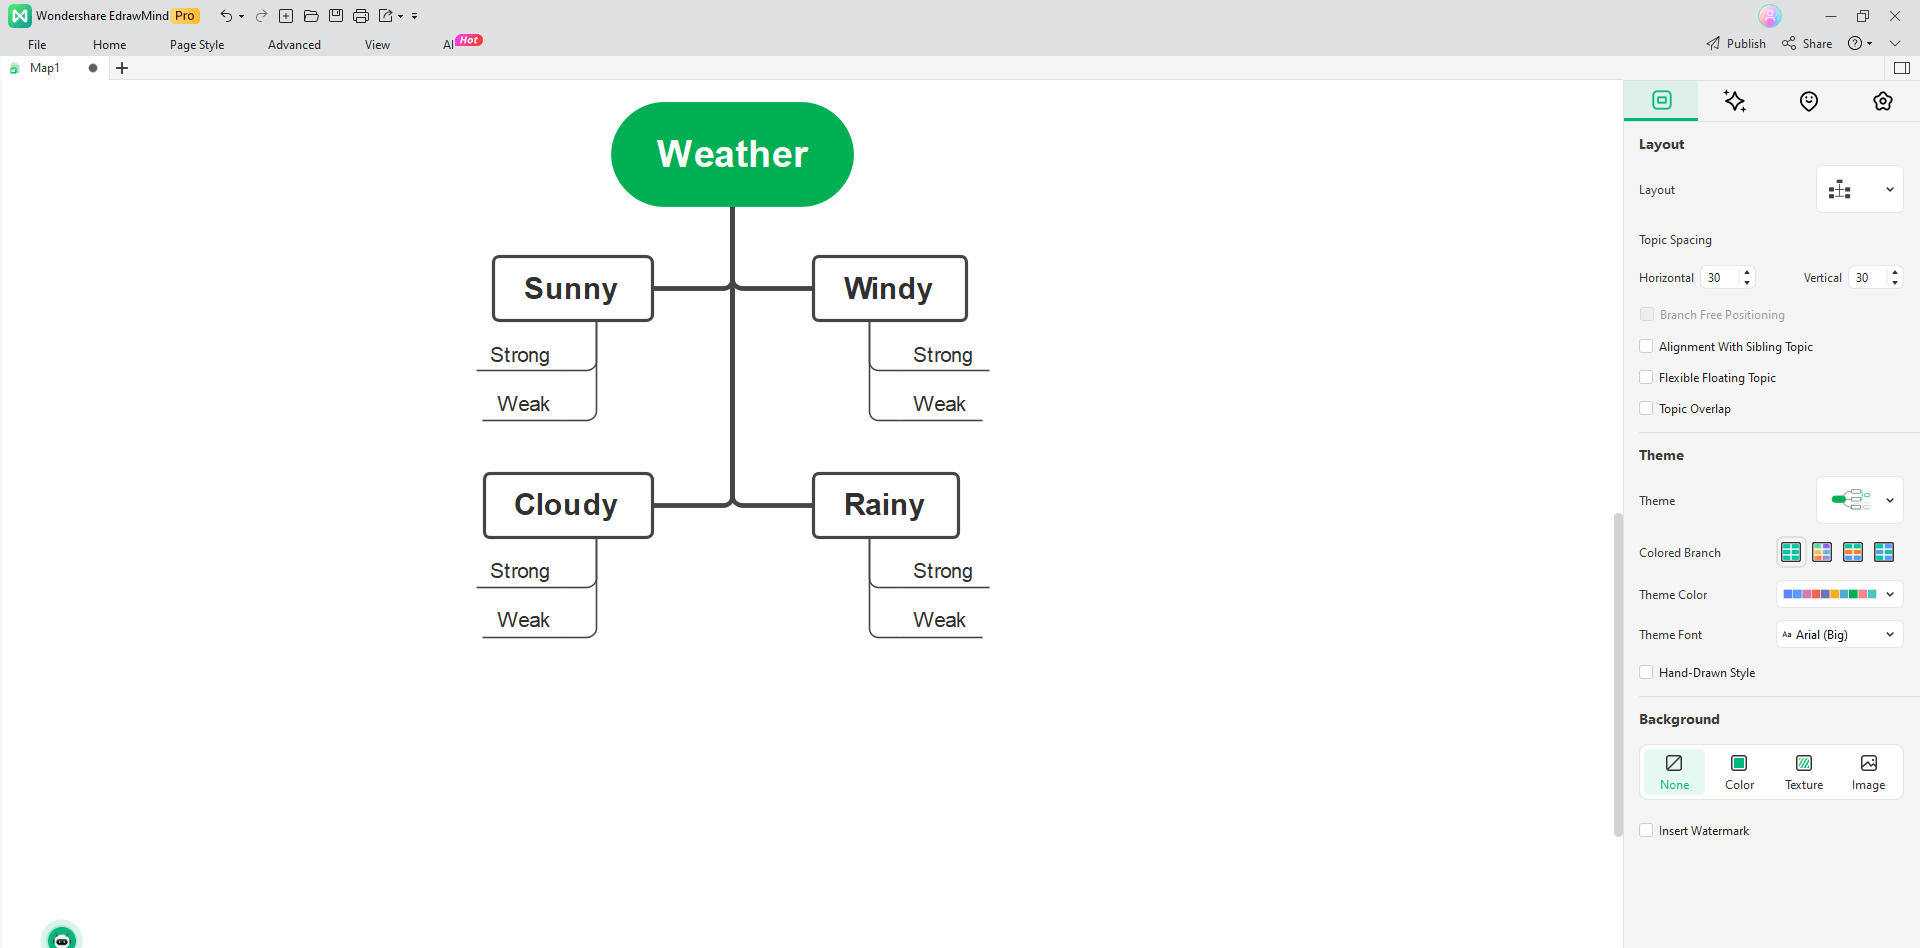
- Right-click theMain Idea, go to Insert, and click Topic. Now, we have 4 Main Topics in our decision tree.
- Now, right-click a Main Topic, go to Insert,and select Subtopic.
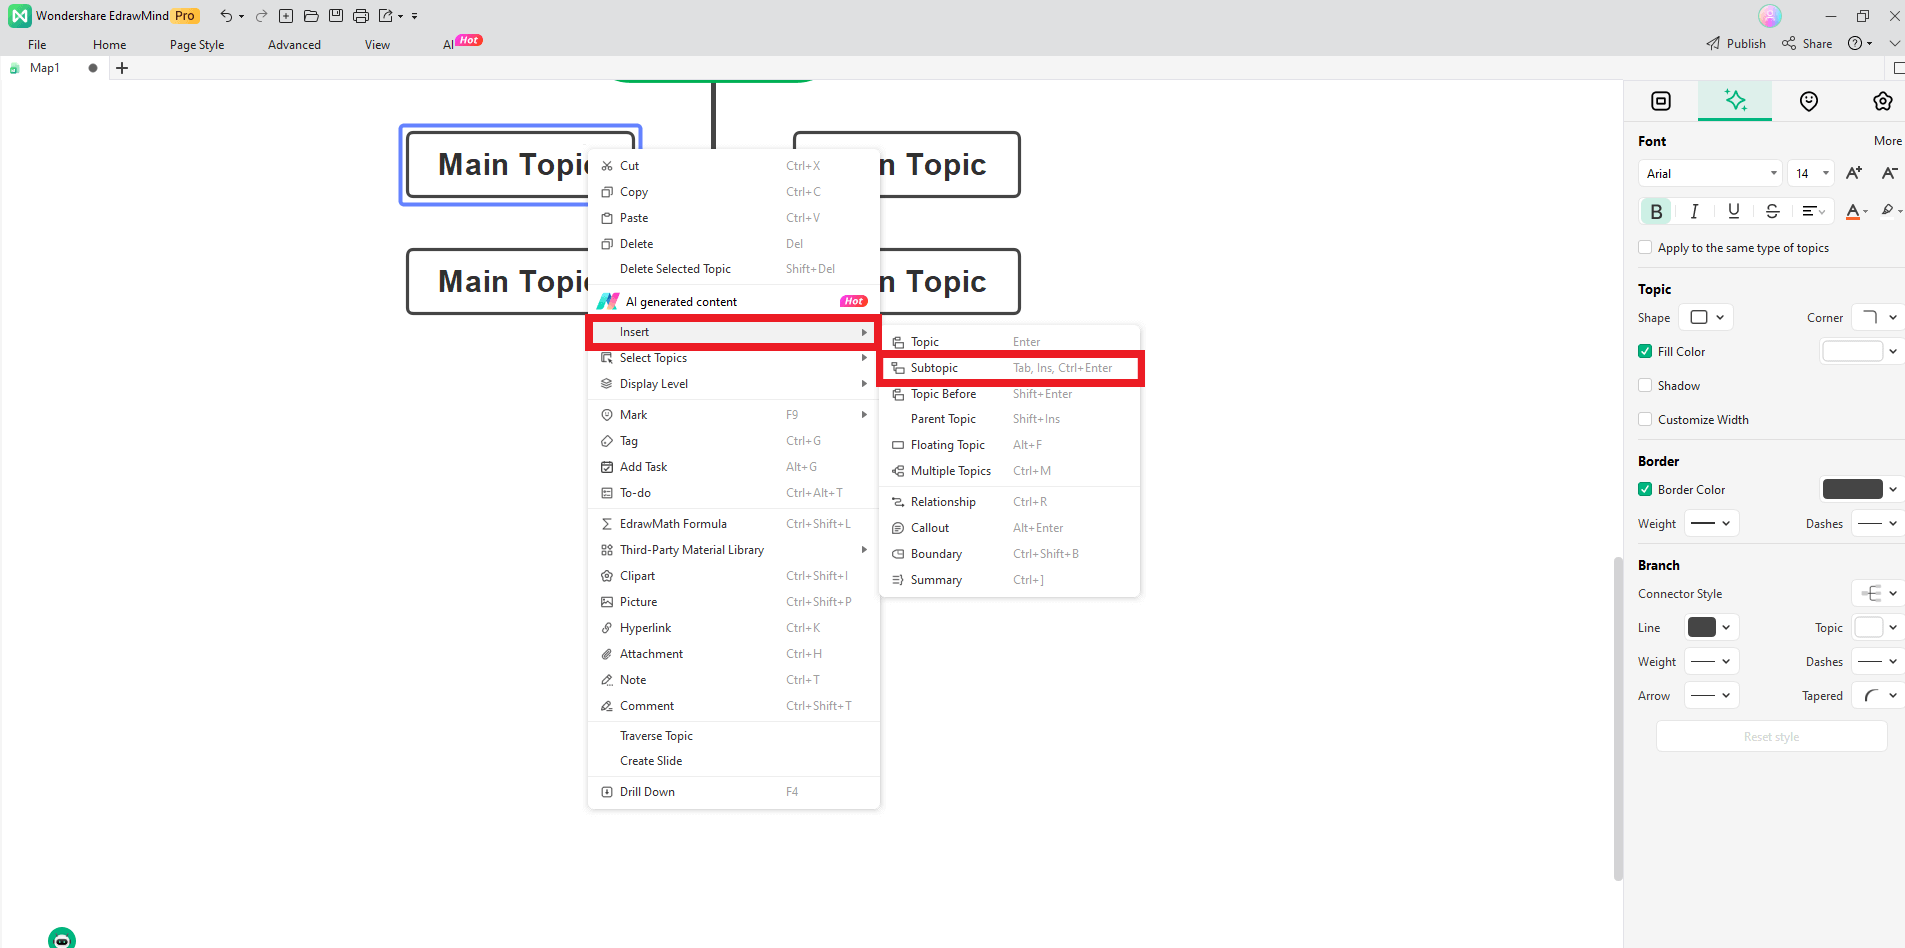
Now, we have a detailed decision tree ready for customization.
Step 4:Customization
Let's start by changing the texts in each element.
- Click an element and start typing to change its text.
- Similarly, click each element and change its text individually.
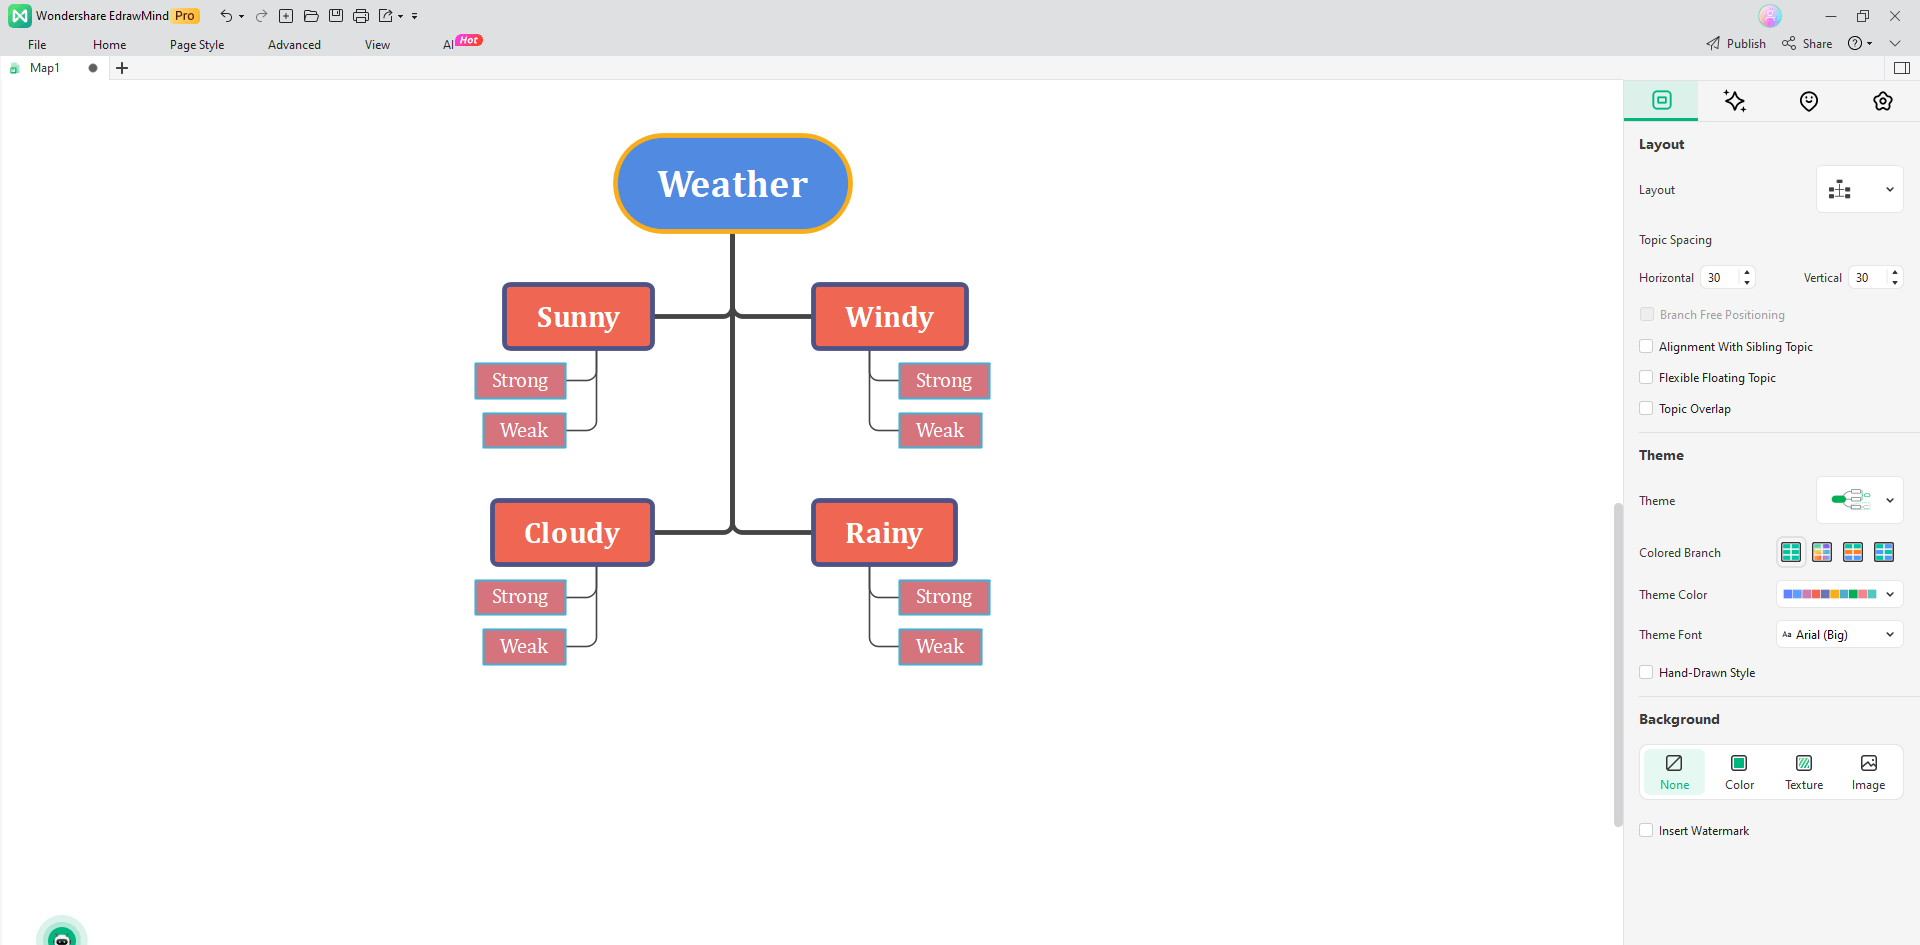
- Select the Main Idea (Weather) and head to the right toolbar to customize it. Let’s change its color, shape, font, and outline.
- Similarly, select other elements and customize them one by one.

Step 5:Save the Decision Tree
Now, you have a decision tree ready to be saved. Make sure to finalize your customization before this step. Once done, follow the steps below:
Click the Save button (floppy disk icon) at the top menu bar.
Making Decision Tree in Word vs In EdrawMind
Let’s compare the decision tree creation process in Word and EdrawMind by providing the benefits of both software:
- Allows you to create decision trees via SmartArt quickly.
- Doesn’t require experience or expertise to create diagrams.
- Has a straightforward interface, enabling even non-tech-savvy people to work without problems.
- Offers decent customization with an extensive library of shapes, colors, and styles.
- Enables exporting a file in a few different formats.
Microsoft Word
- Comes with hundreds of built-in templates for easy diagramming.
- Offers thousands of symbols, shapes, and graphical elements to make visually-appealing decision trees.
- Has almost no limit to customization in terms of styles, colors, outlines, layouts, fonts, etc.
- Suitable for beginners as well as experienced individuals.
- Allows importing and exporting in a variety of formats.
- The AI function allows you to generate well-crafted diagrams with a single prompt.
EdrawMind
Free Decision Tree Maker
Despite being the easiest tool to create decision trees in, EdrawMind is also shockingly free, compared to Word, which is not. Here are a few of its features to provide a clearer picture:
- Various Layouts: EdrawMind offers more than 20 different layouts for decision trees. Thus, you can easily pick one that aligns with your requirements and goals.
- Ease of Use: You can modify a ready-to-use template in EdrawMind and save it as your own decision tree. Creating a diagram from scratch is comparatively more straightforward than many other apps.
- AI-Generated Diagrams: You can now generate AI-made diagrams in EdrawMind using prompts. This feature can help develop new templates. Then, you can modify them according to your needs!
- Export Formats: EdrawMind enables users to save their projects in their desired formats. Its export feature supports PDF, Excel, Word, HTML, SVG, TXT, and POS formats.
- Cloud Documents: You don’t have to worry about your device’s storage. EdrawMind lets you save your projects on the cloud, making them easily accessible from anywhere.
- Web Version: Are you currently unable to install a new desktop application? Then, you can resort to EdrawMind's web version. It is accessible from anywhere, requiring only an internet connection.
Conclusion
Remember that 20% of all businesses fail within their first year. It happens because of the modern environment’s ever-changing requirements. One wrong decision can have significant consequences on your business. That is why a decision tree is useful, especially in today’s competitive world.
Now, you know how to make a decision tree in Word and EdrawMind. This rewarding skill can have many benefits for your organization. Before making any decision, you can lay out its plan of action and its possible outcomes. As a result, you can excel in different business areas, including sales, marketing, accounting, etc.